Staff Manual

How to use the platform

Step-by-step guides for every part of the Panaroma Logistics Cargo workspace — from importing manifests to generating invoices and keeping clients updated.

Panaroma Logistics Cargo — User Manual

For daily users: cashiers, ops, clerks, and managers. Last verified: 2026-04-22 · screenshots captured from Panaroma Logistics Cargo 1.0.0

This manual walks through every task you do in Panaroma Logistics Cargo, with screenshots of what you should see on your screen. If something on your screen looks different, your version may be newer — tell your admin.


Table of Contents

  1. Getting started
  2. Shipments — day-to-day
  3. Containers
  4. Arrivals
  5. Pickups
  6. Invoices
  7. Bill of Lading
  8. Manifest
  9. Smart Import
  10. Call center
  11. Ops Intelligence
  12. Public tracking (for customers)
  13. Troubleshooting

1. Getting started

Signing in

Open the login page in your browser. Enter the email and password your admin gave you and click Sign in.
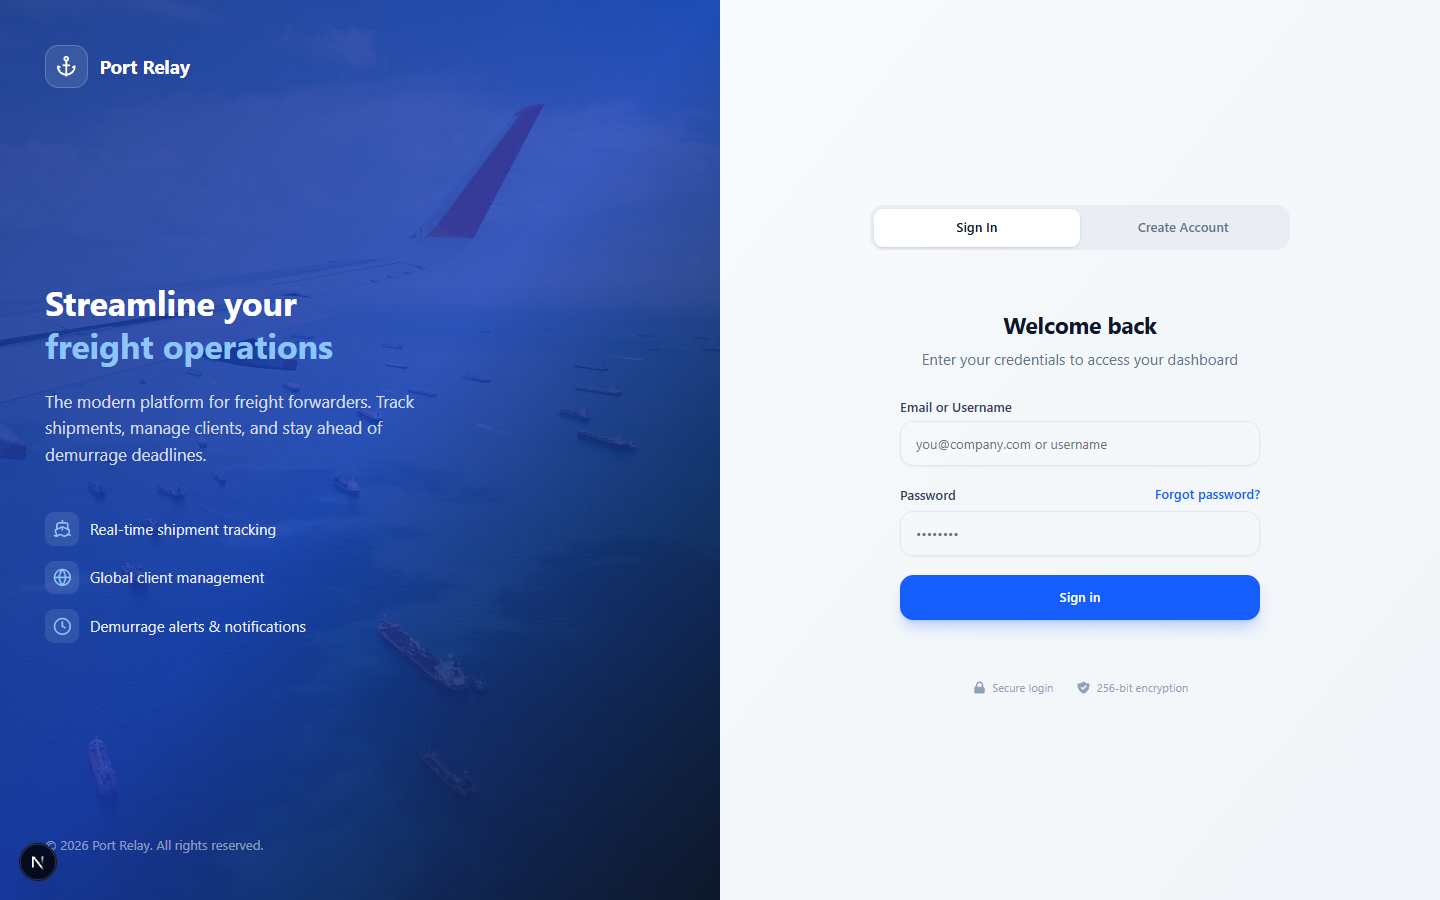
Login page

If you forget your password, ask your admin to reset it — Panaroma Logistics Cargo does not yet ship a self-serve reset.

Dashboard tour

After signing in you land on the Dashboard. It shows four summary tiles at the top (total shipments, active clients, in-transit count, urgent LFD) and a Quick Navigation grid of shortcuts.
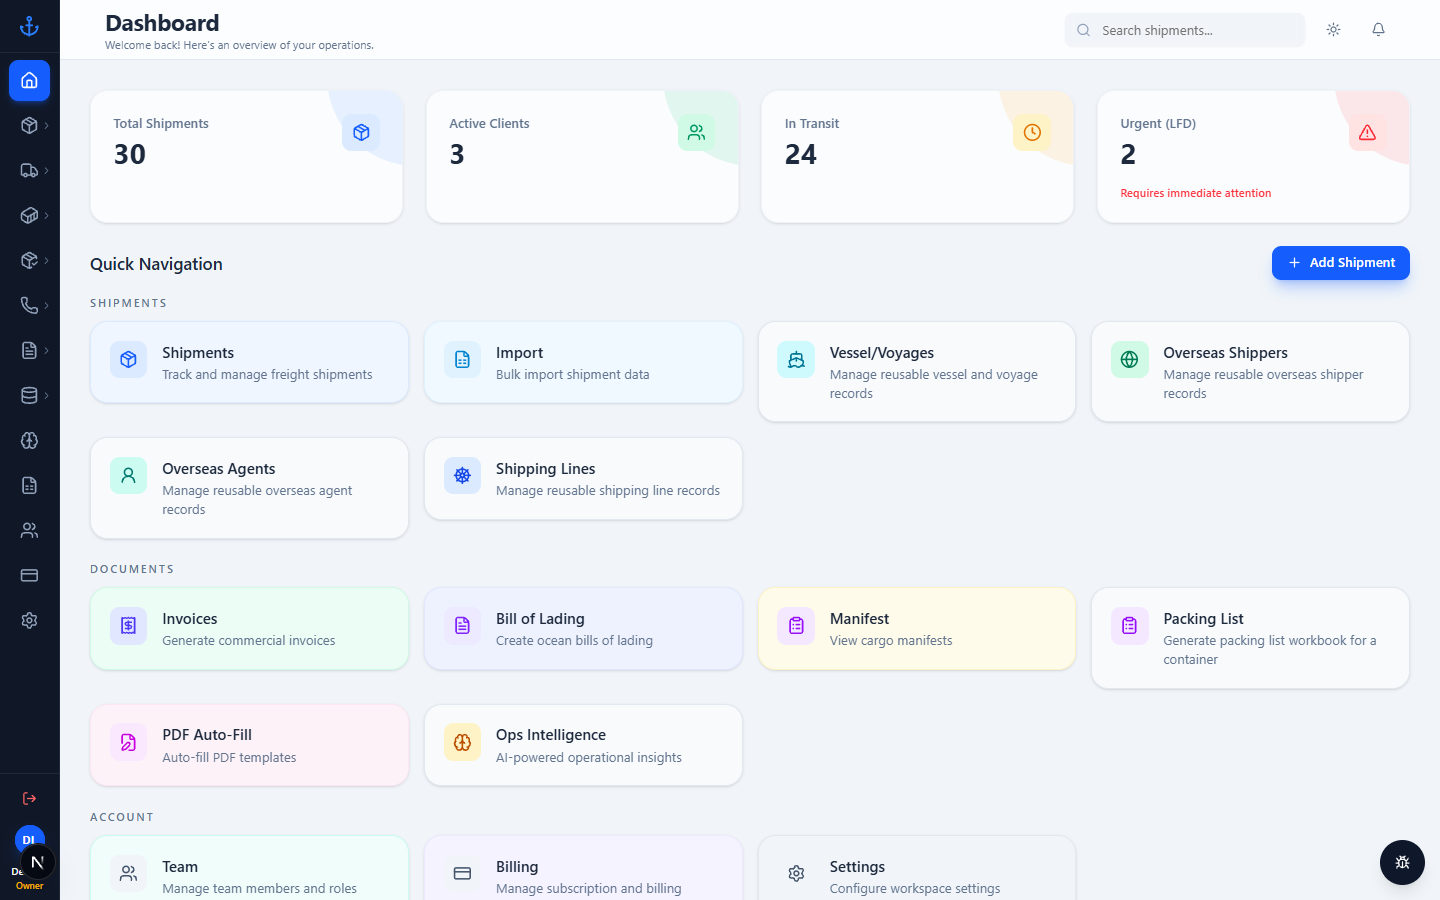
Dashboard

  • Left sidebar — the main navigation. Each icon expands into a group (Shipments, Pickups, Containers, Arrivals, Call Center, Documents, Settings).
  • Search bar (top) — type an HBL number, client name, or displayId to jump to a shipment.
  • Add Shipment button — opens the single-shipment create form.
  • Bottom-left avatar — shows the workspace you're currently in ("Demo..." in the screenshots) and your role ("Owner", "Manager", "Employee", or "Operator").

Tip. Every screen has the same left sidebar. If you get lost, click the home icon at the top of the sidebar to return here.


2. Shipments — day-to-day

A shipment (a.k.a. an HBL, or "House Bill of Lading") is a single consignment from one shipper to one consignee. Everything in Panaroma Logistics Cargo hangs off shipments.

2.1 The shipments list

Dashboard → Shipments
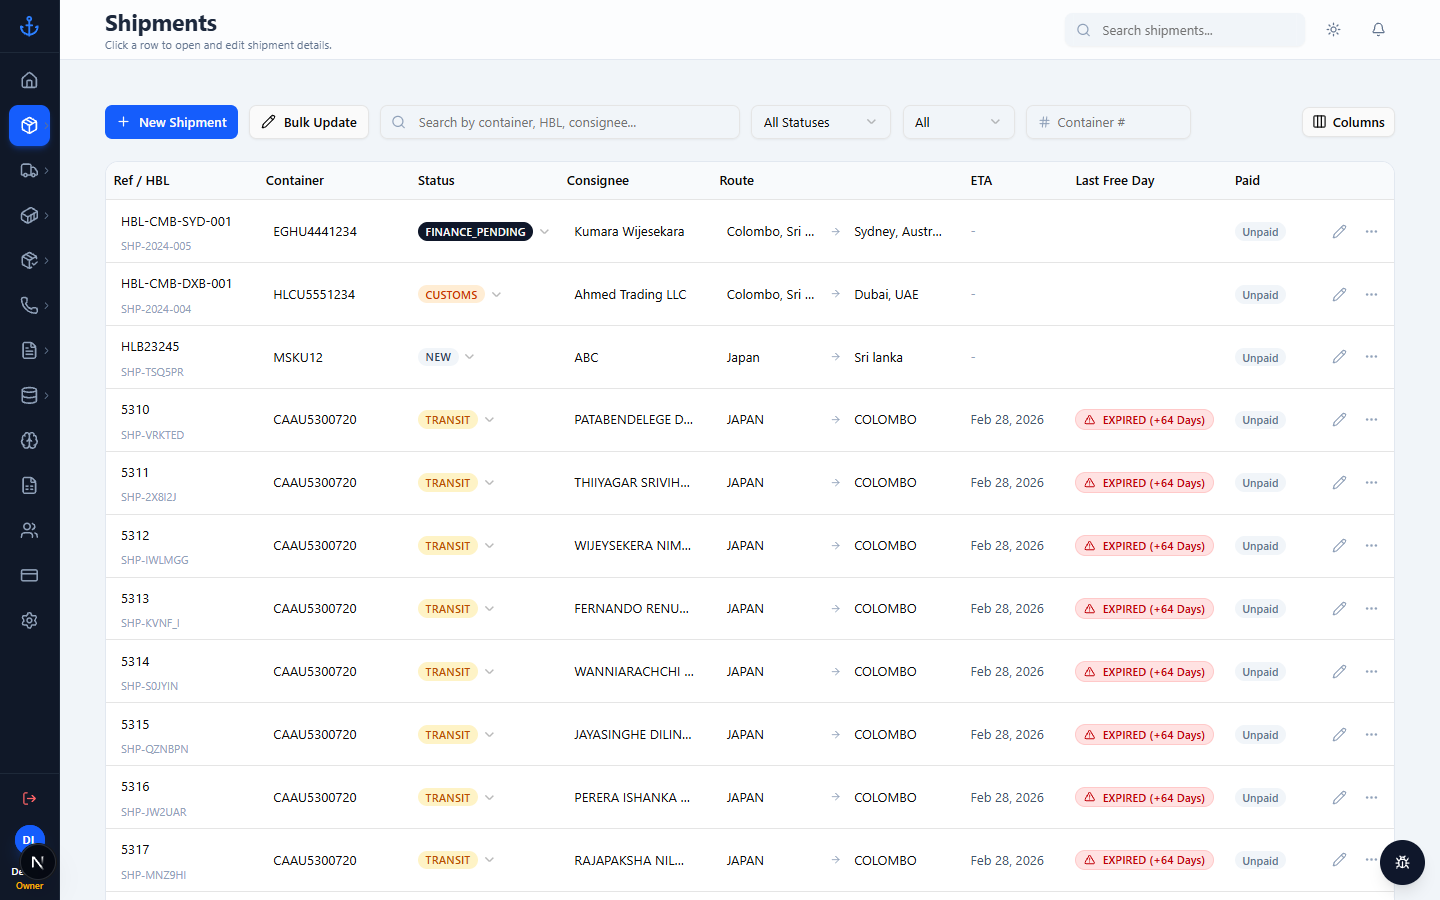
Shipments list

The list shows every shipment in the workspace. Use the filters at the top and the search bar to narrow down. Click any row to open the shipment detail.

2.2 Creating a shipment

Dashboard → Shipments → New Shipment (or the Add Shipment button on the dashboard).
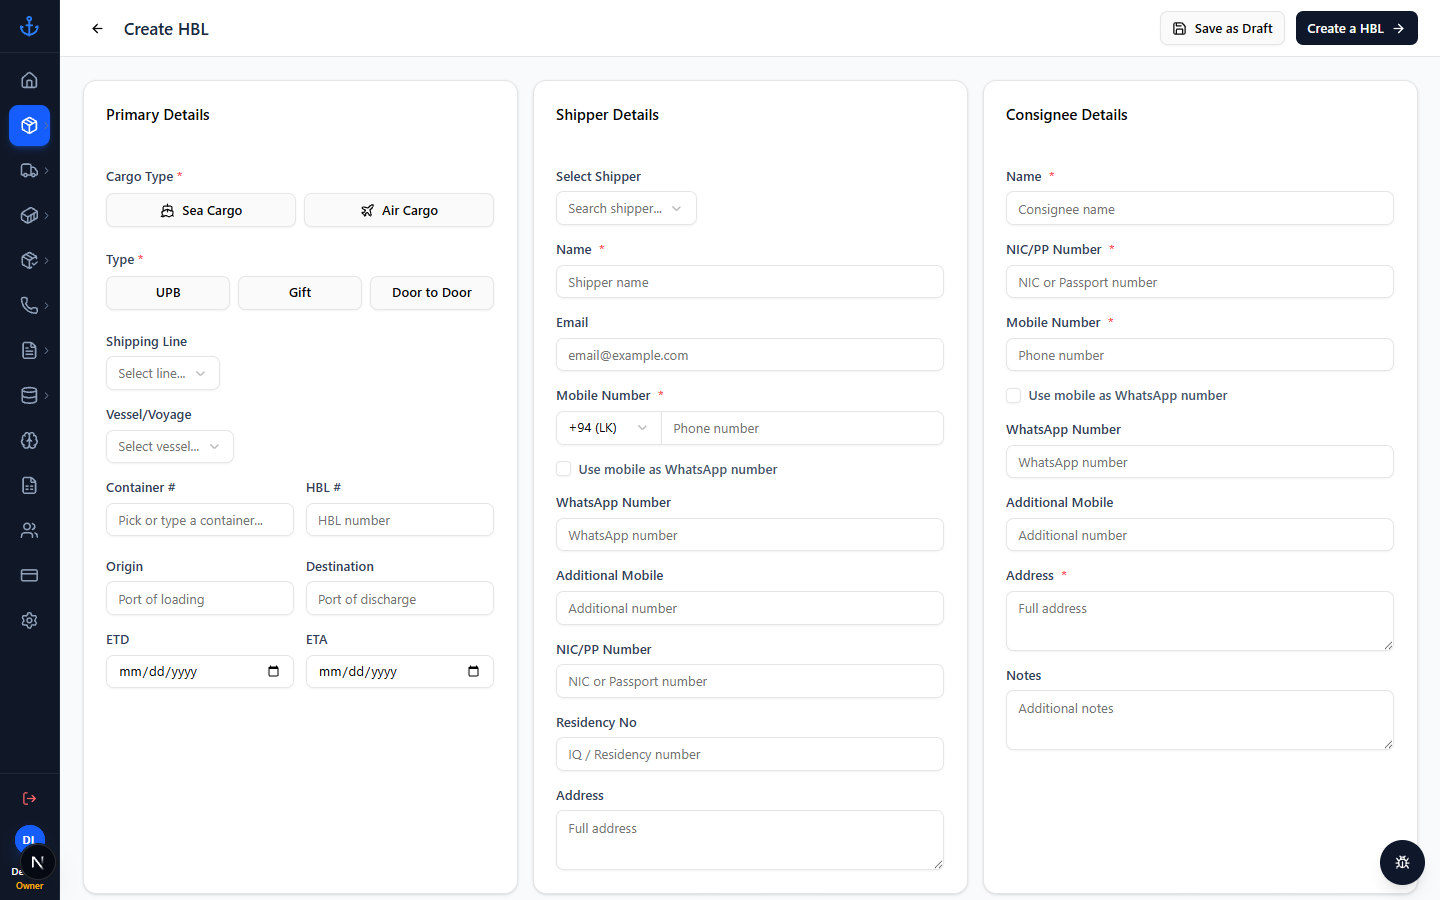
New shipment form

Fill in at minimum:

  • Origin and Destination (ports or cities).
  • Shipper (name + address + phone).
  • Consignee (name + address + phone).
  • HBL number if you have one. (If not, leave blank — you can set it later.)
  • Cargo details — container number, weights, package count, description.

Click Save at the bottom. You're taken to the shipment detail page.

⚠ Permissions. Employees and Operators can create shipments but not delete them. If you try to delete a shipment and see "Access denied", ask a Manager or Owner.

2.3 Viewing and editing a shipment

Click any shipment in the list. You see every field about the shipment, plus its workflow status pipeline across the top.
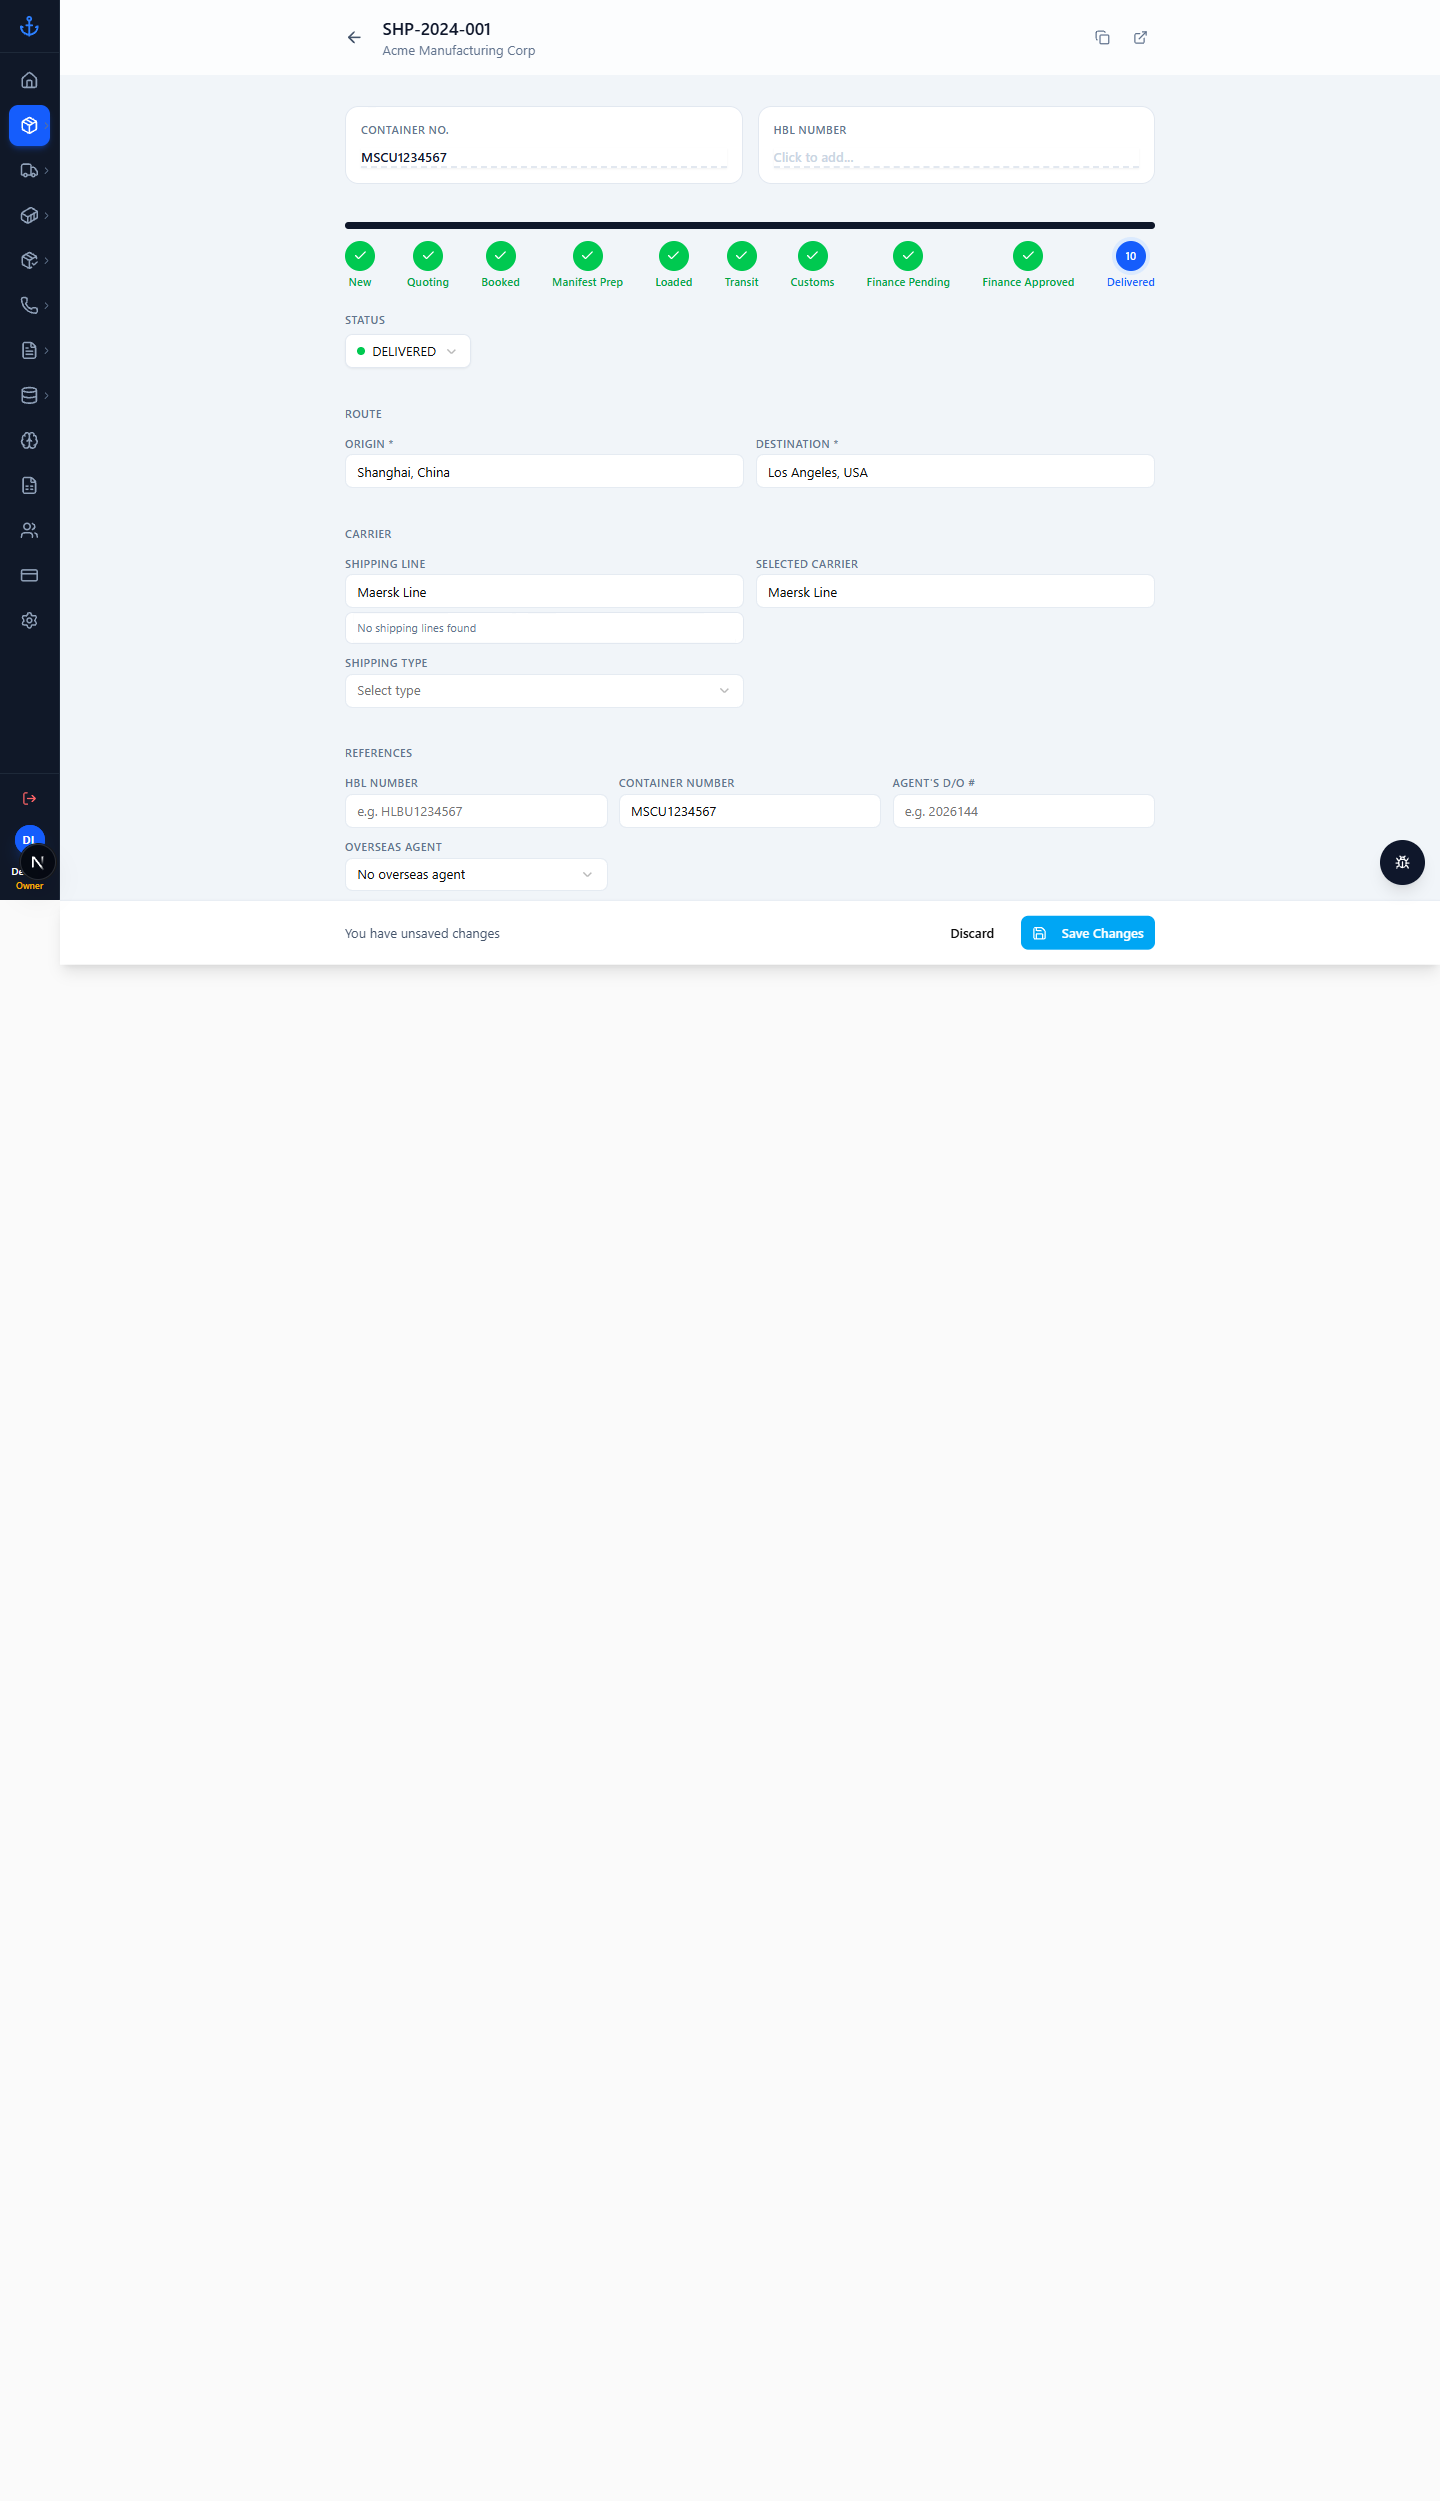
Shipment detail — delivered

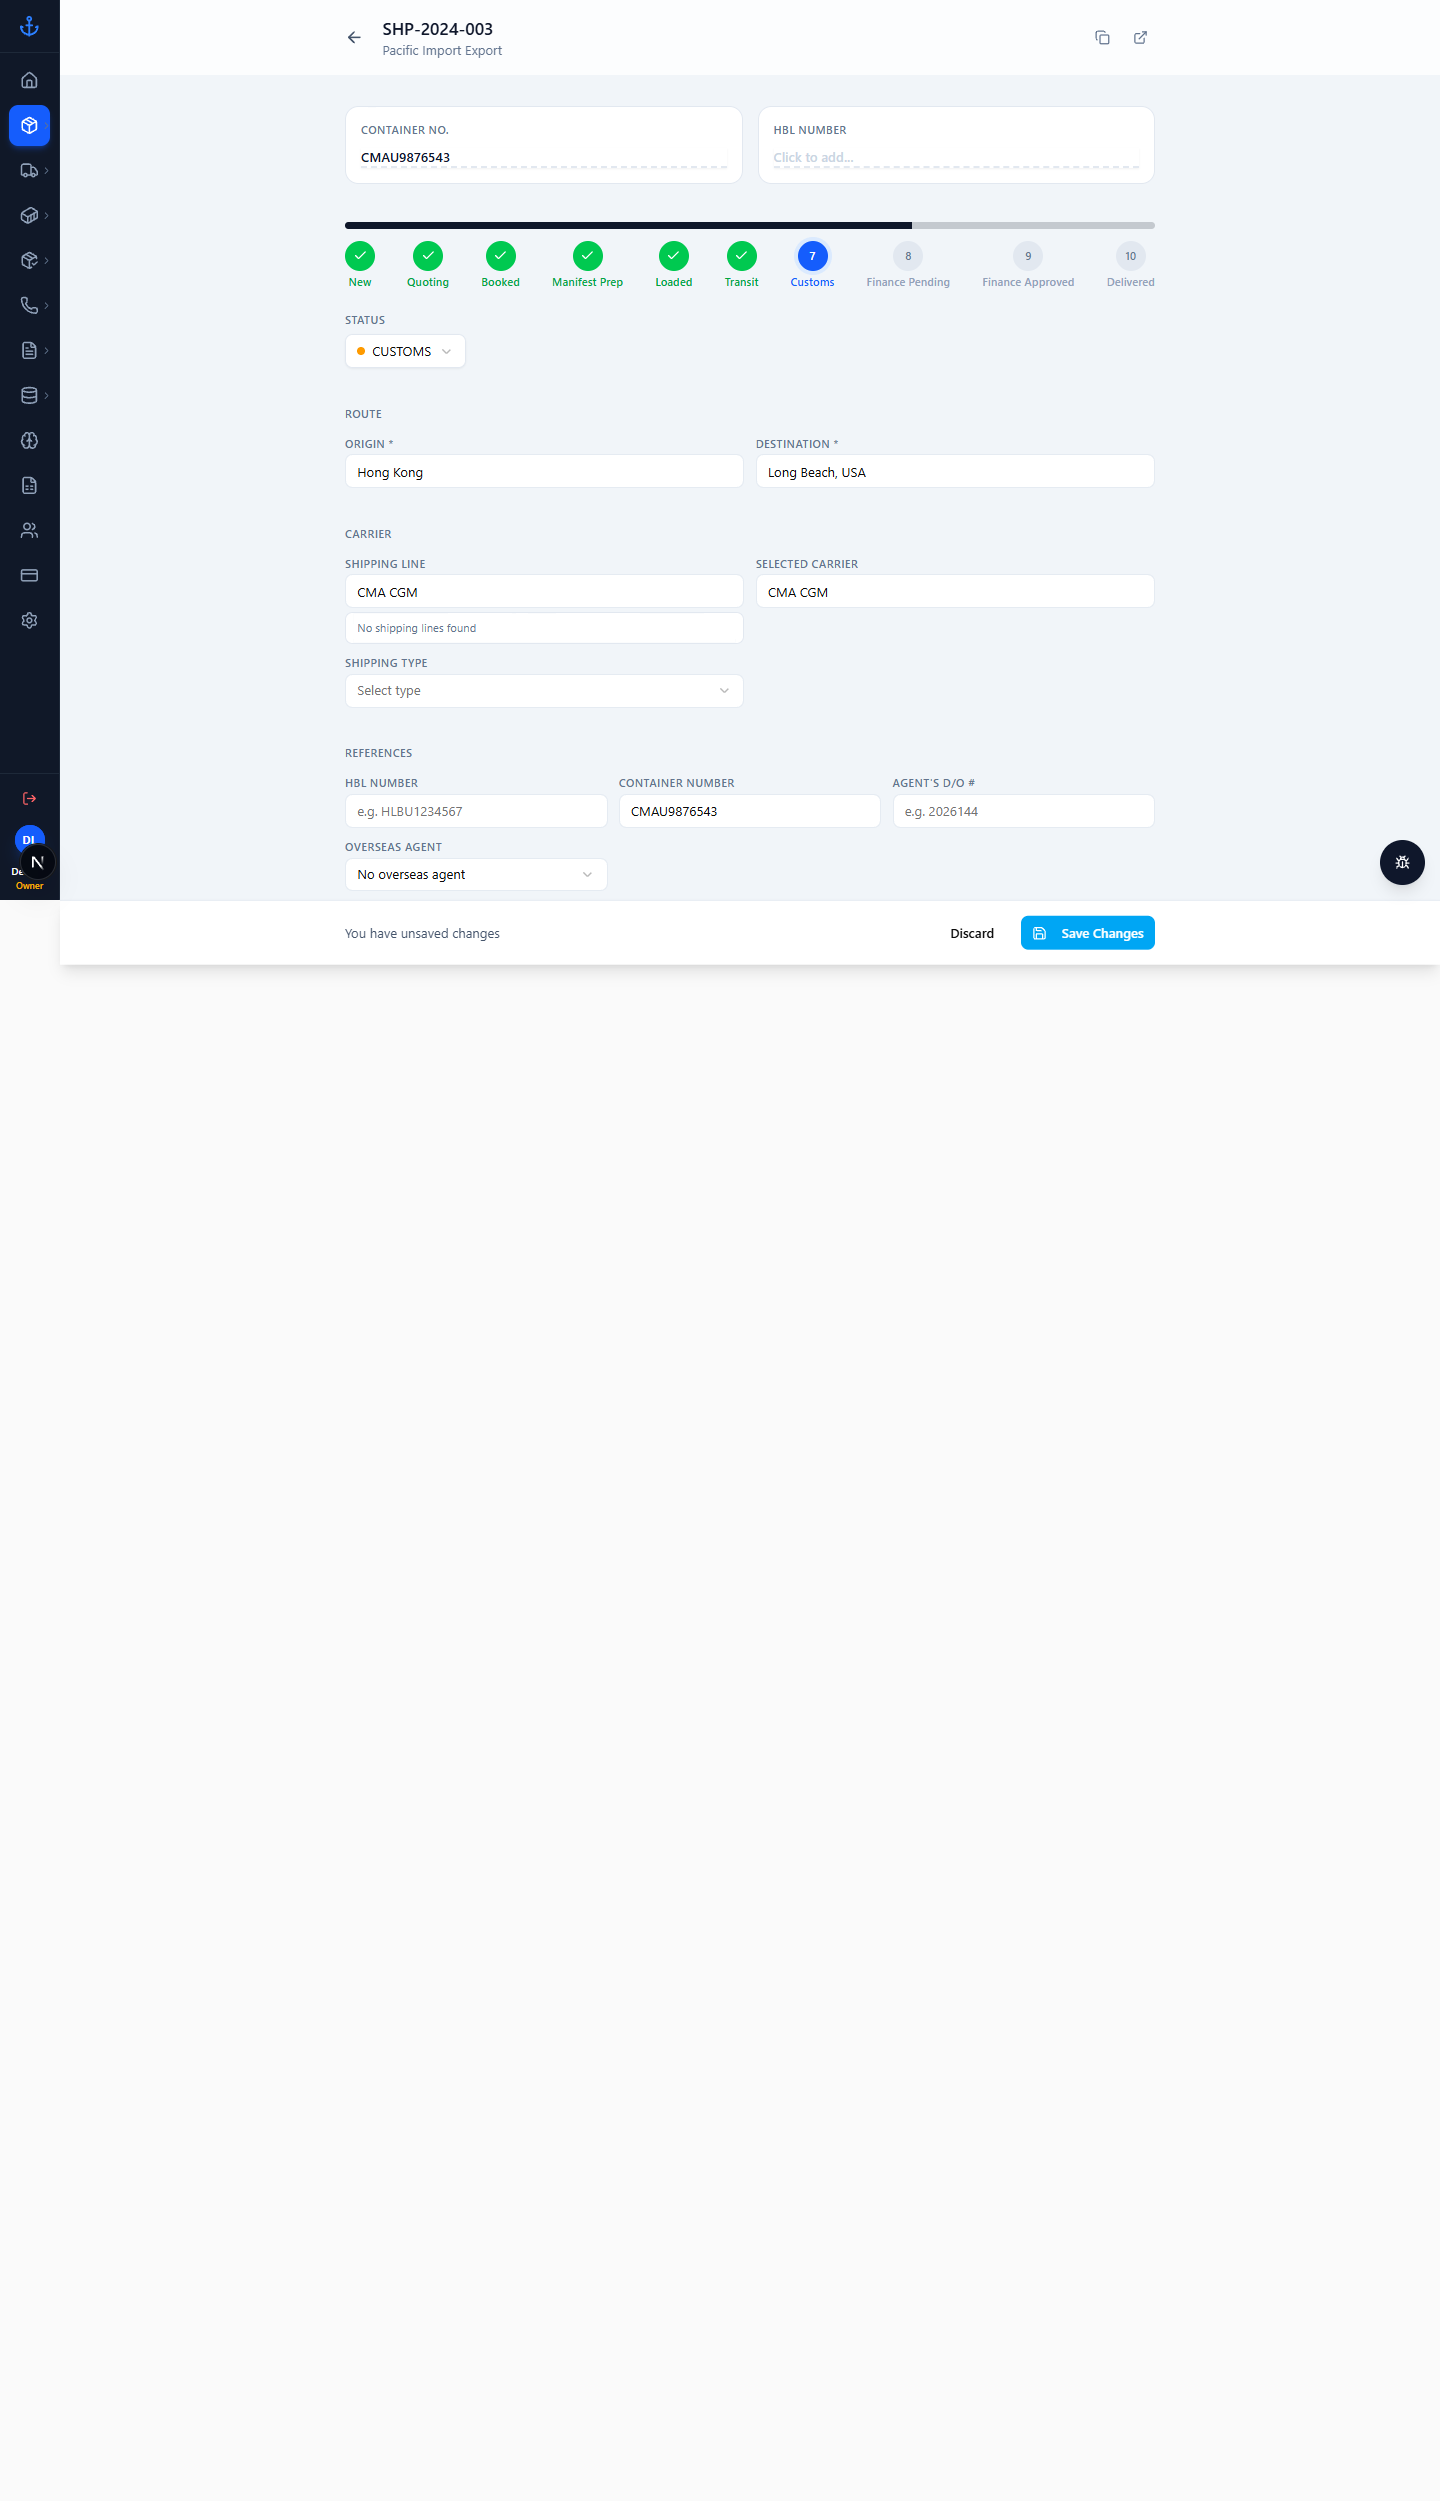
The status pipeline (green checkmarks) shows where the shipment is in its lifecycle: New → Quoting → Booked → Manifest Prep → Loaded → Transit → Customs → Finance Pending → Finance Approved → Delivered. Each step completes as you progress the shipment.

Example of a shipment still in transit:
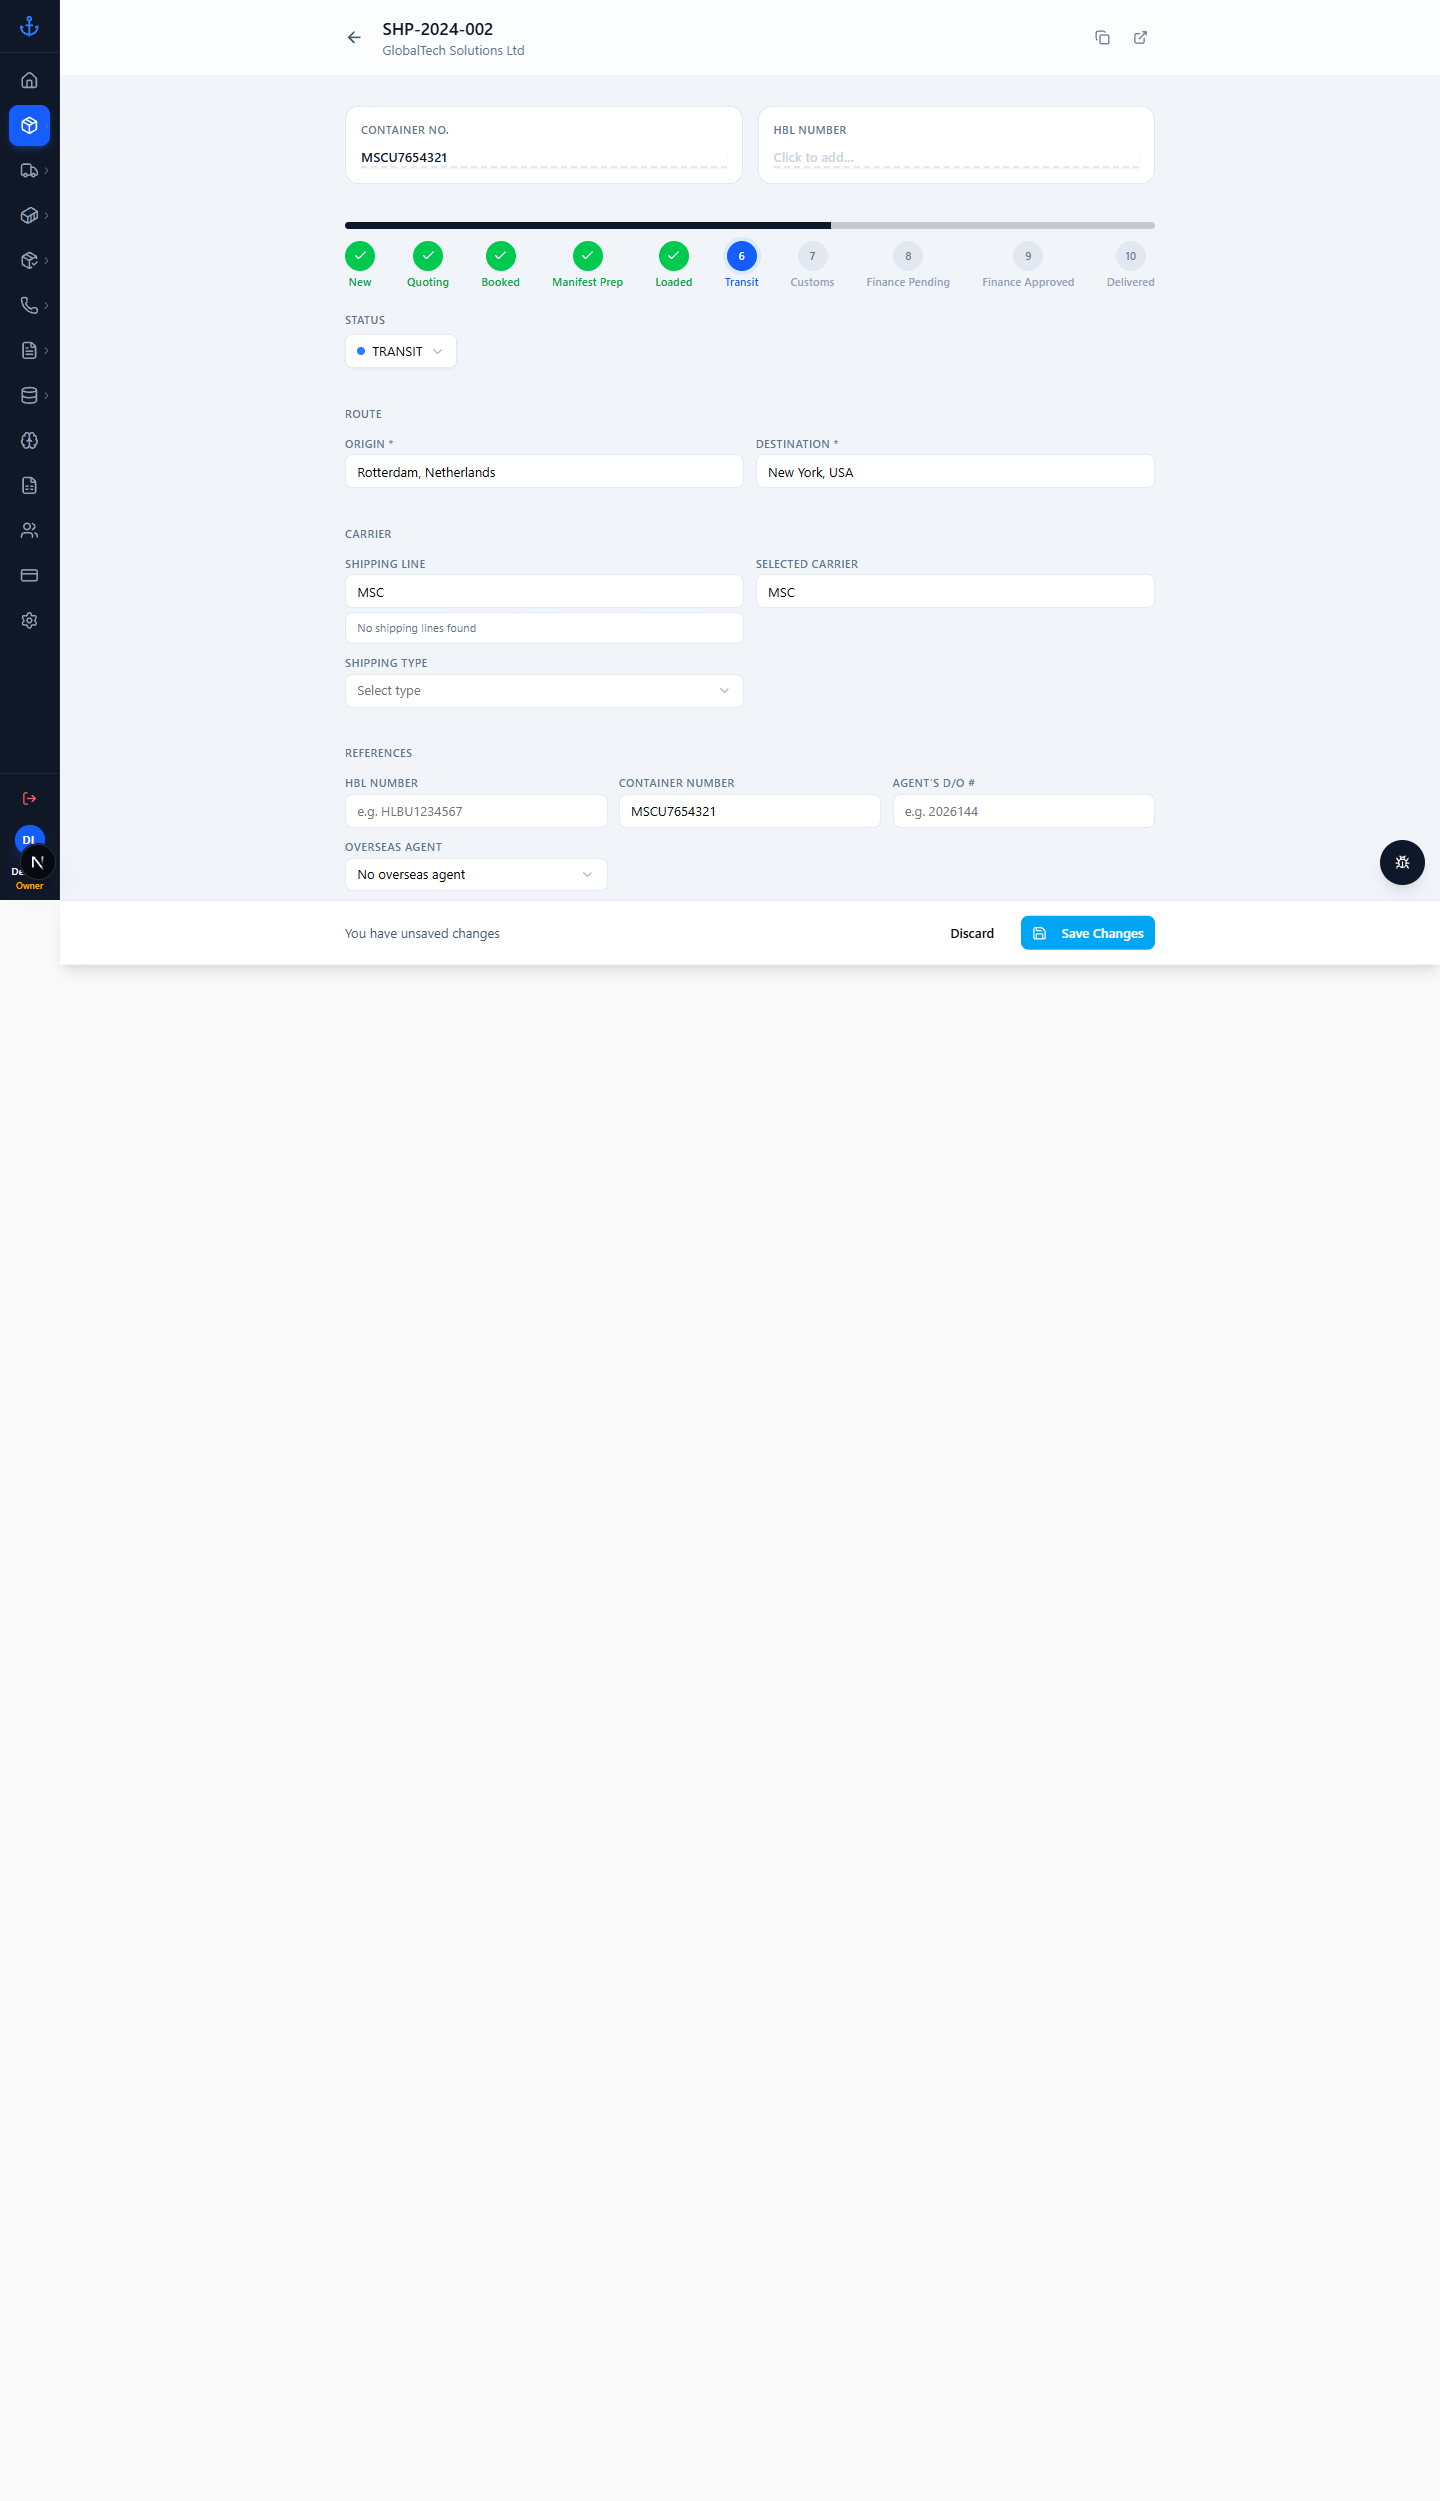
Shipment detail — transit

Example of a shipment at customs:

Shipment detail — customs

To edit a field, click it, type, and click Save Changes at the bottom.

2.4 Shipment sub-pages

From Dashboard → Shipments you can also switch to specialised views:

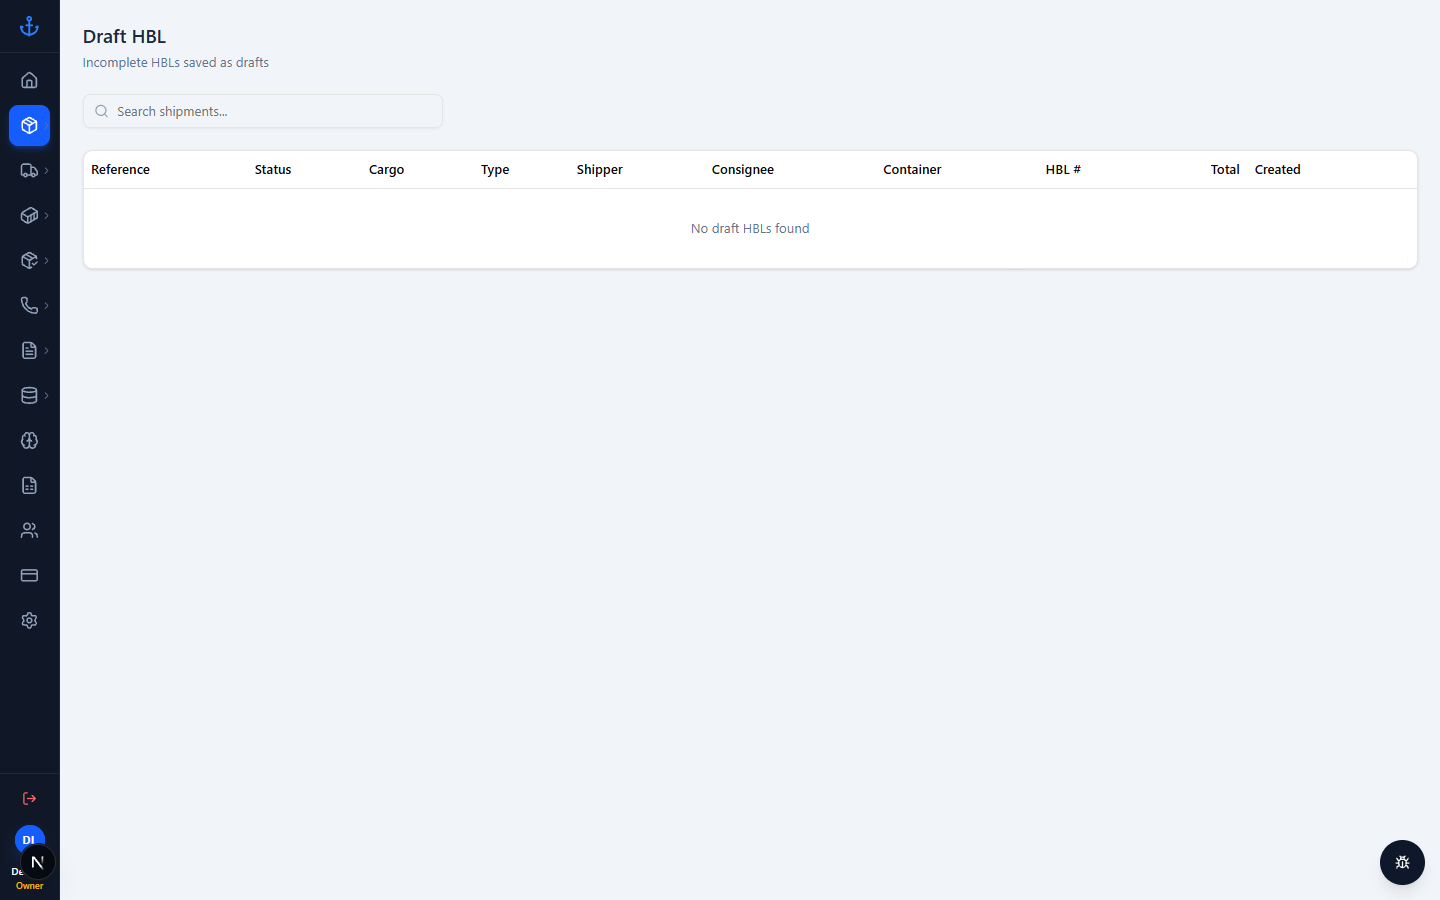
  • Drafts — shipments still being keyed in; not visible on any other flow yet. Drafts
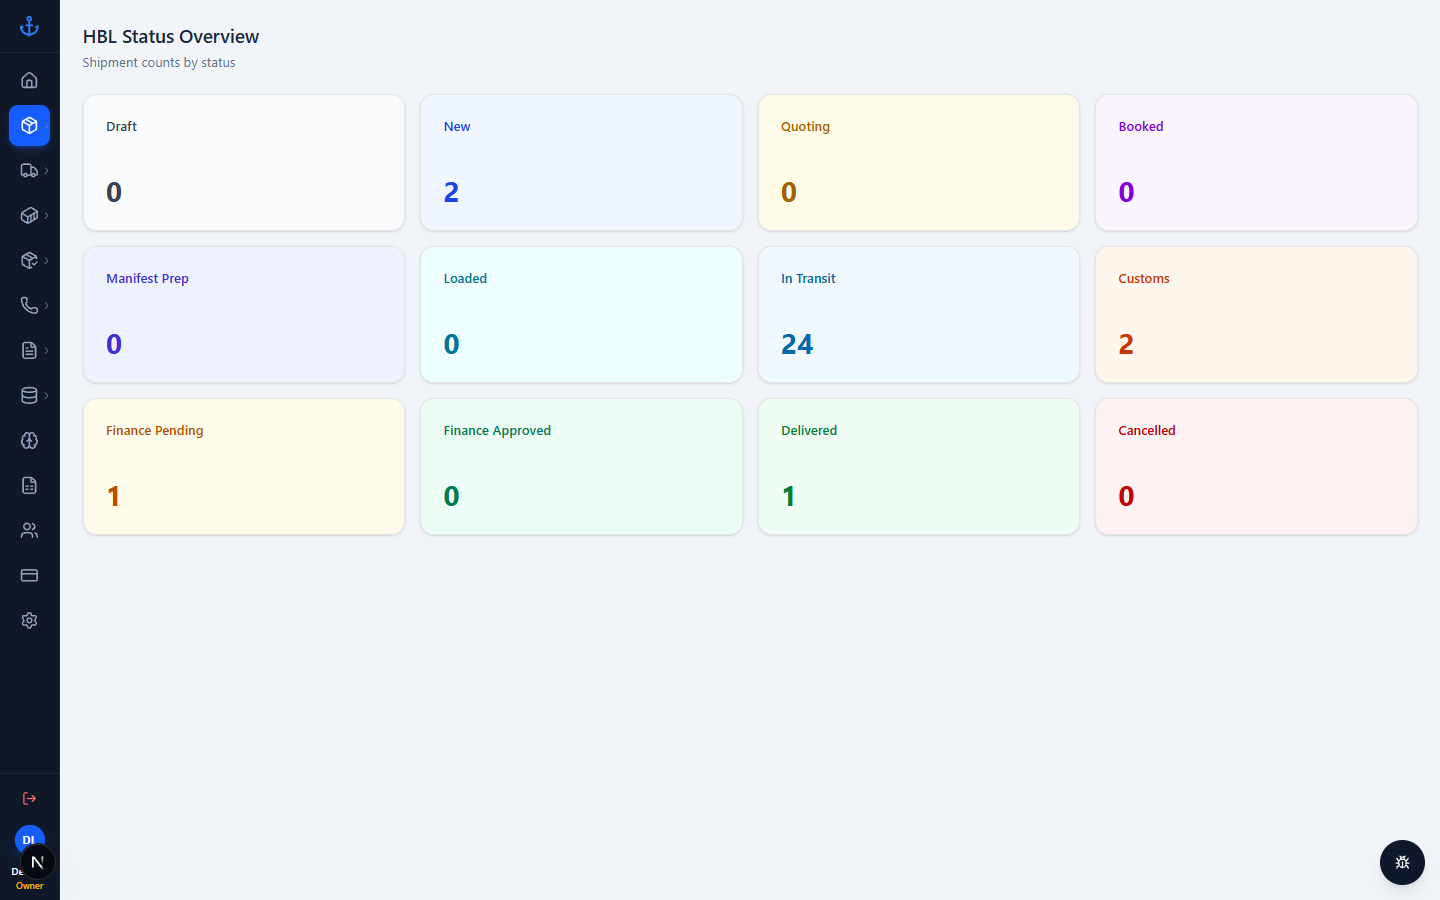
  • Status — pivot view grouping by workflow state. Status
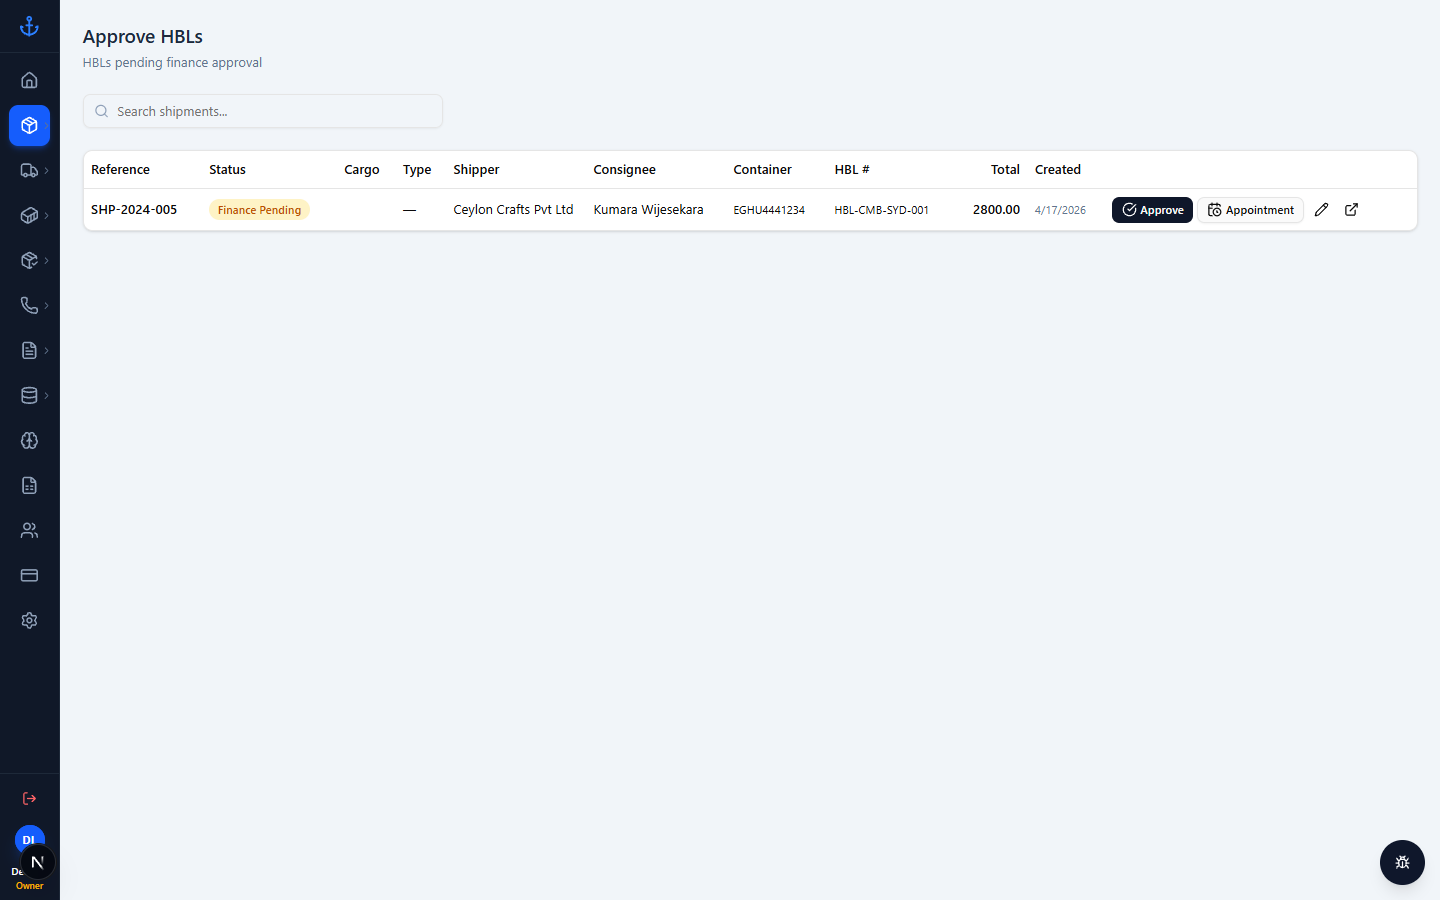
  • Approve — shipments waiting for finance approval. Approve
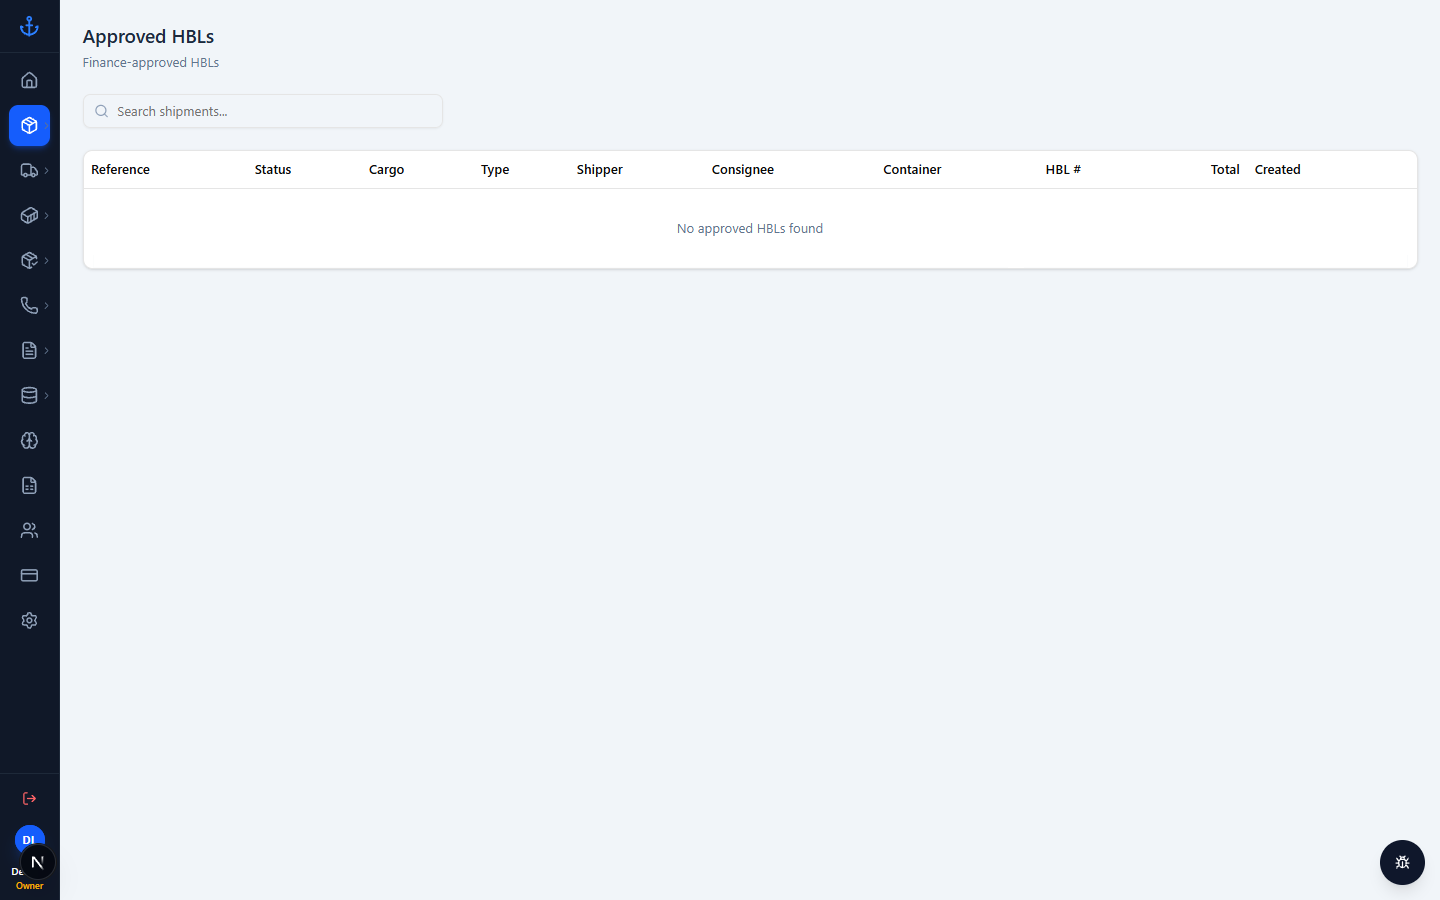
  • Approved — shipments already approved by finance. Approved
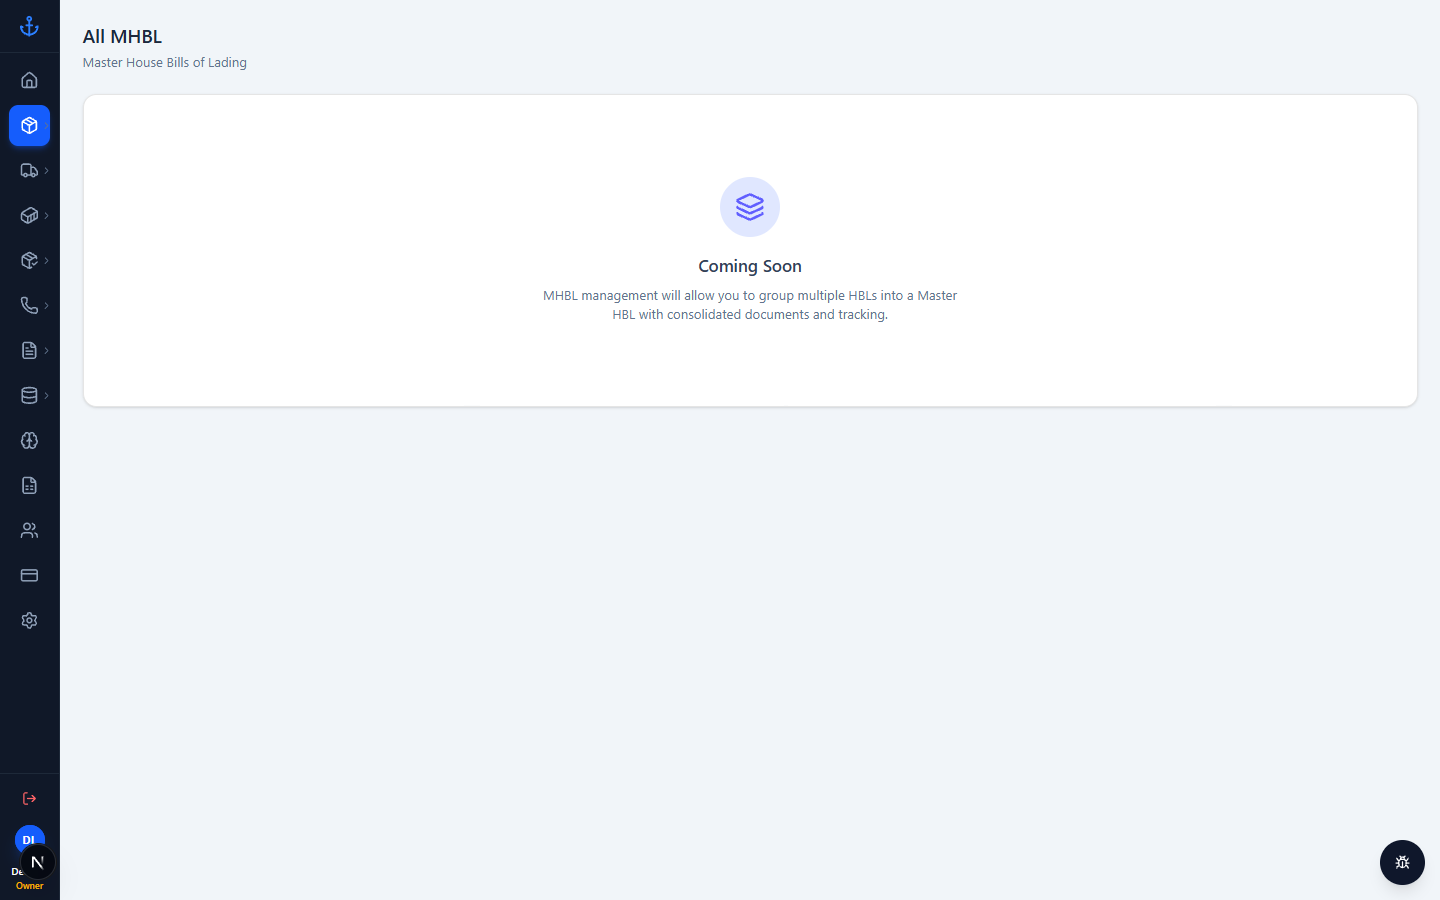
  • MHBL — shipments grouped under a master HBL. MHBL
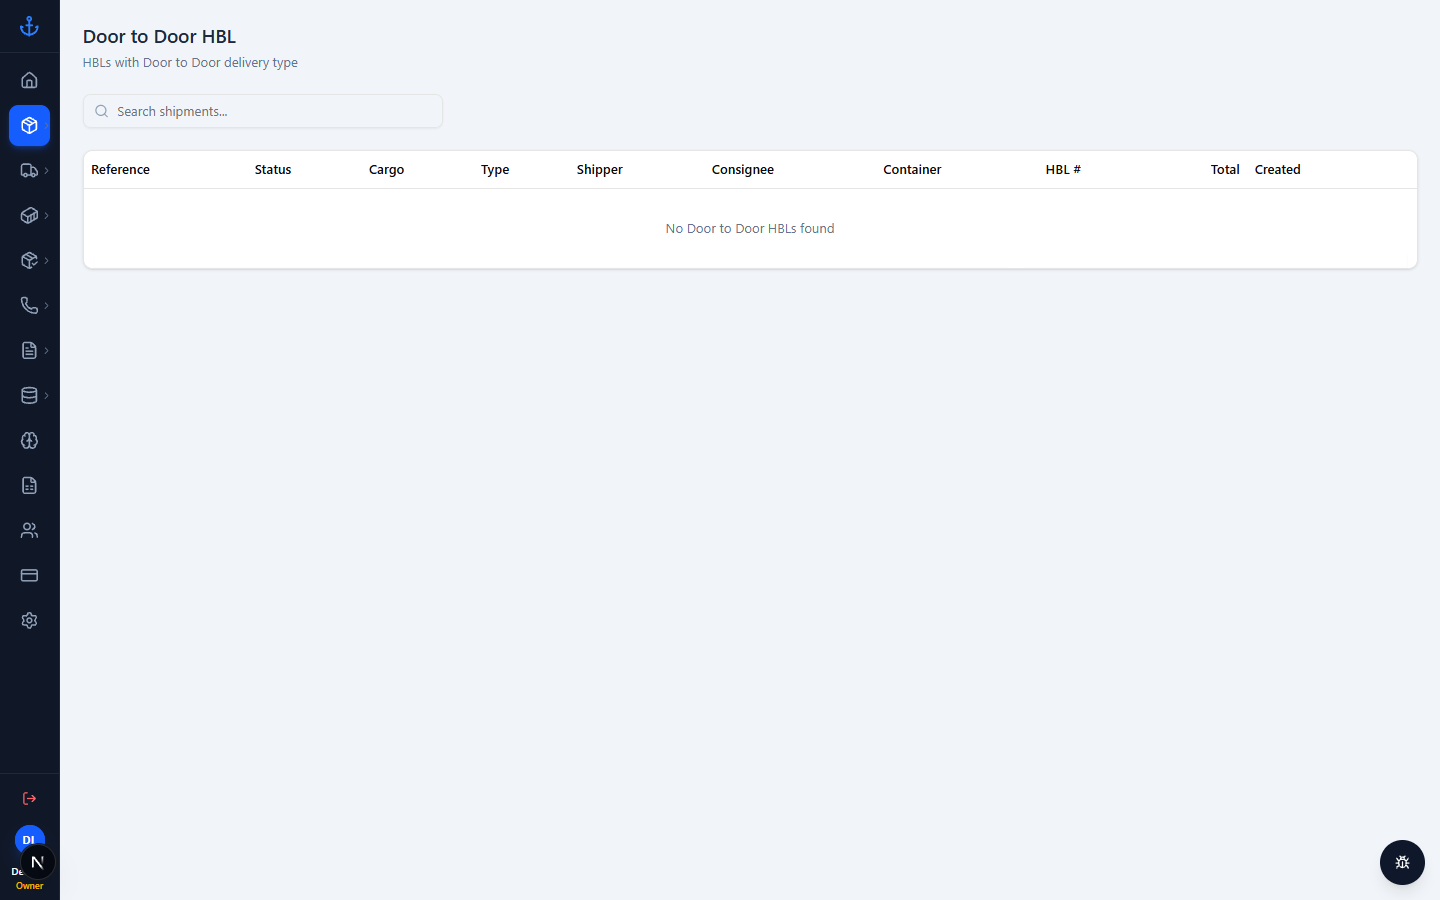
  • Door to Door — shipments with end-to-end delivery. Door to door
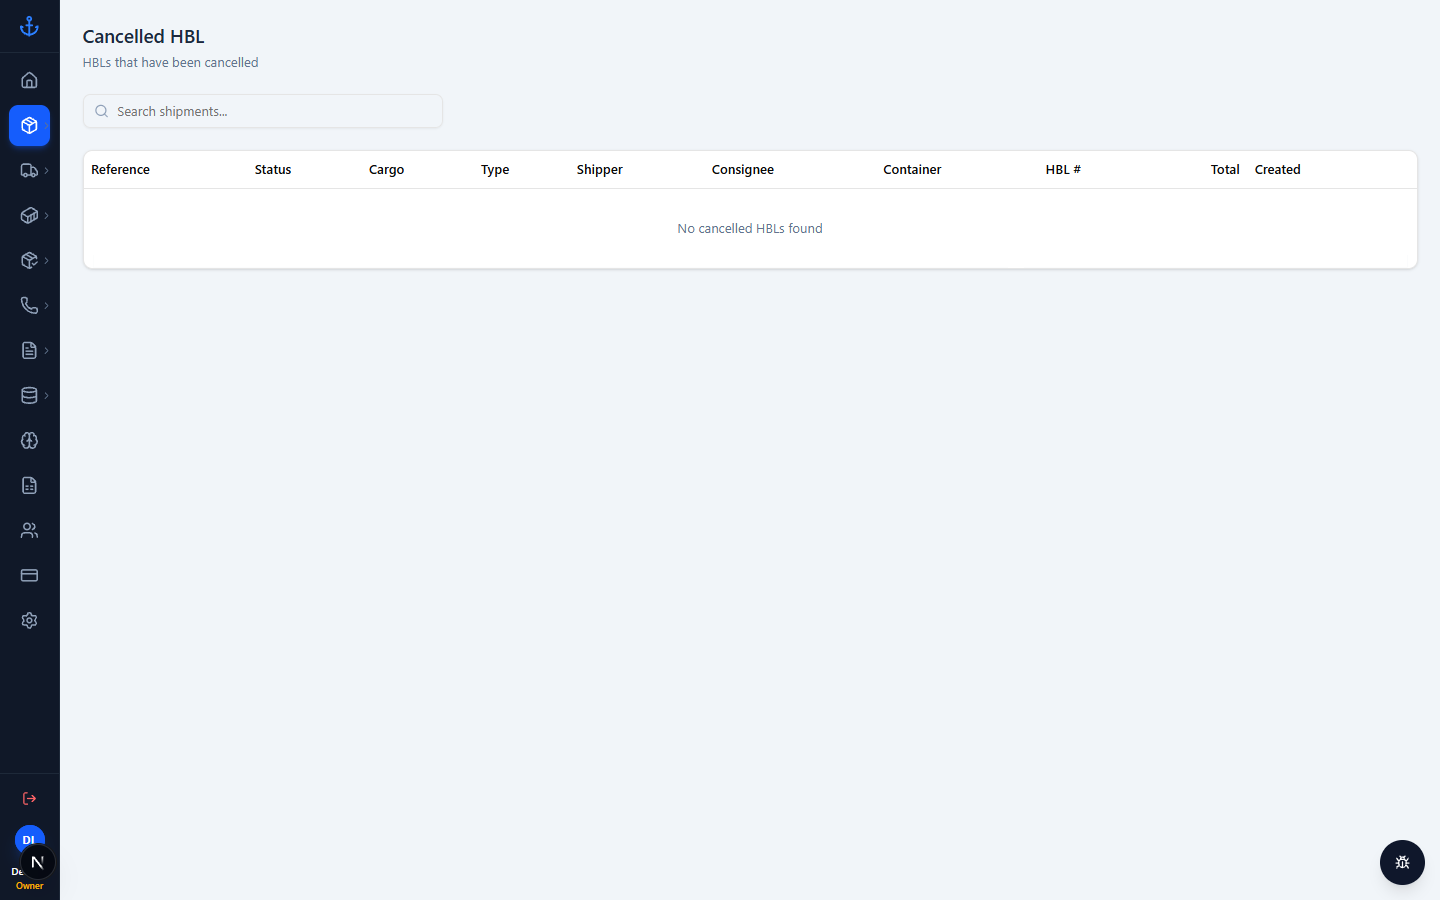
  • Cancelled — anything you've marked cancelled. Cancelled
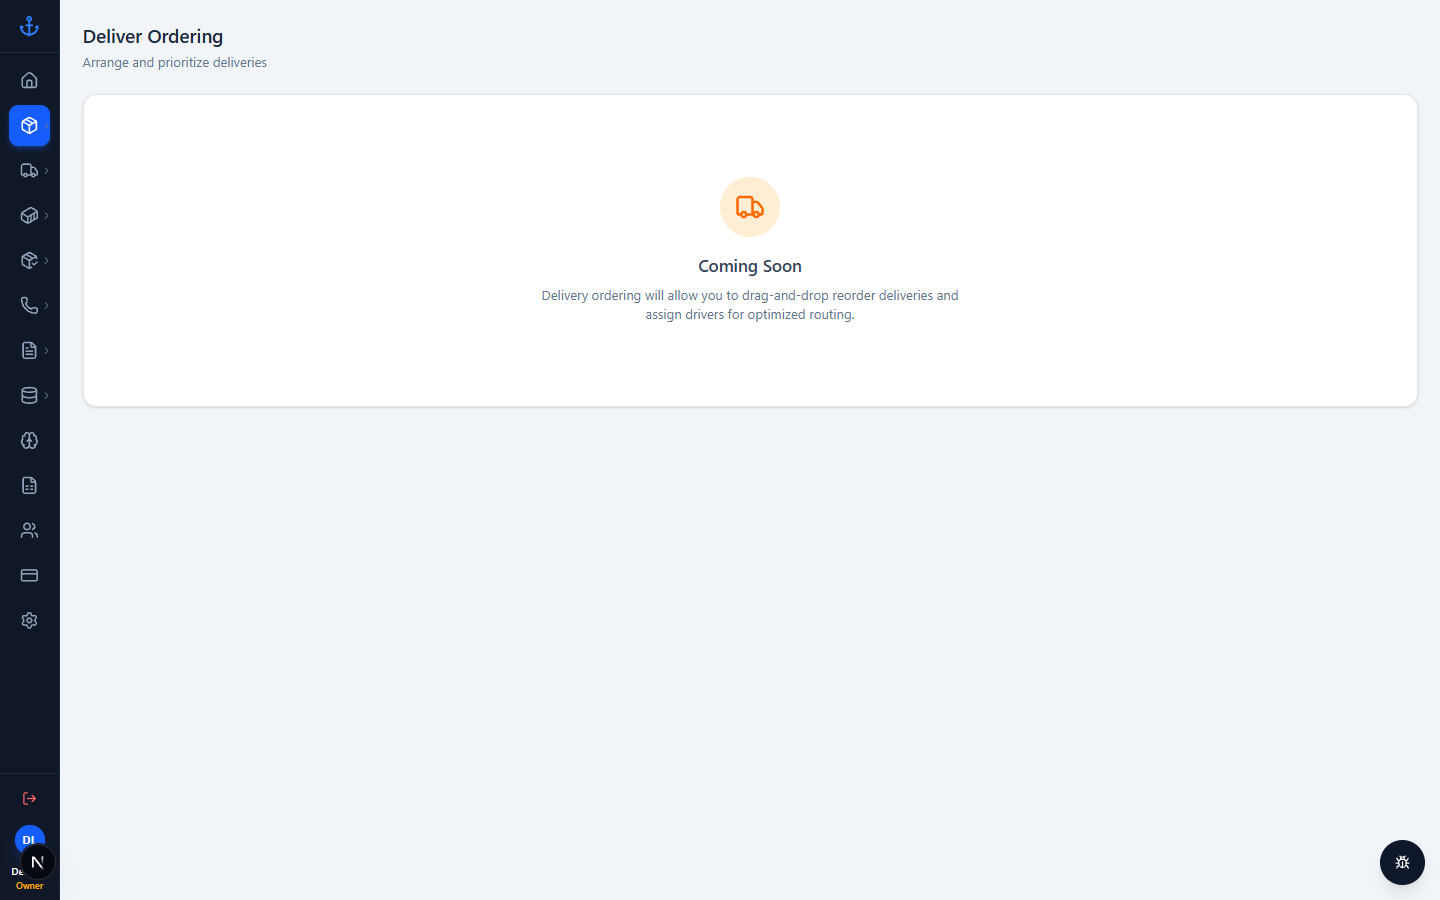
  • Deliver Ordering — used by ops when ordering pickup routes from customs release. Deliver ordering
2.5 Reference data for shipments

Under Shipments in the sidebar, you'll also find reference data that autofills the main forms.

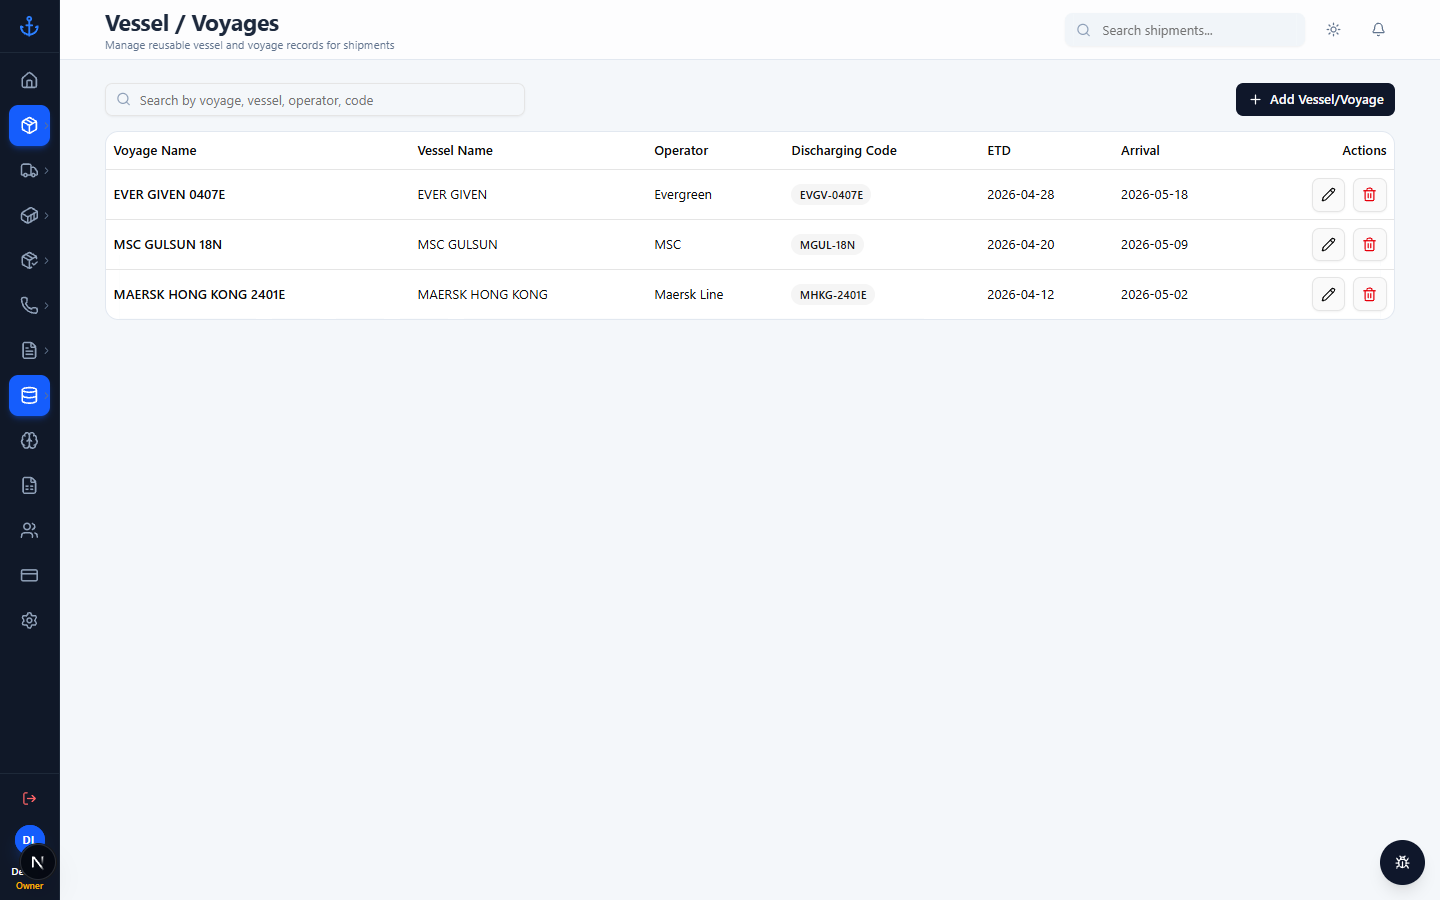
  • Vessel / Voyages — every vessel + voyage pair you've shipped on. Vessel voyages
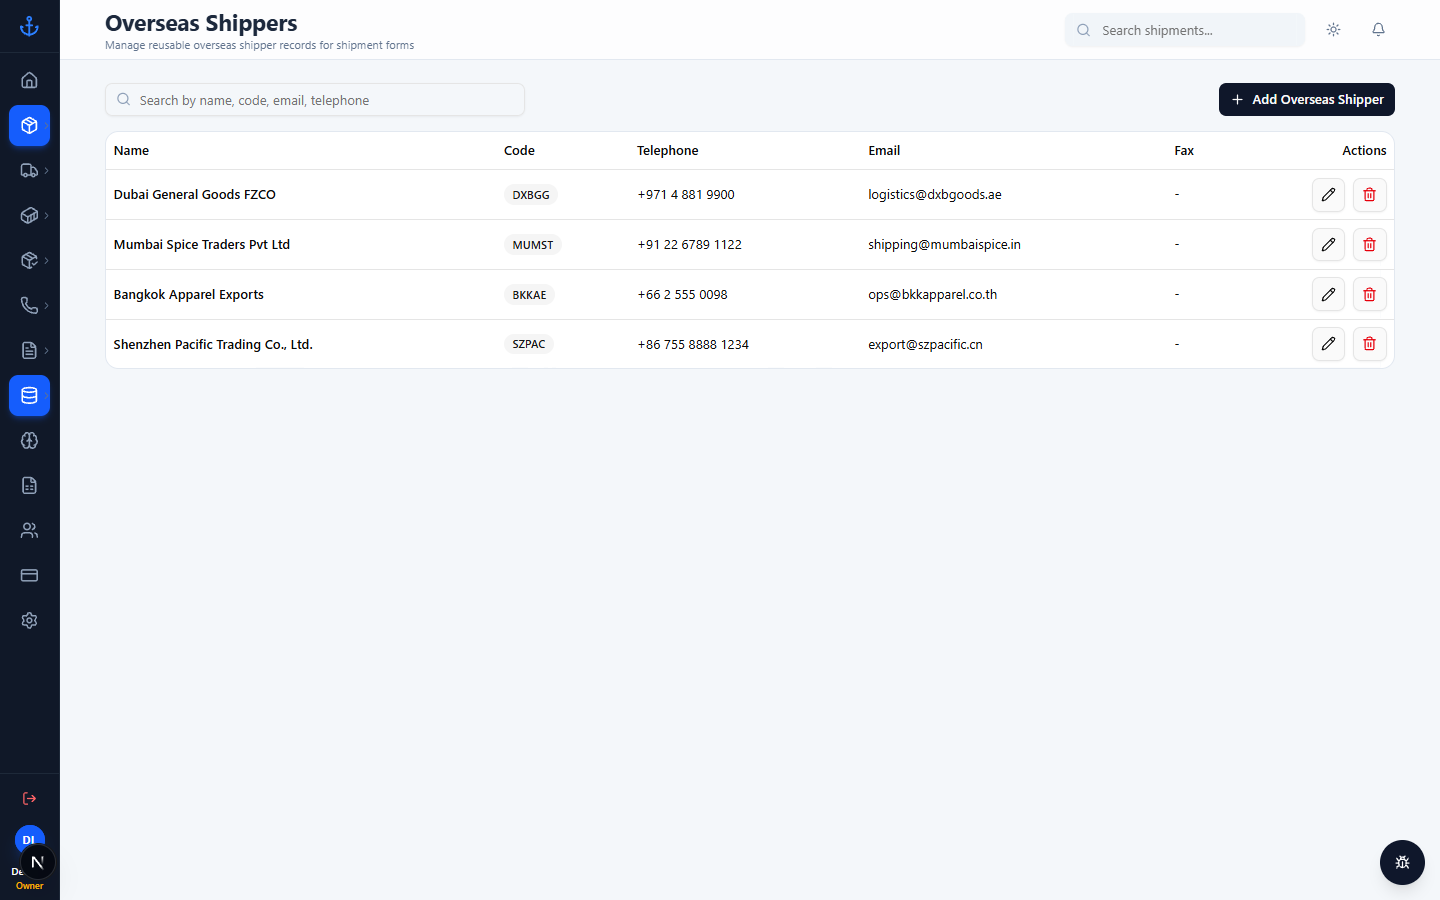
  • Overseas Shippers — reusable origin-side shipper records. Overseas shippers
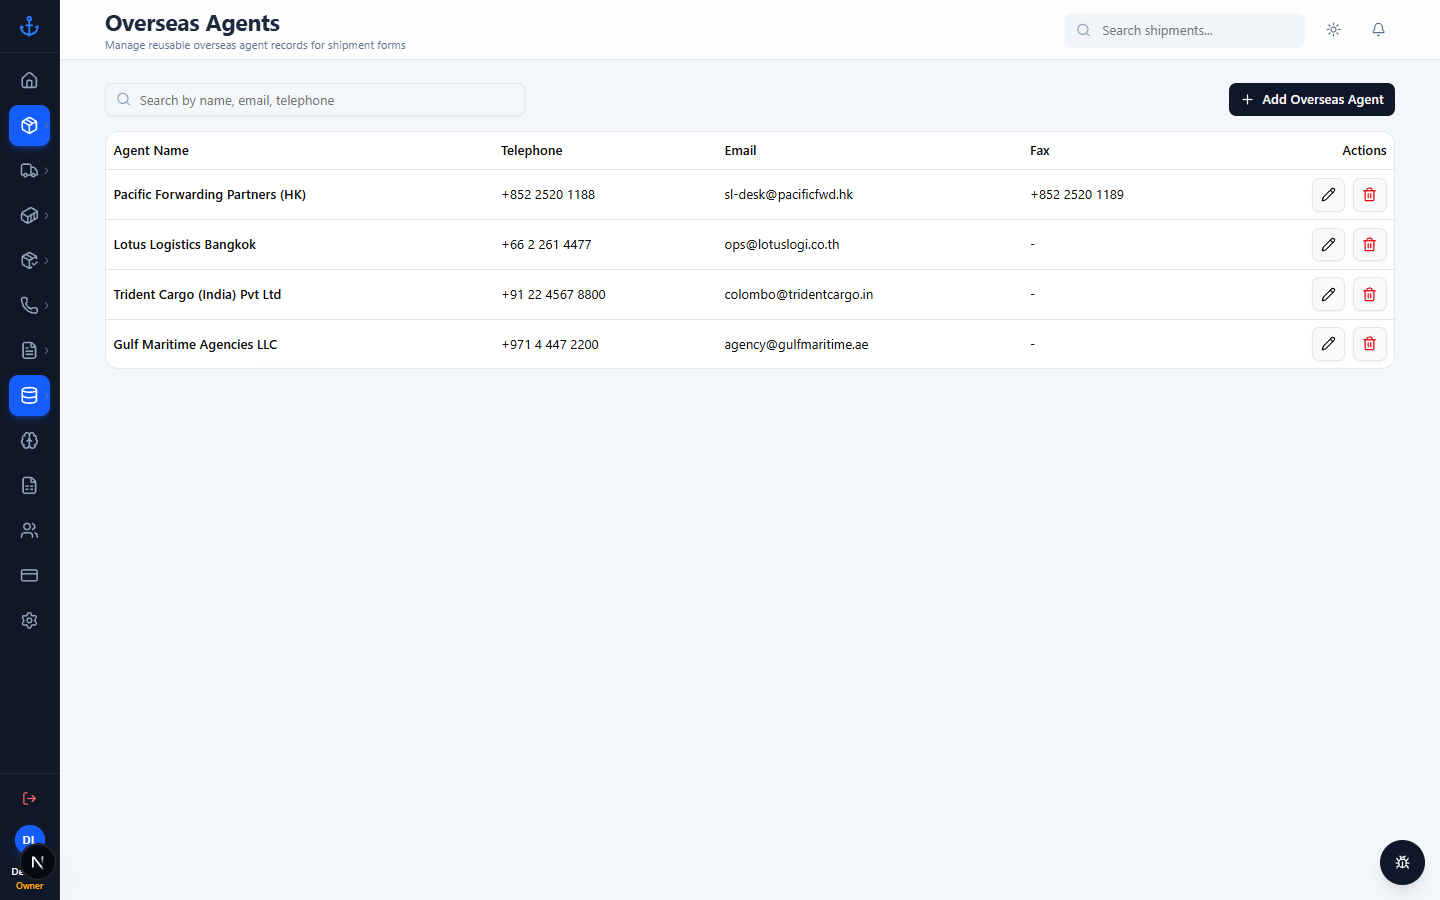
  • Overseas Agents — the agent on the origin side for each shipment. Overseas agents
  • Shipping Lines — carriers (Maersk, MSC, CMA CGM…). Shipping lines
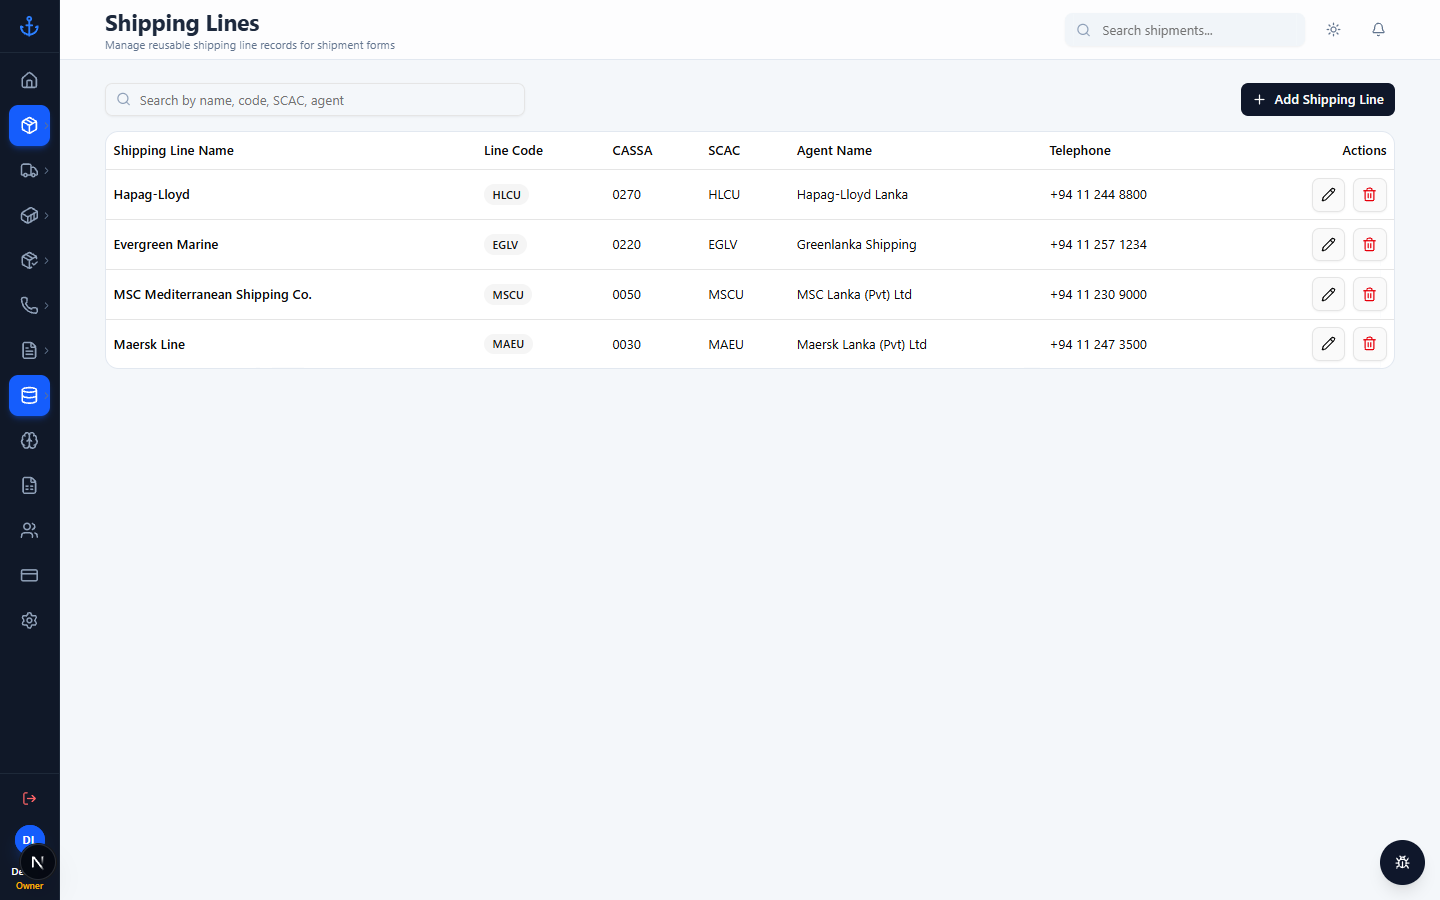
Ask your admin to pre-populate these — it saves time when creating shipments.


3. Containers

A container is the physical sea or air container that holds packages from many shipments. Panaroma Logistics Cargo tracks each container through its whole journey.

3.1 The containers list

Dashboard → Containers
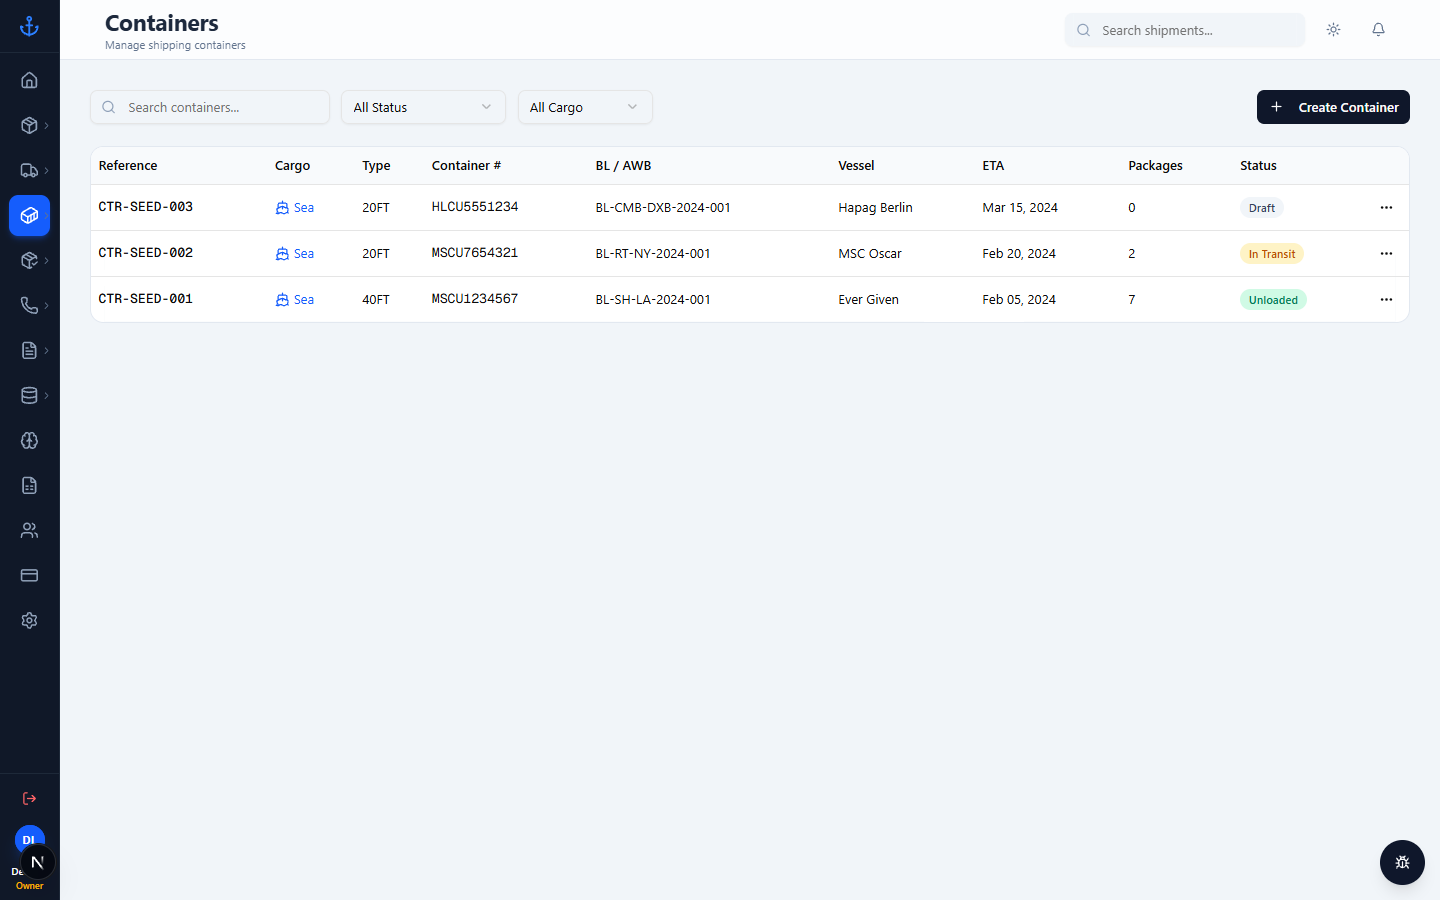
Containers list

You see every container with its current status:

  • DRAFT — you're setting it up, nothing loaded yet.
  • LOADING — actively loading packages.
  • LOADED — packing complete, ready to ship.
  • IN_TRANSIT — at sea / in the air.
  • ARRIVED — reached destination port.
  • UNLOADING — at the port, being unstuffed.
  • UNLOADED — all packages accounted for.

3.2 Creating a container

Dashboard → Containers → New Container
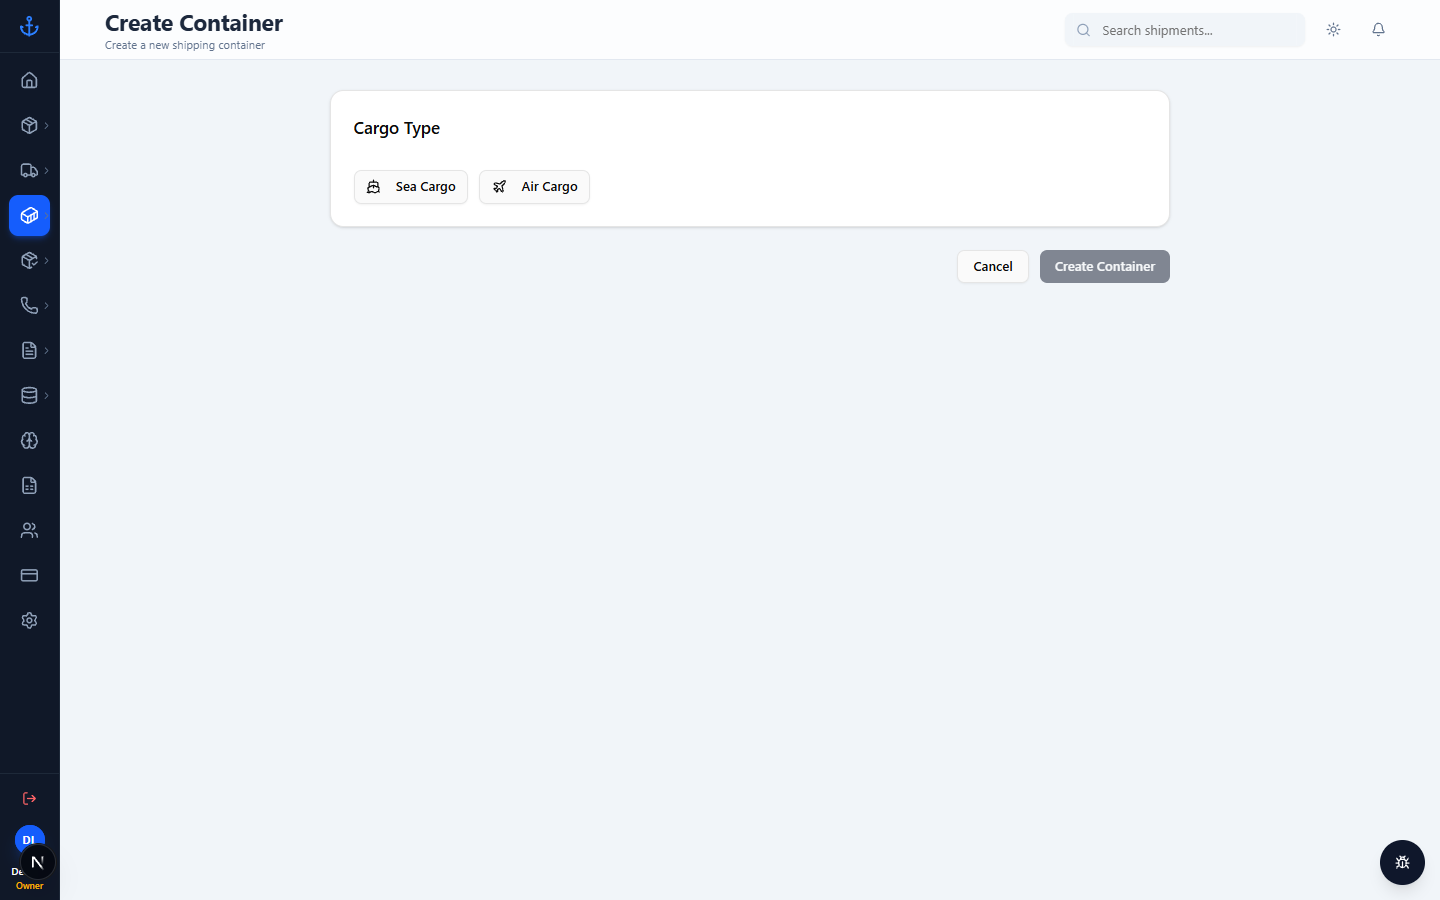
New container form

Fill in container number, type (20FT / 40FT / AIR), seal number, vessel + voyage or flight + airline, and ports. Save.

3.3 Loading packages

Once a container exists, open it and go to its Loading screen.
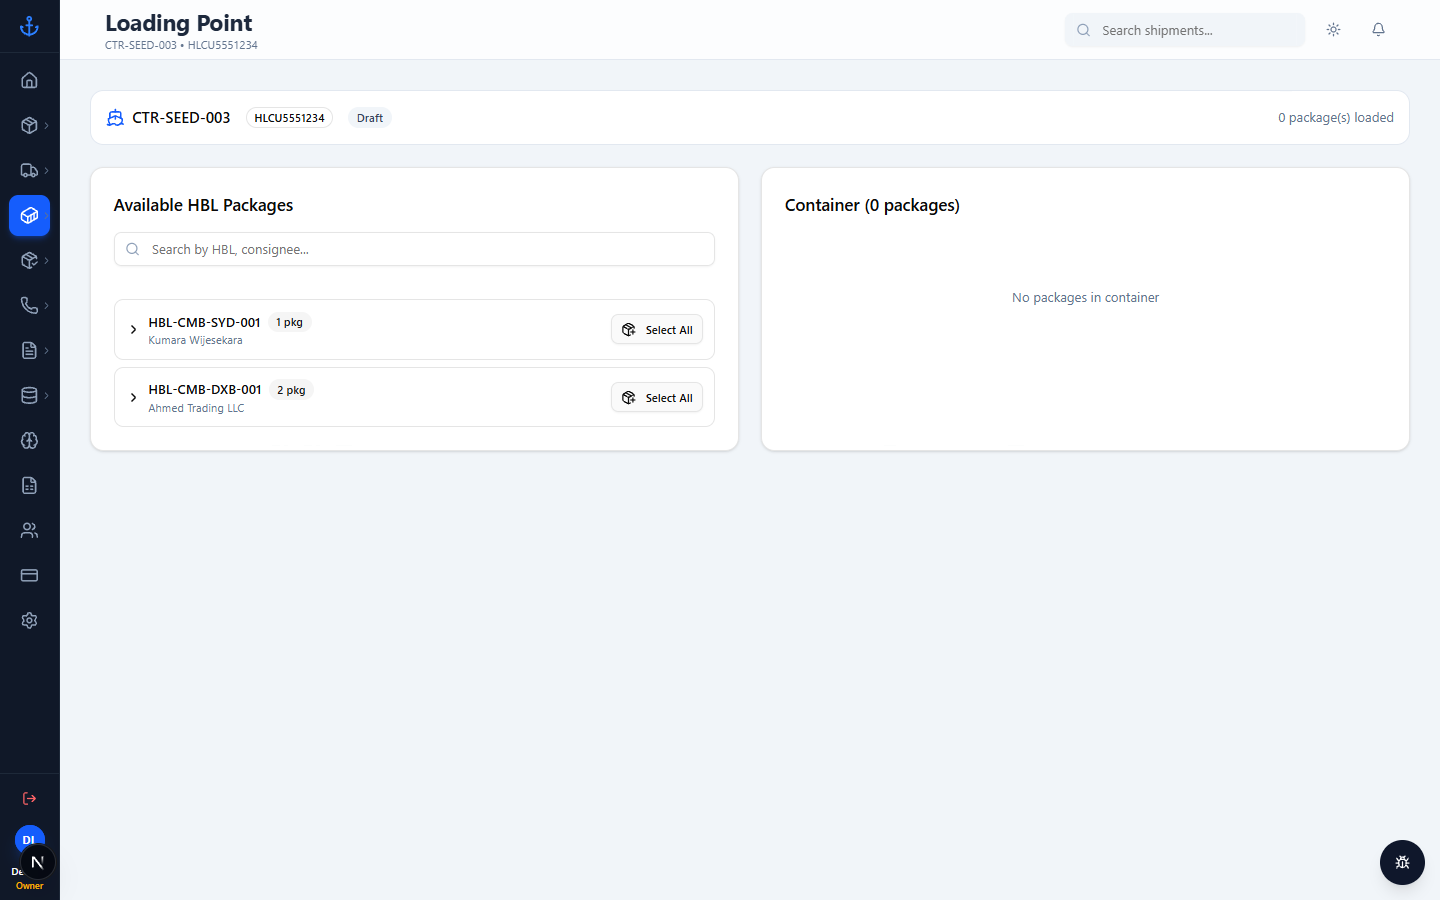
Container loading screen

Pick shipments and their packages from the picker on the left, drag them into the container on the right. Panaroma Logistics Cargo tracks which user loaded each package and when.

Tip. A package can only live in one container at a time. If you need to move it, unload first.


4. Arrivals

Once a container reaches the destination port, it moves into the Arrivals workflow.

4.1 Arrivals list

Dashboard → Arrivals
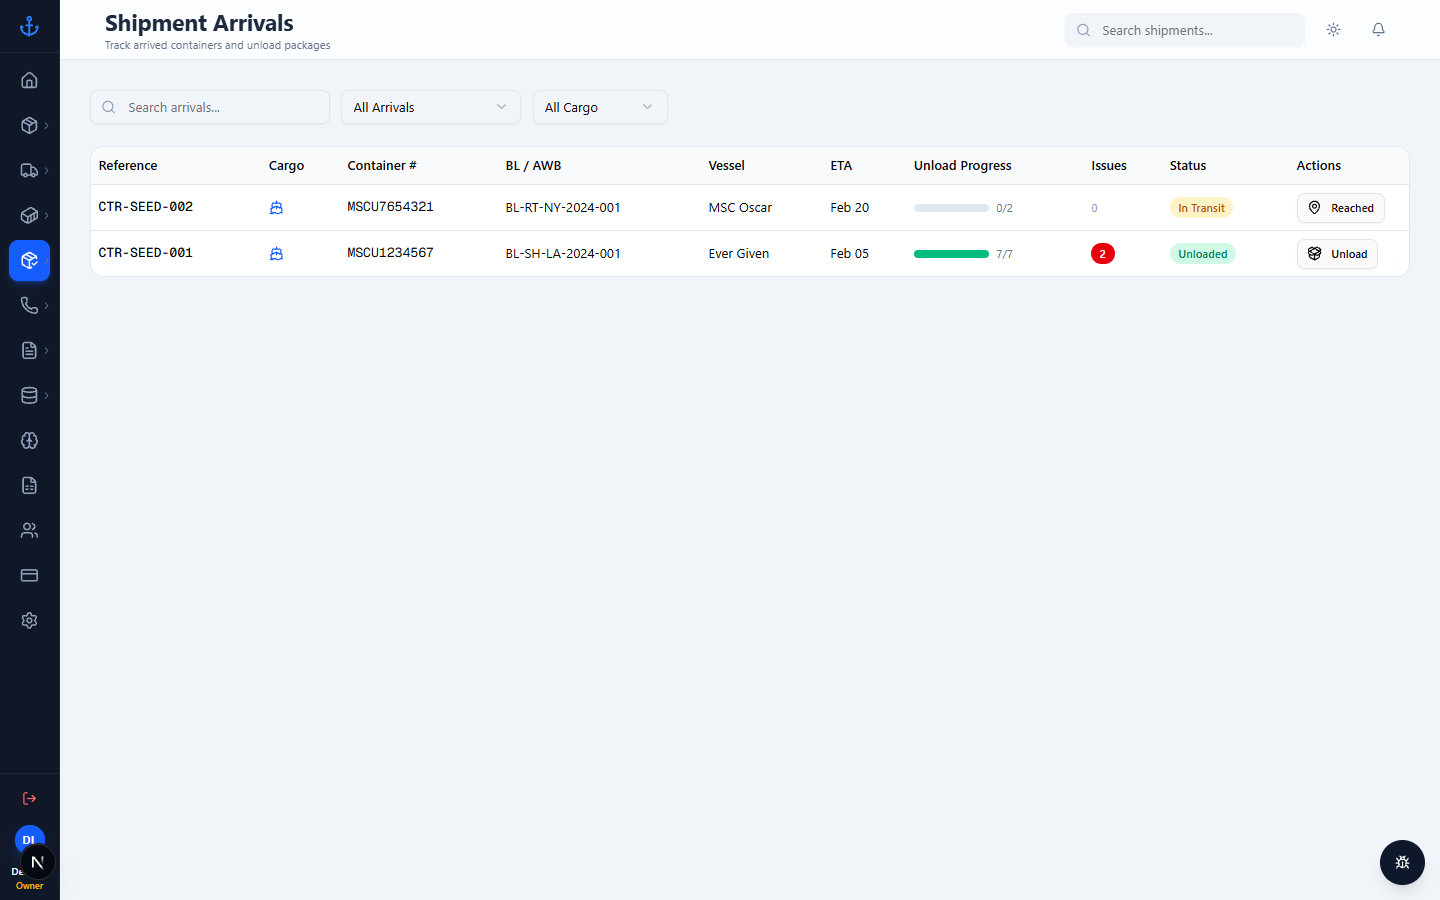
Arrivals list

Each row is one container at or past arrival. Click to open the detail.
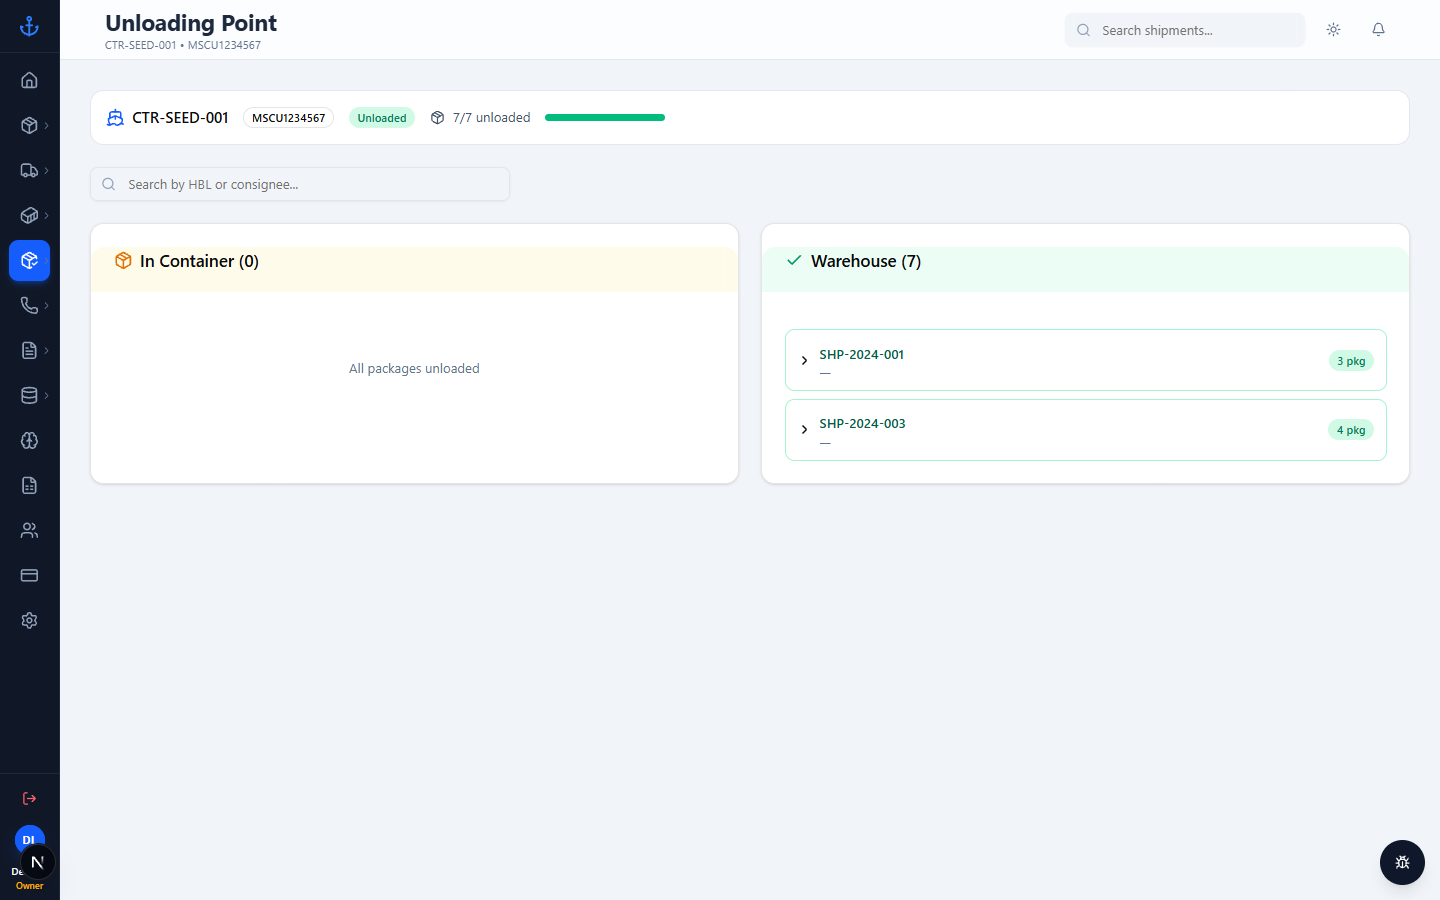
Arrival container detail

4.2 Unloading issues

If something goes wrong during unstuffing (damage, missing package, wrong container) log it:

Dashboard → Arrivals → Issues
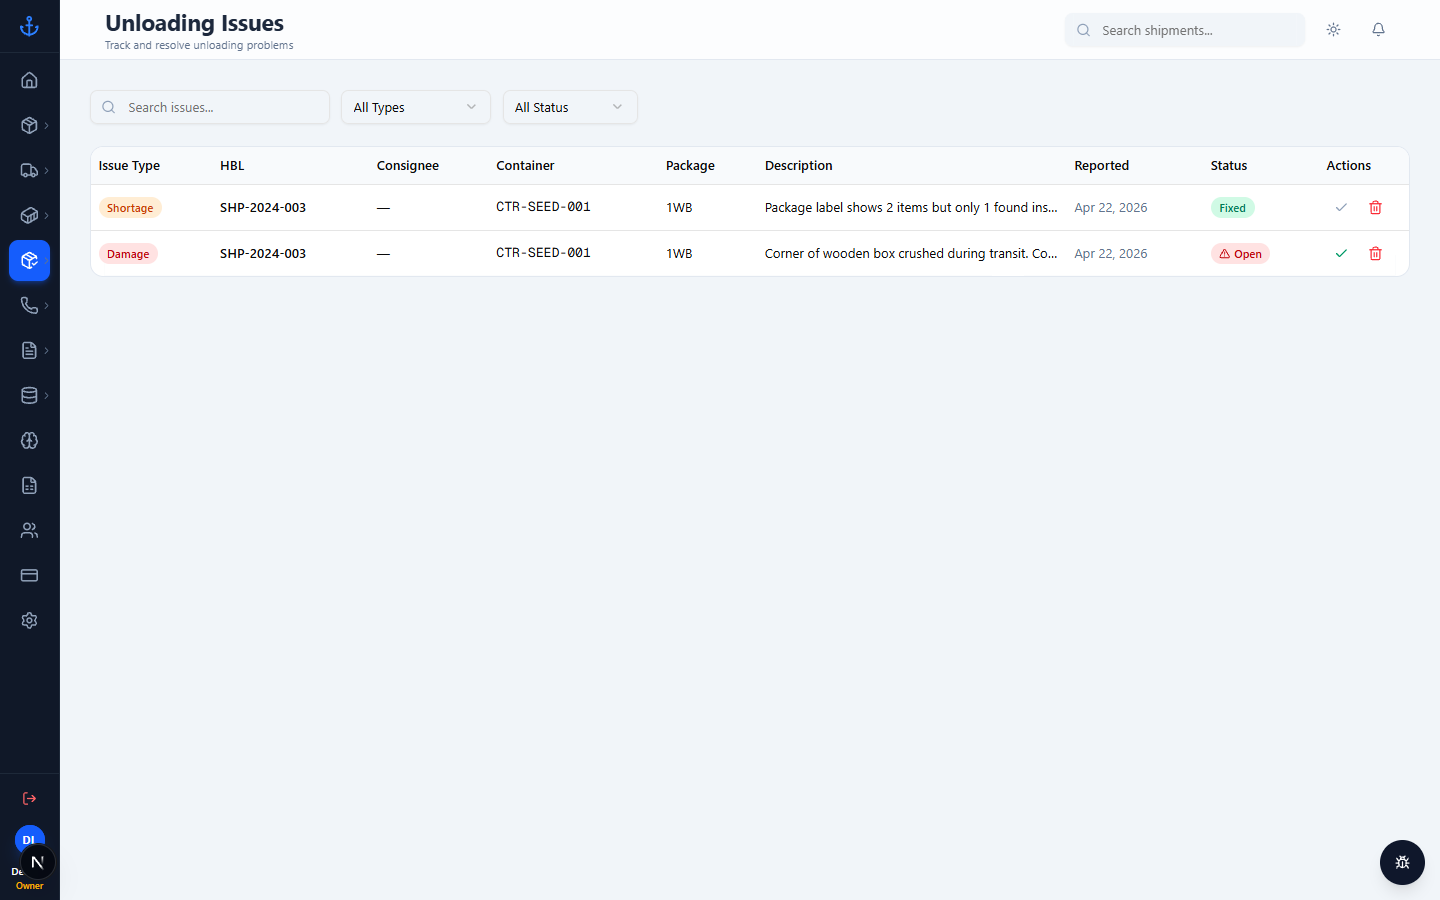
Unloading issues

Click New Issue, pick the container and package, choose an issue type (DAMAGE / MISSING / WRONG_CONTAINER / SHORTAGE / …), add a description, save. When the issue is resolved, mark it fixed.

4.3 Bonded warehouse

Packages that have cleared unloading but not yet been released to the customer sit in the Bonded Warehouse.

Dashboard → Arrivals → Bonded Warehouse
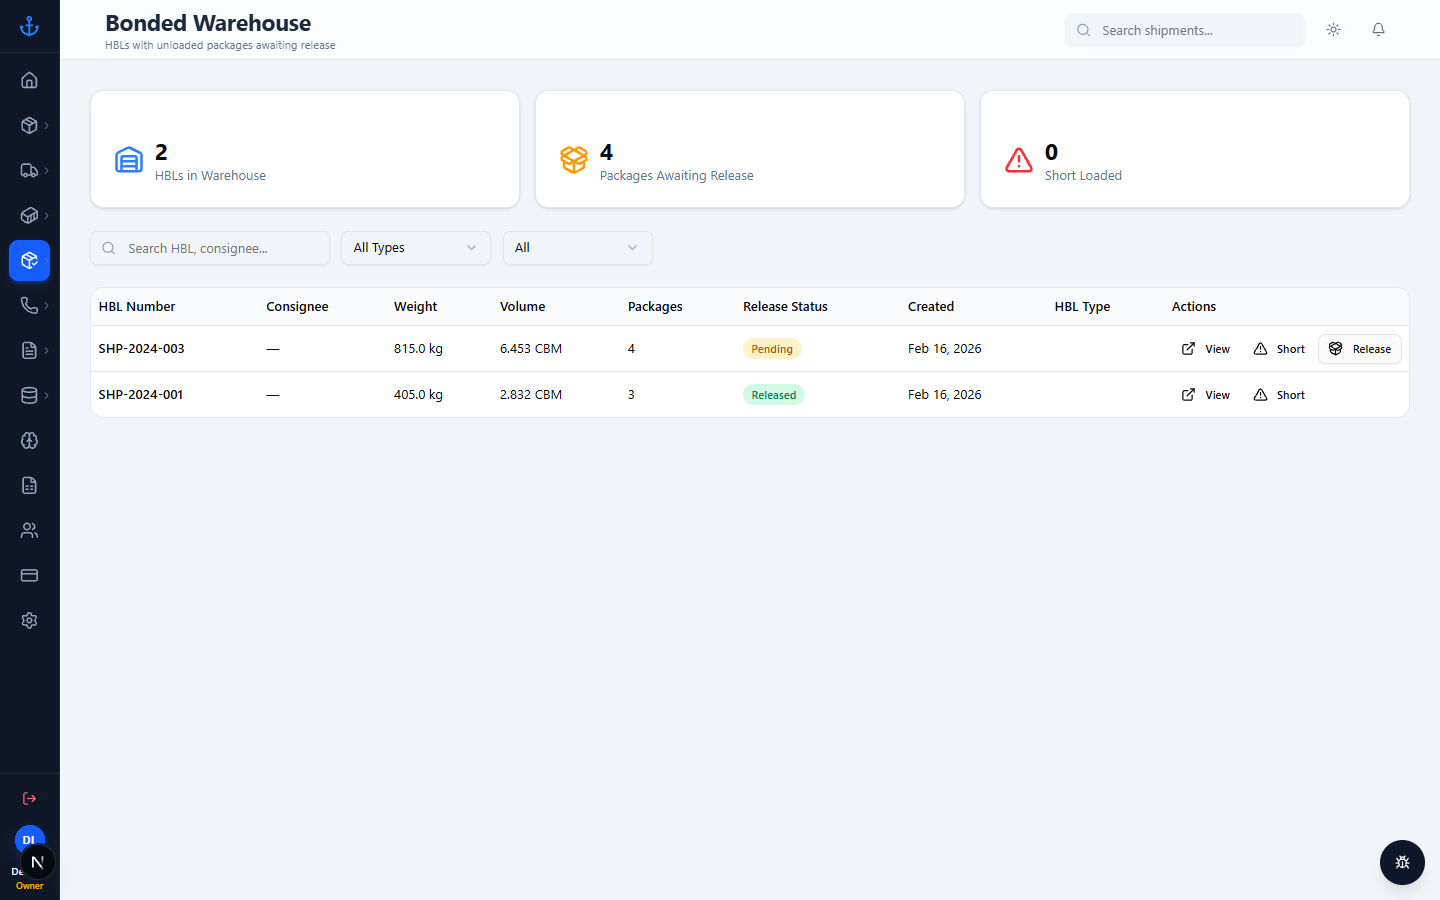
Bonded warehouse

For each package you can:

  • Assign / re-assign a bond storage number.
  • Mark the package released (customer picked it up or you released it to delivery).
  • Mark it shortland (not all packages arrived) and later mark that fixed.

4.4 Bond storage

Dashboard → Arrivals → Bond Storage
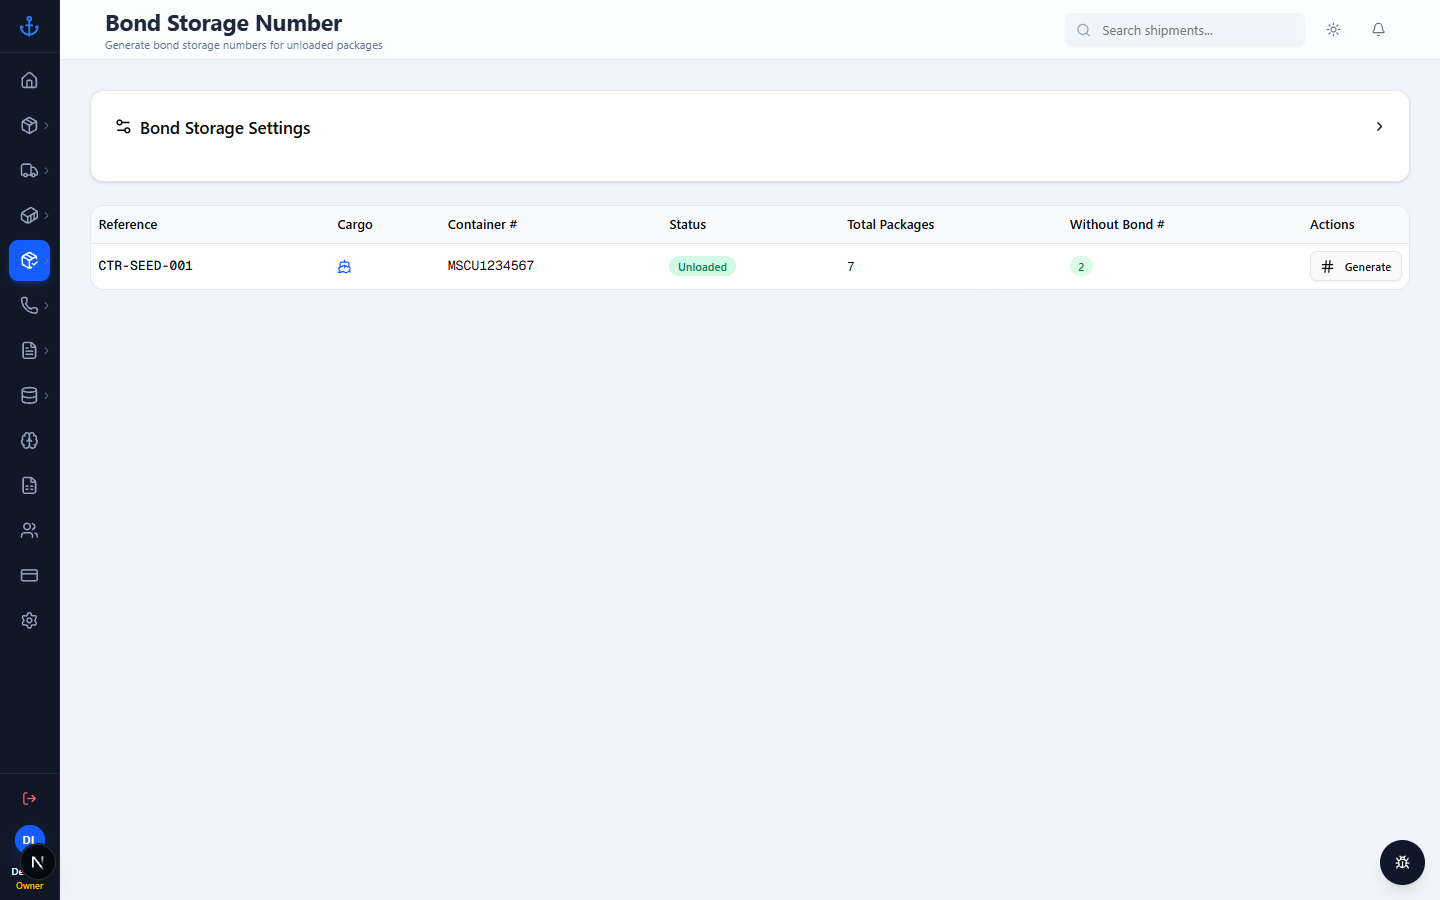
Bond storage

Assigns a fresh bond storage number to any package that hasn't had one yet. Numbers come from the workspace's per-year serial (your admin sets the starting value in Settings).

4.5 Bond storage records

Dashboard → Arrivals → Bond Storage Records
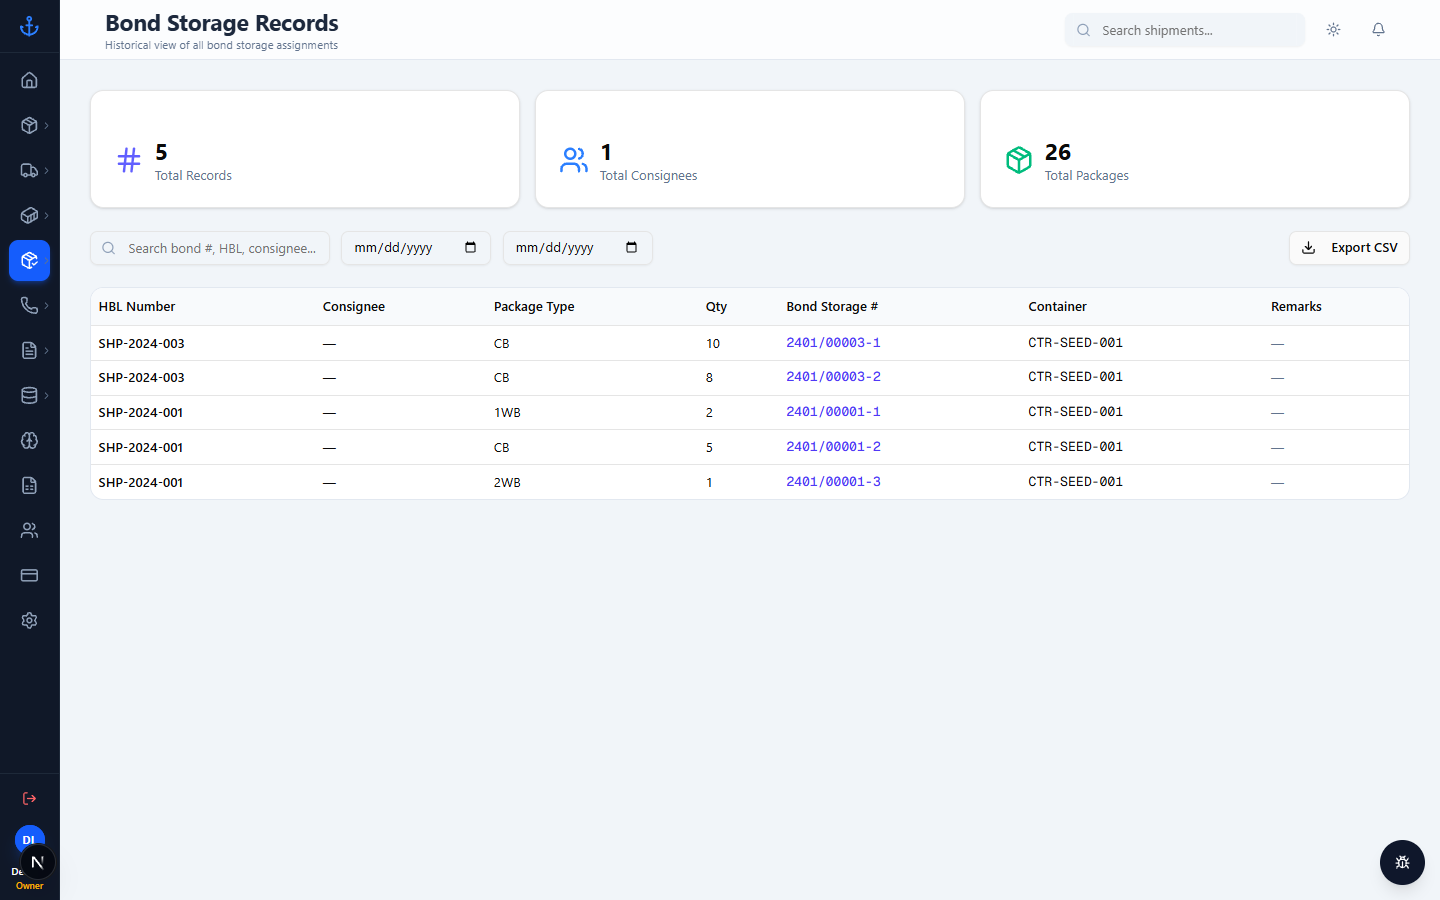
Bond records

A ledger of every bond number ever assigned — useful for audit or finding an old package by bond number.


5. Pickups

Once packages are released from the bonded warehouse, schedule pickup or delivery to the customer.

5.1 Pickups list

Dashboard → Pickups
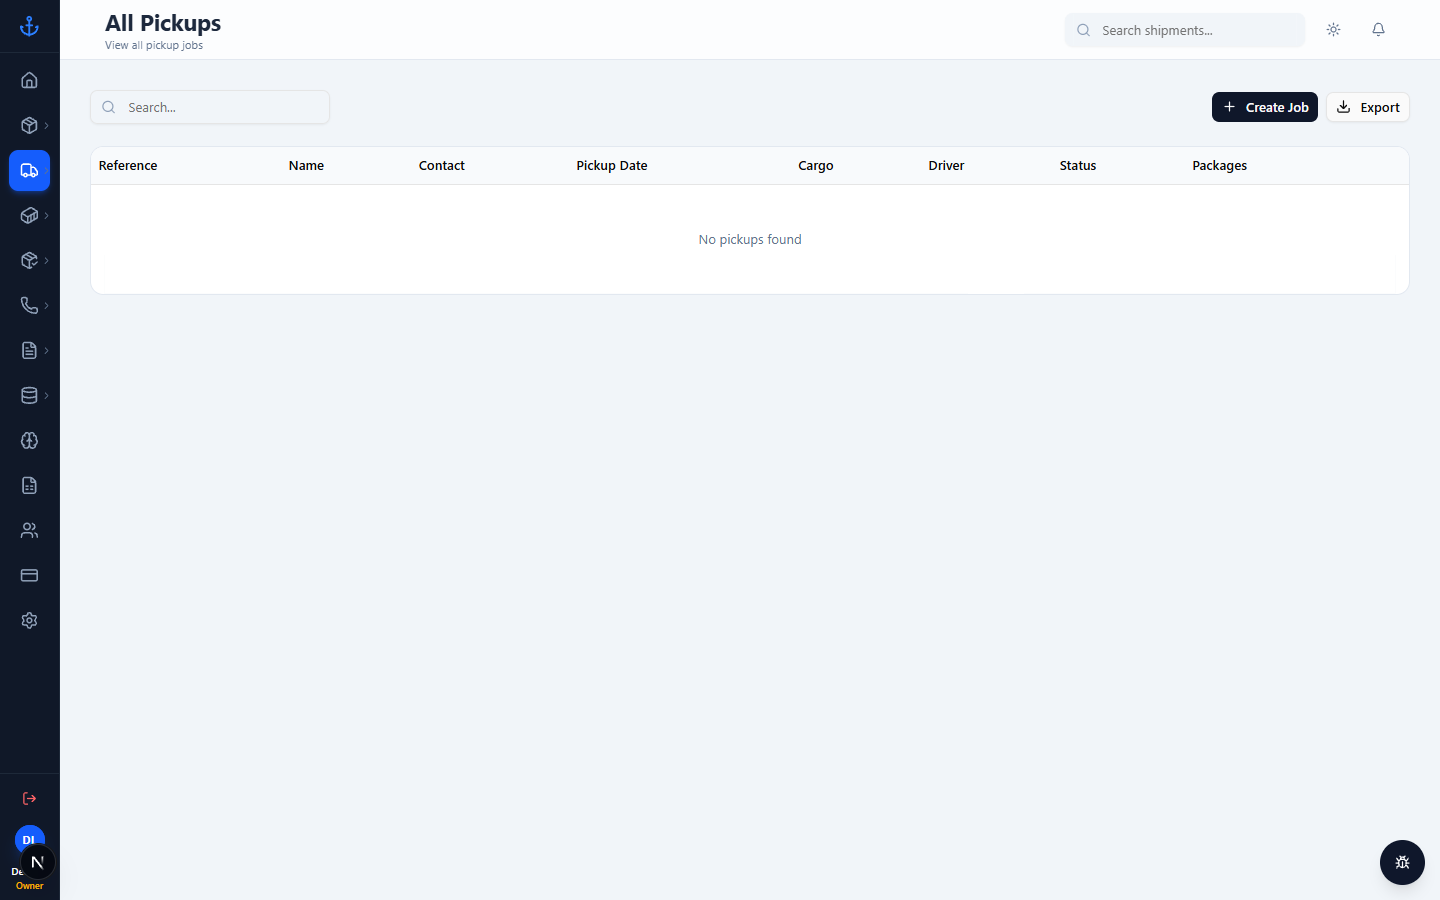
Pickups list

5.2 Creating a pickup

Dashboard → Pickups → New Pickup
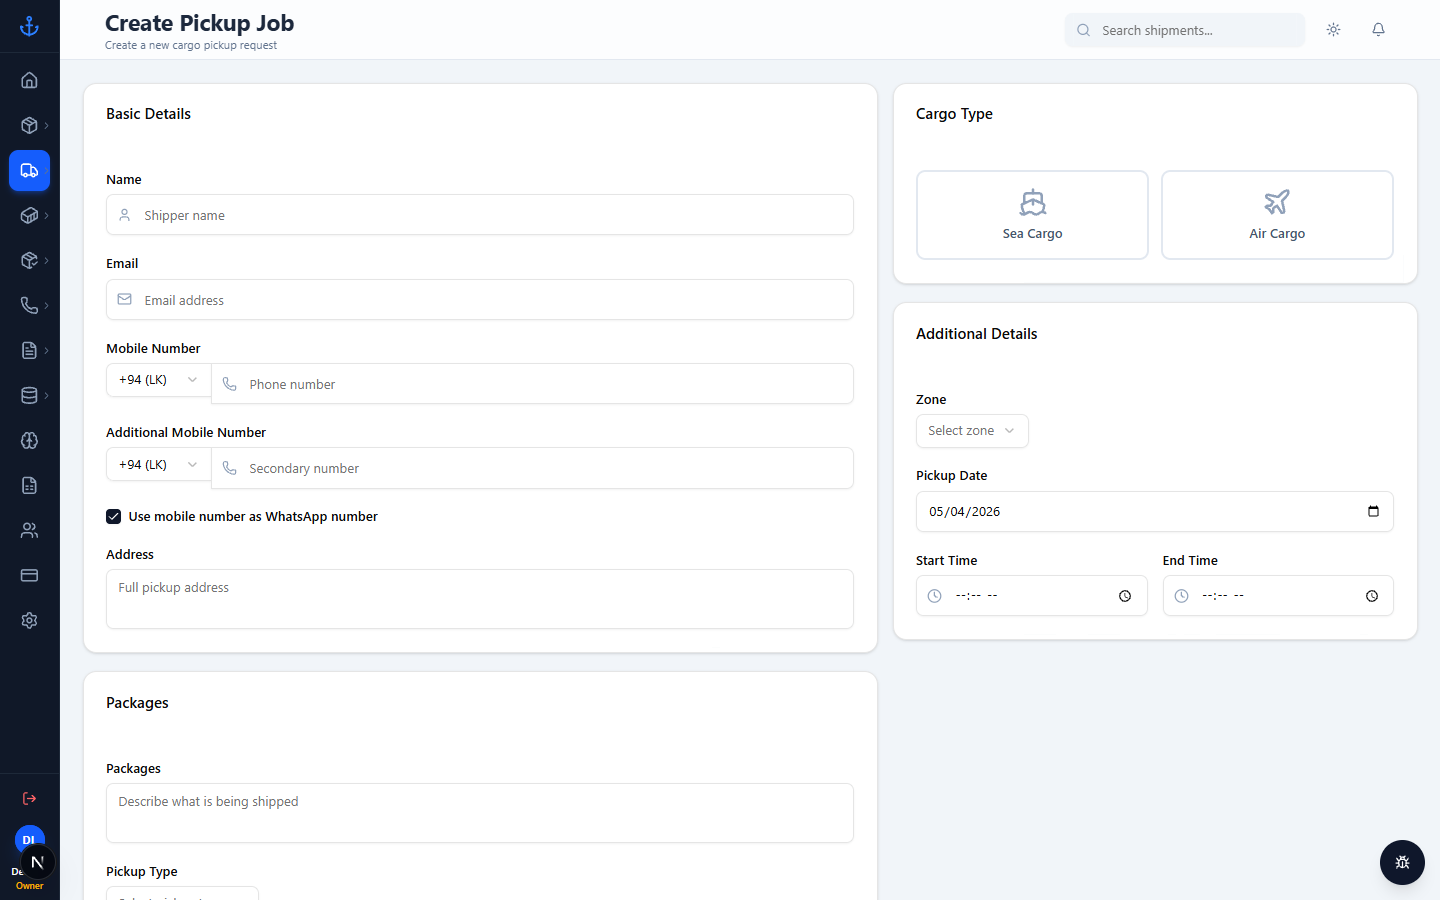
New pickup form

Pick the shipment, the pickup type (DELIVERY / CUSTOMER_COLLECT / …), the zone (= geographic area), and optionally assign a driver. Save.

5.3 Pending and ordering

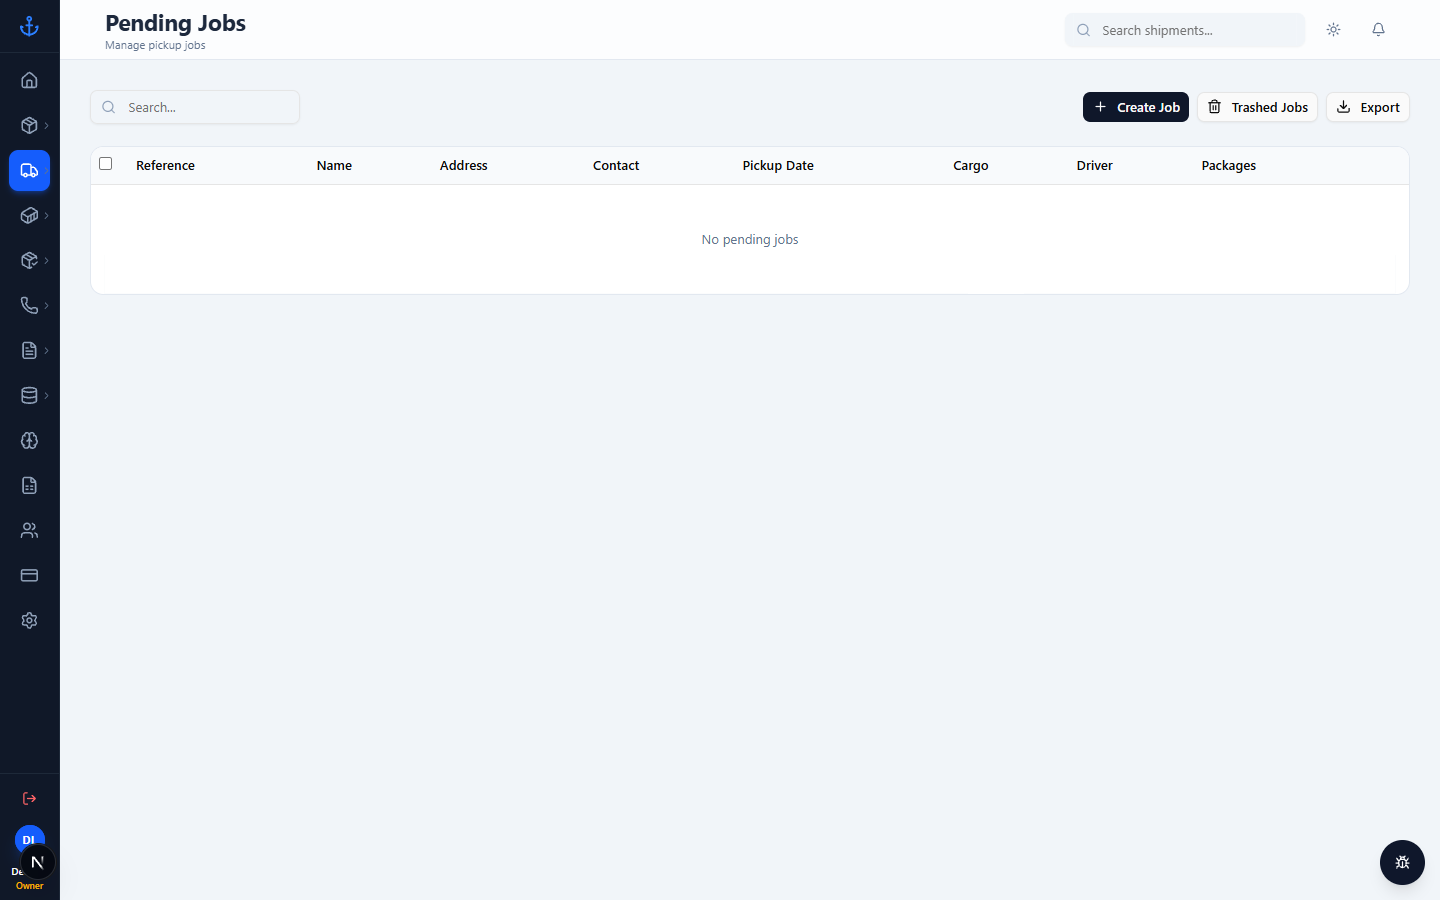
  • Pending — pickups not yet assigned or scheduled. Pickups pending
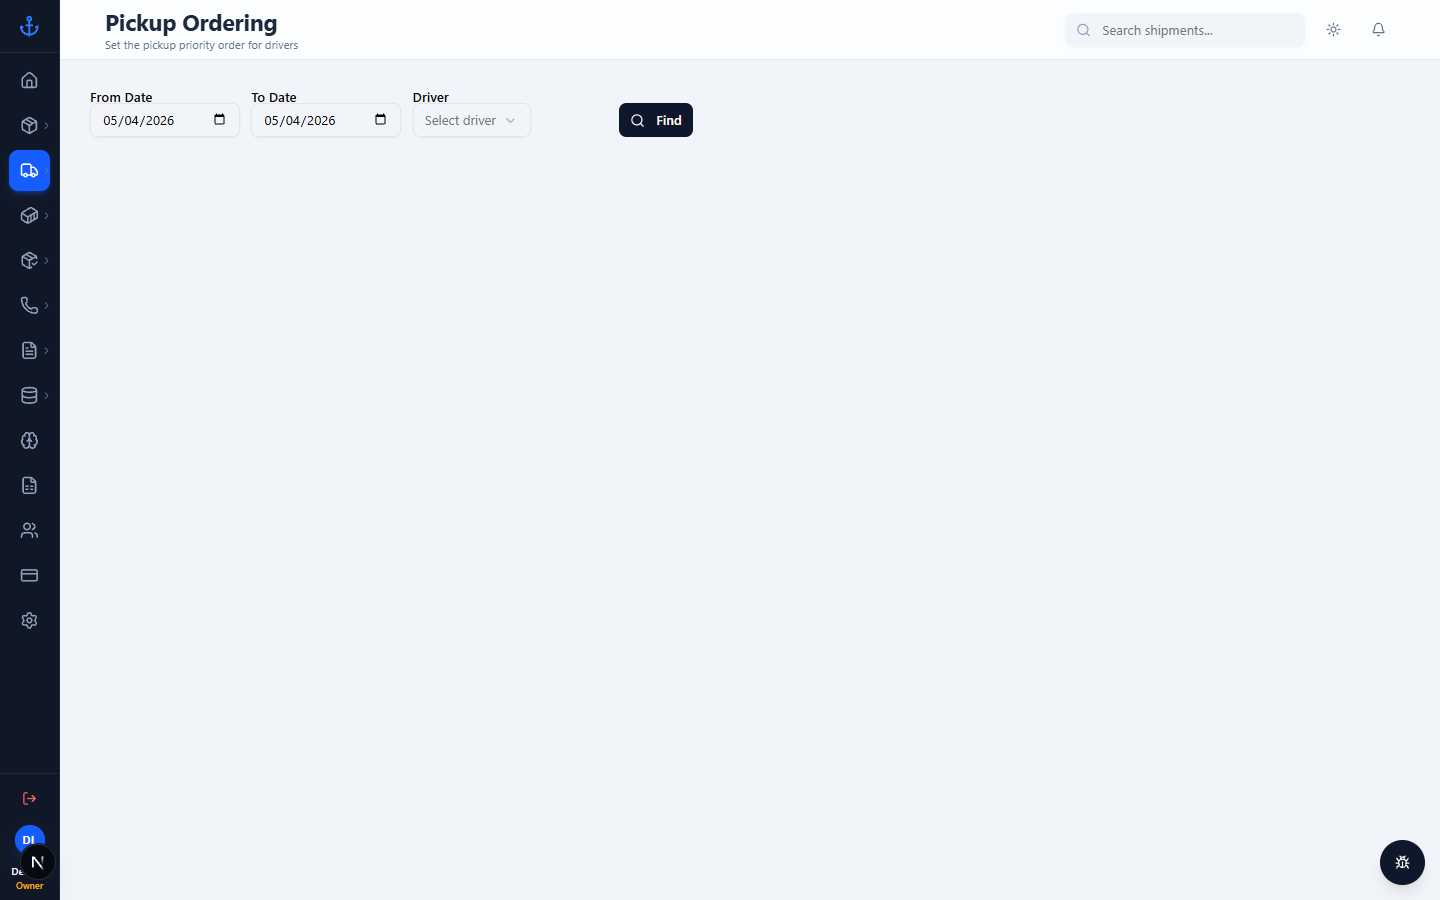
  • Ordering — drag-and-drop to reorder pickups into a route the driver can follow. Pickups ordering
5.4 Exceptions

If a pickup fails (customer not home, wrong address, vehicle breakdown) raise an exception:

Dashboard → Pickups → Exceptions
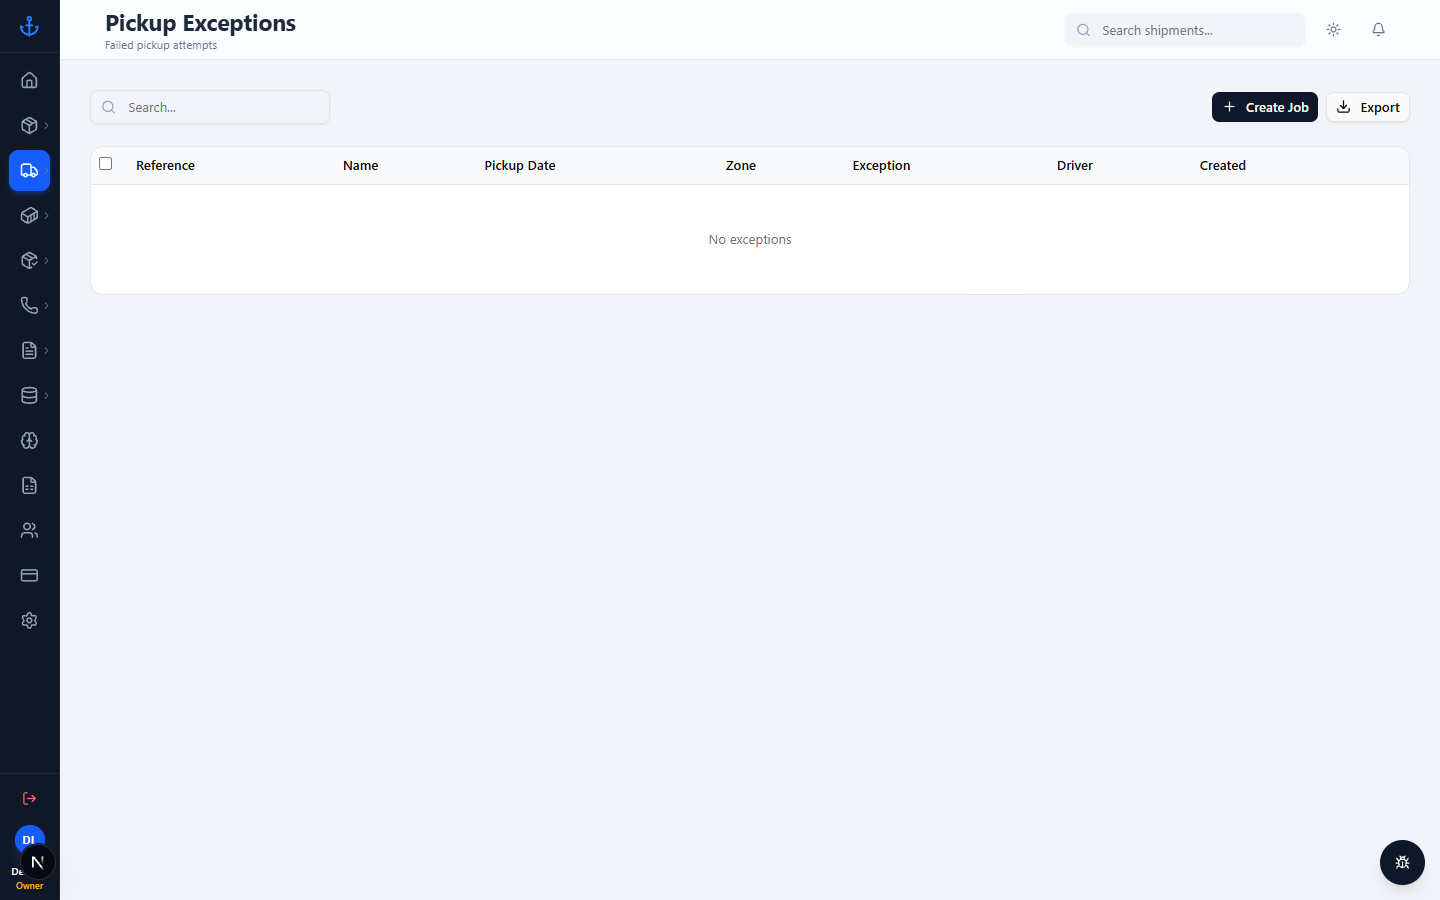
Pickups exceptions

Choose the exception type (set by your admin), assign another driver if needed, add notes. When resolved, close the exception.


6. Invoices

Panaroma Logistics Cargo generates professional Commercial Invoices as PDFs, branded with your workspace's logo and bank details.

6.1 Invoices list

Dashboard → Invoices
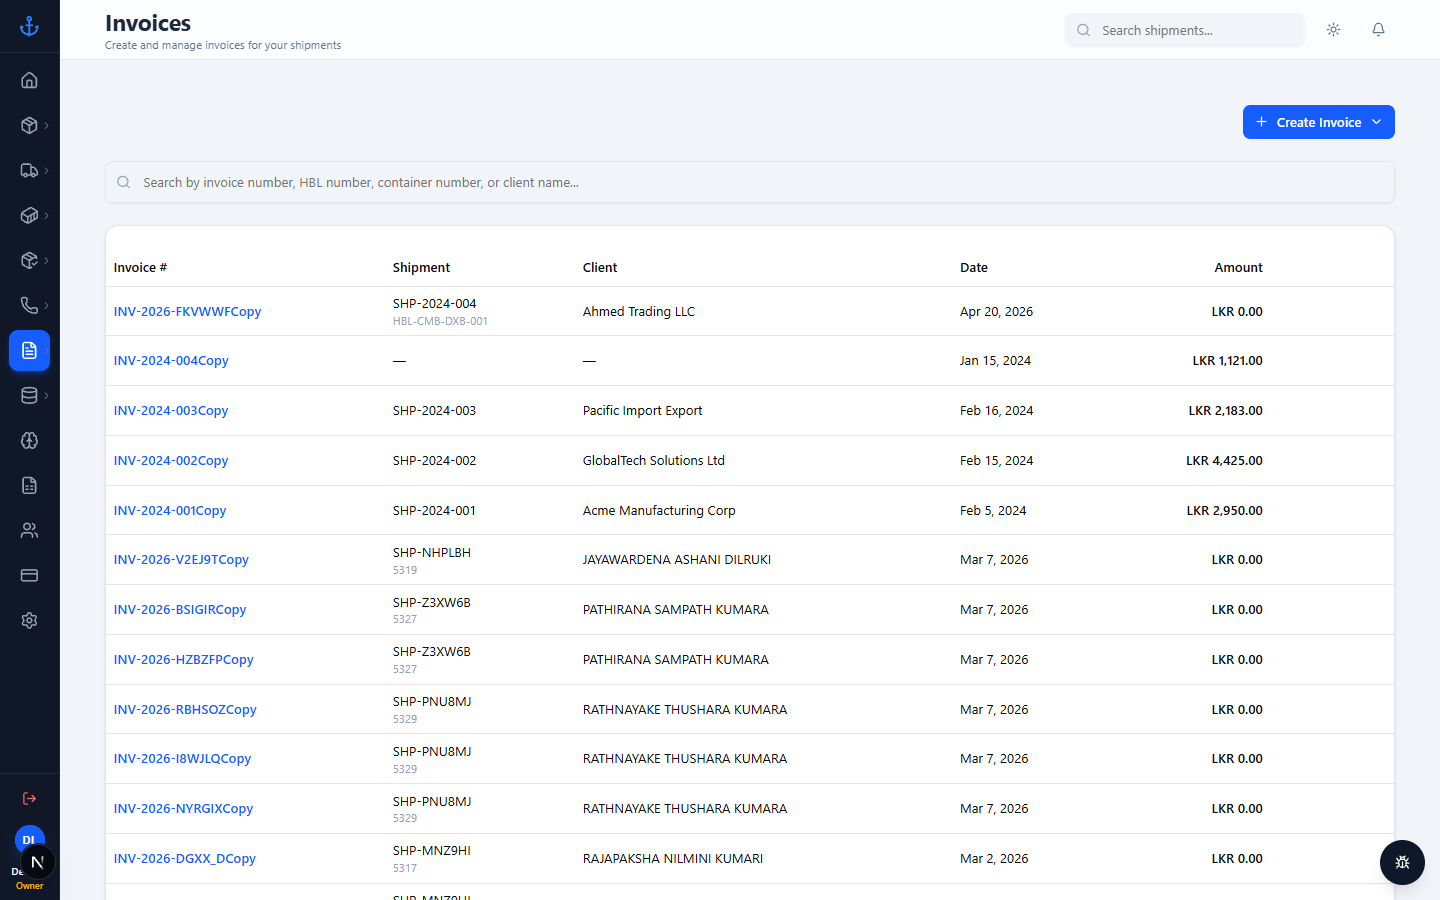
Invoices list

Click Create Invoice in the middle. A dialog pops up letting you search by invoice number and pick an existing invoice to open its PDF. Or pick a shipment and create a fresh invoice from it.

6.2 Invoice detail (PAID example)
Invoice detail — paid

You see status (DRAFT / SENT / PAID / OVERDUE), issue and due dates, all line items, subtotal, tax, total.

6.3 Invoice detail (SENT example)
Invoice detail — sent

6.4 Generating the PDF

Click Download PDF (or the little PDF icon next to the invoice). Panaroma Logistics Cargo renders your commercial-invoice template, fills in all the data, and downloads a PDF. The template uses:

  • Your company name, address, phone, fax, email, logo (from Settings → Company).
  • Your seal image (optional).
  • Your bank details (optional).

Tip. If the PDF fails to generate, it's usually because you haven't filled in branding. Ask your admin to complete Settings → Company.

6.5 Line items with foreign currency

Each line item can carry both a local (LKR) amount and a foreign amount (USD, EUR, GBP…) plus an exchange rate. Handy when your agreement with the client is in USD but you bill in LKR.


7. Bill of Lading

Panaroma Logistics Cargo generates Ocean Bills of Lading as PDFs.

Dashboard → Bill of Lading
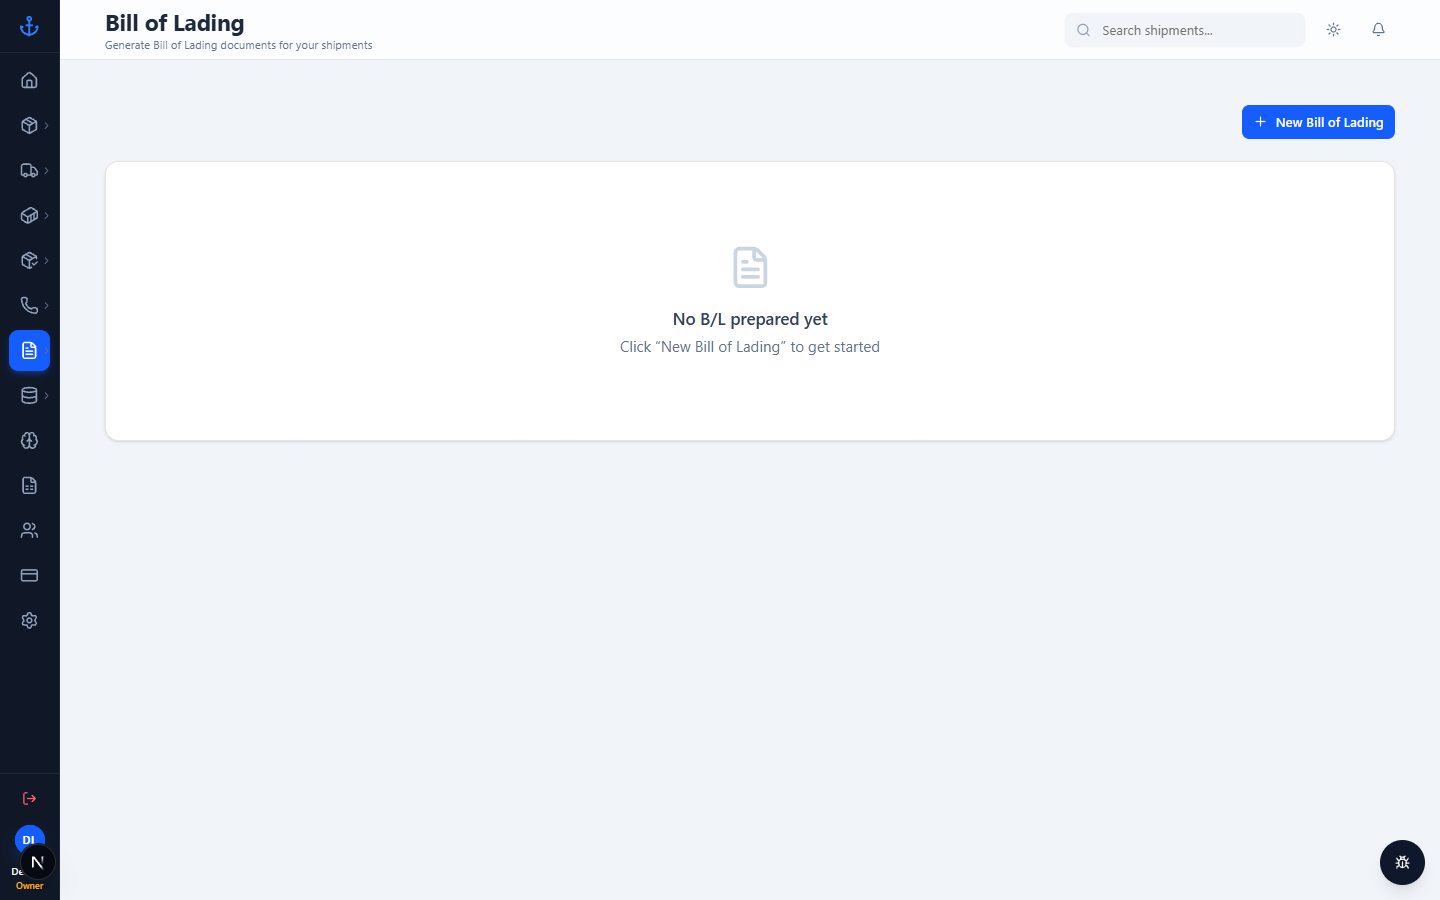
Bill of Lading page

Click Create Bill of Lading. Search for the HBL number, pick the shipment, and the PDF opens in a new tab. All shipper/consignee/vessel/port data autofills from the shipment record.


8. Manifest

The Sea Cargo Manifest aggregates many shipments on one container into a single summary PDF. Usually shared with customs at arrival.

Dashboard → Manifest
Manifest page

Click Create Manifest. Choose how to search:

  • Container Number — pick the container, manifest lists every shipment loaded into it.
  • Arrival Date — pick a Last Free Day, manifest lists every shipment arriving that day.

Select, and the PDF opens in a new tab.


9. Smart Import (Excel → Panaroma Logistics Cargo)

Need to import a whole manifest from Excel? Panaroma Logistics Cargo detects the column layout automatically.

Dashboard → Import
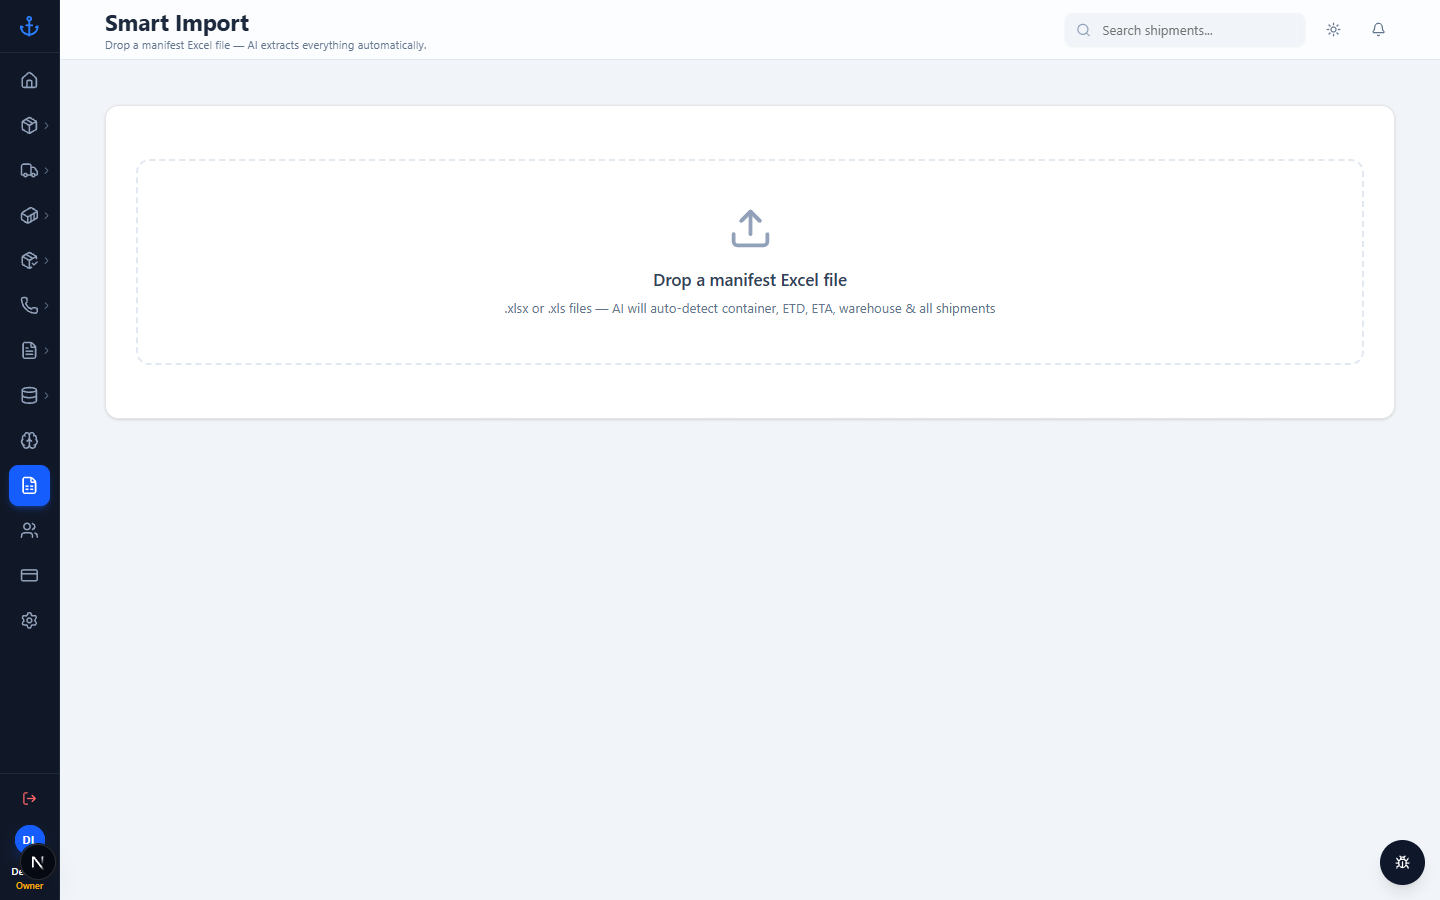
Smart import page

  1. Drop your .xlsx or .xls file onto the upload area.
  2. Panaroma Logistics Cargo scans the header row and first few data rows. Our AI (or rule-based matcher) guesses which column is HBL, which is shipper, which is CBM, and so on.
  3. You see a preview of detected Container Number, ETD, ETA, Warehouse, plus a table of every shipment it parsed.
  4. Fix anything wrong (click Edit on metadata or individual cells).
  5. Click Confirm & Import.

Panaroma Logistics Cargo dedupes by HBL — if an HBL already exists in your workspace, it's skipped and reported. You see a final summary: X created, Y skipped.

Tip. The first time you use Smart Import on a new template, review every row carefully. Once the template is familiar, imports take seconds.

PDF Auto-fill (related)

Dashboard → PDF Auto-fill
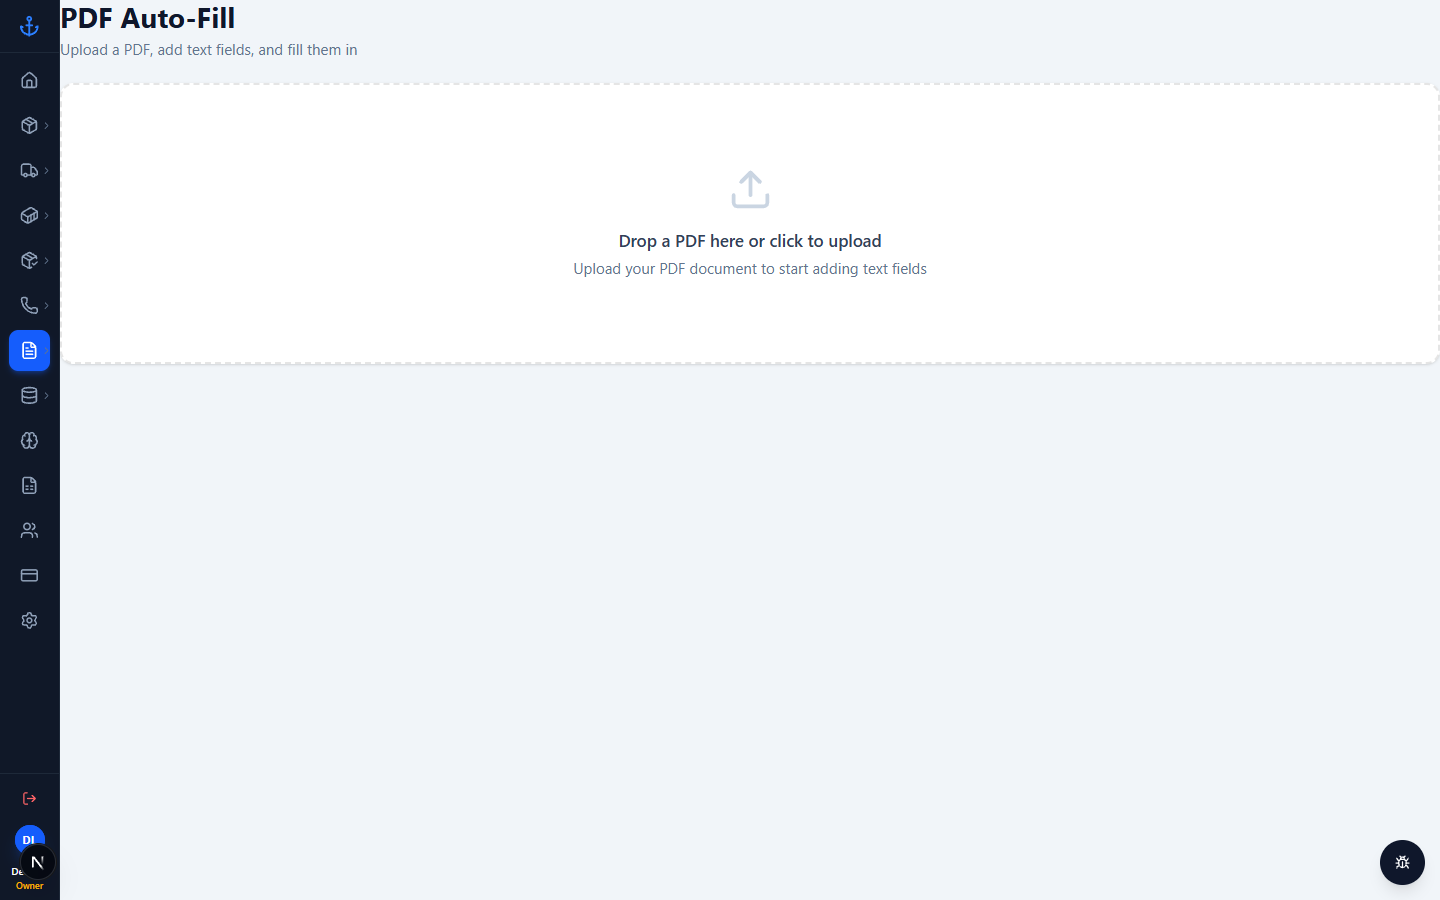
PDF auto-fill

Upload a PDF and Panaroma Logistics Cargo tries to read values out of it to pre-fill forms. Still improving — always double-check results.


10. Call center

Call center has two streams: Verification and Cashier.

10.1 Document verification

Dashboard → Call Center → Verification
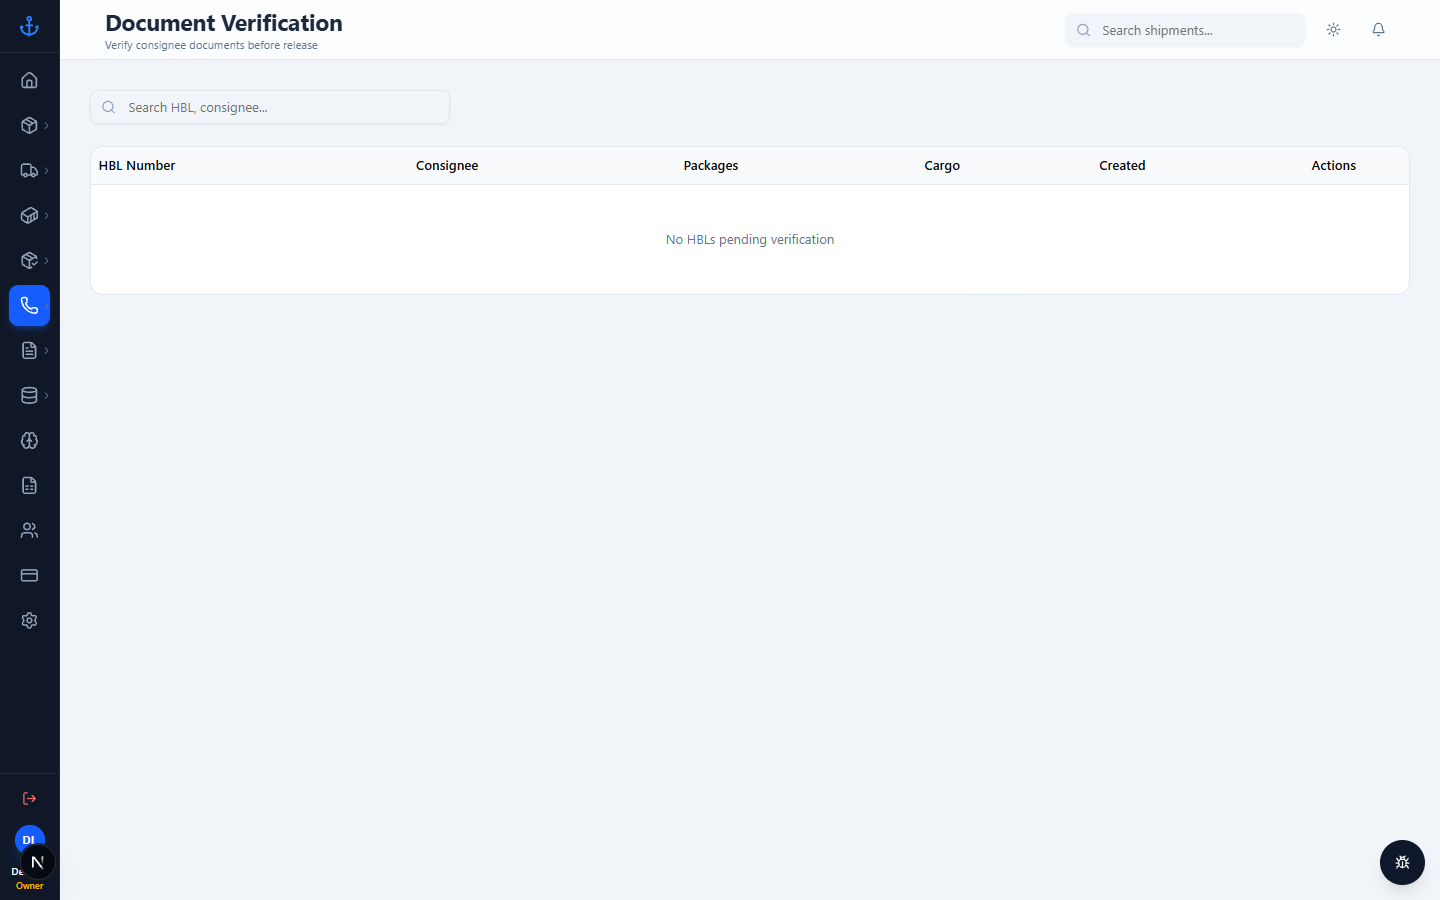
Call center verification

Each shipment has a document checklist (passport copy, BOL, NIC, …). When the customer submits documents, tick them off here. Once every required document is verified, the shipment moves to Verified.

Dashboard → Call Center → Verified
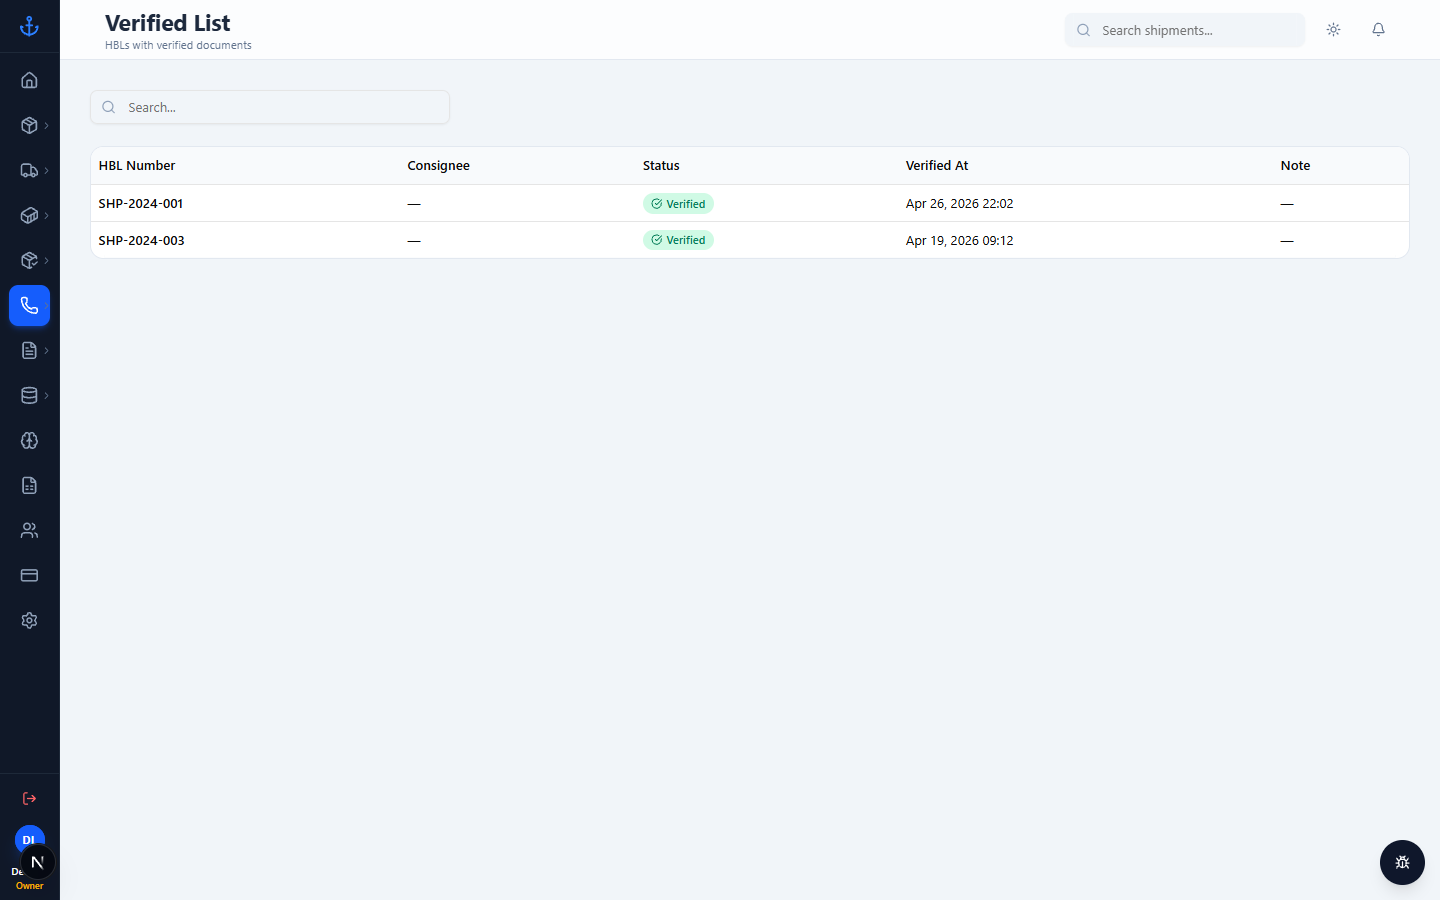
Call center verified

10.2 Cashier — collecting a payment

Dashboard → Call Center → Cashier
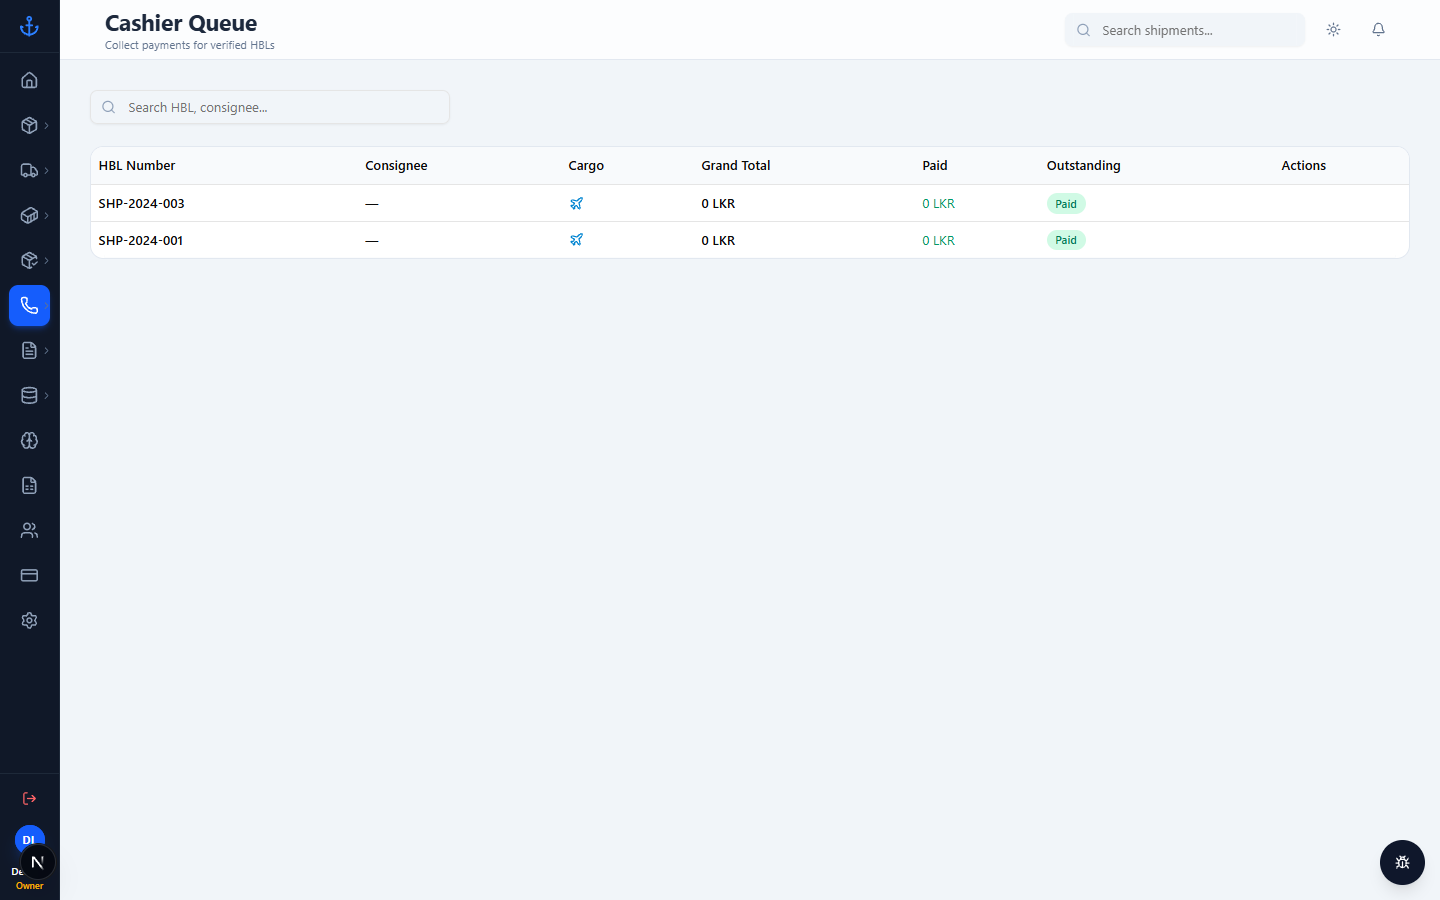
Cashier

For each outstanding shipment:

  1. Enter the amount paid.
  2. Pick the currency and payment method.
  3. Add any discount or additional charges.
  4. Click Collect Payment.

A receipt number is auto-generated from your workspace's serial counter. Print the receipt for the customer.

Once collected, the shipment appears in Paid:

Dashboard → Call Center → Paid
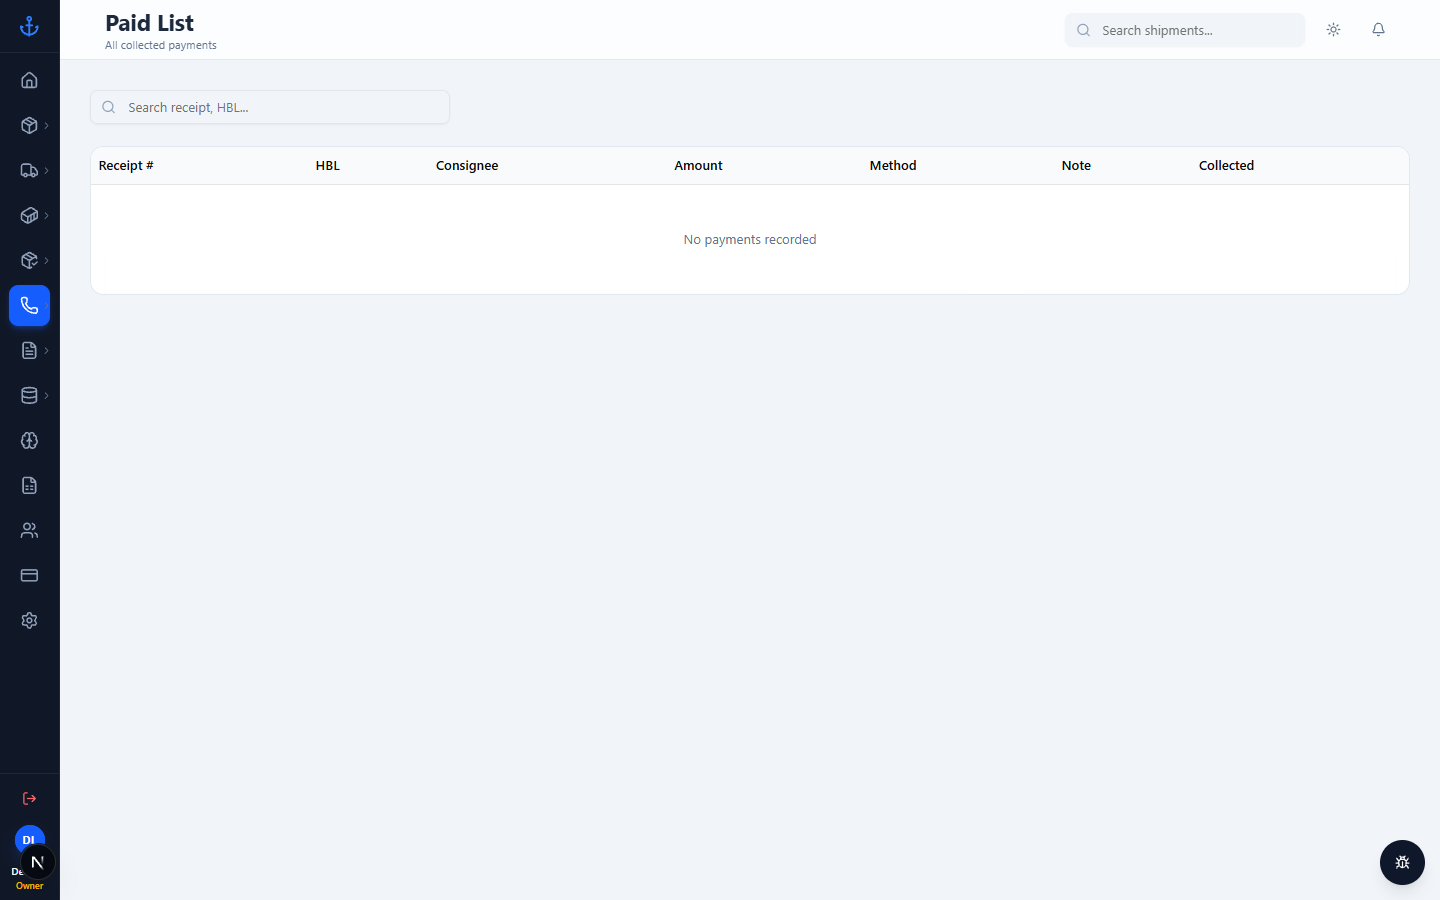
Paid shipments

10.3 Daily report

Dashboard → Call Center → Daily Report
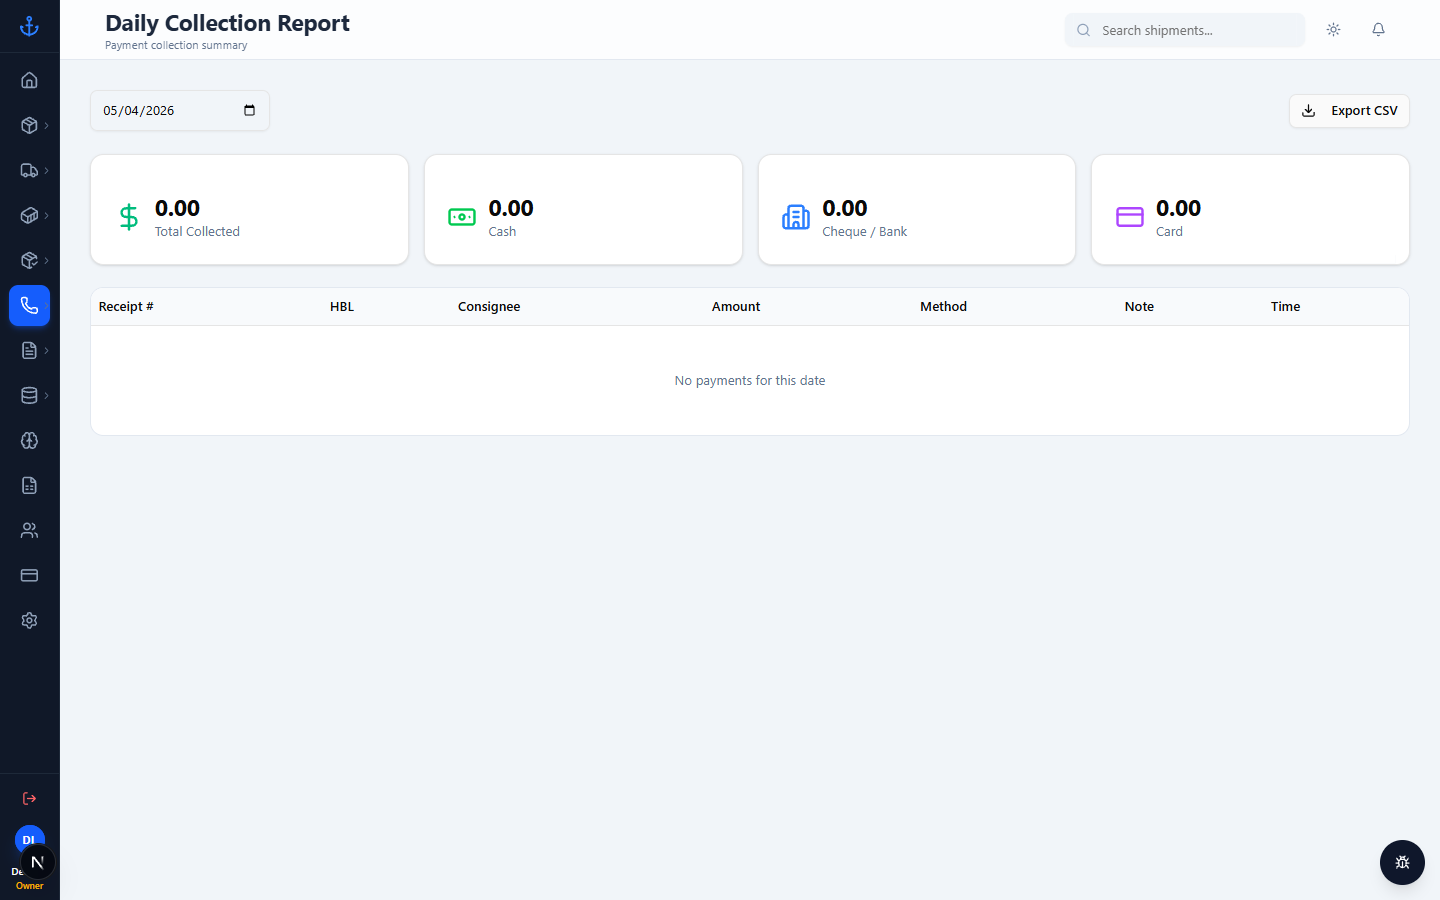
Daily report

At end of day, reconcile cash collected. The report groups by currency, payment method, and collector. Export to PDF for handover.


11. Ops Intelligence

Dashboard → Ops
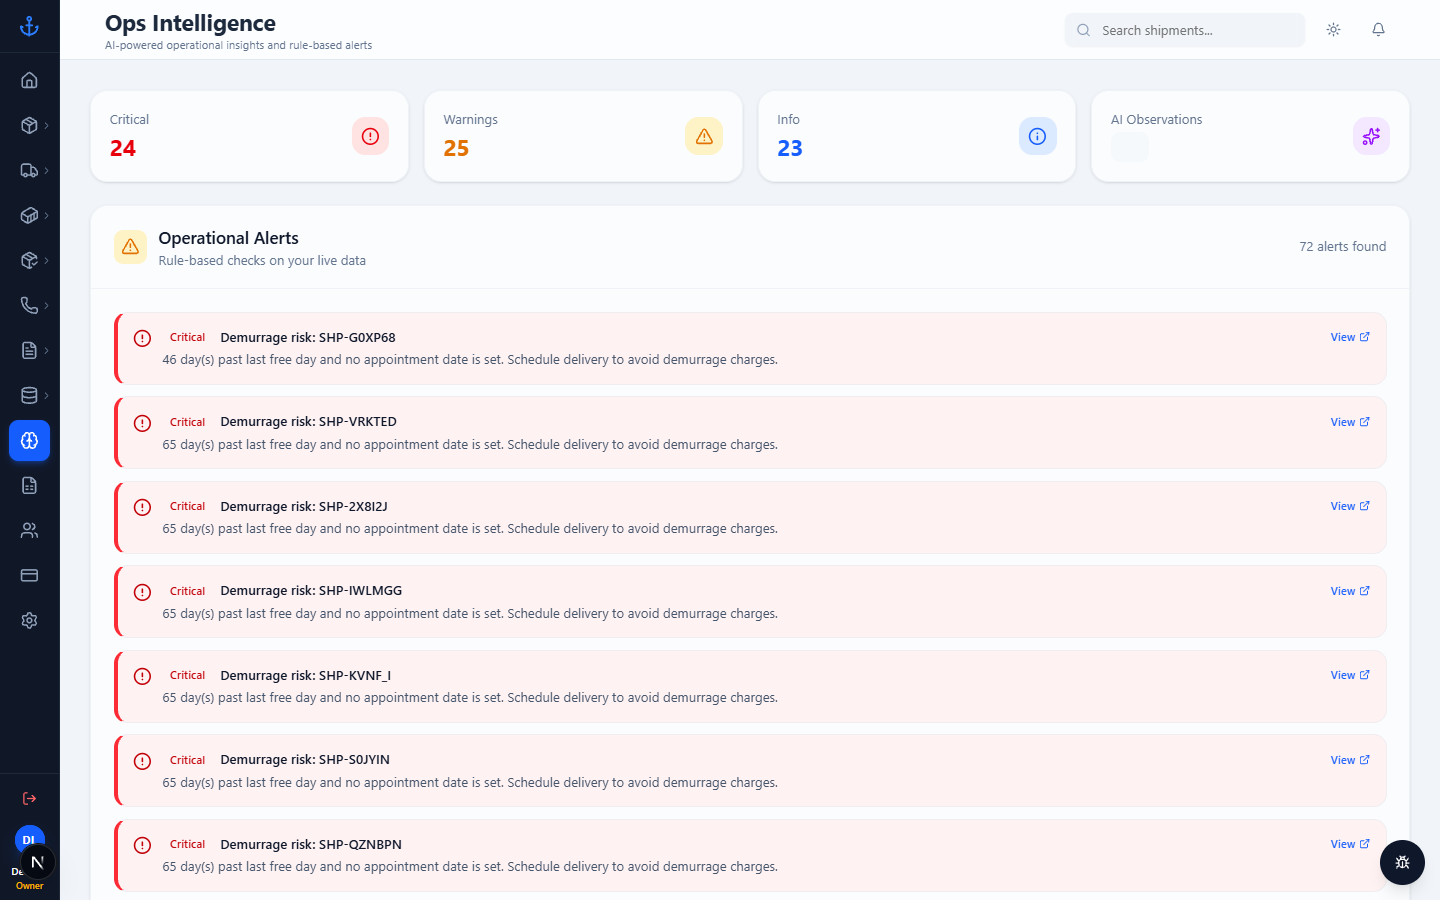
Ops intelligence

Automated findings about your workspace: shipments nearing their Last Free Day, stuck at customs, overdue invoices, drivers with exception clusters. Findings refresh once a day. You can also refresh them on demand (owner / manager only).


12. Public tracking (for customers)

Every shipment carries a public tracking token. Share a link like https://your-portrelay/track/<token>/tracking with the customer — they see shipment progress without needing an account.

To get the link: open a shipment → click the share/link icon in the header → copy.

What your customer sees:

  • Shipment status and ETA.
  • Sometimes a downloadable invoice PDF.
  • Sometimes the payment receipt.

They can read only — no changes.

⚠ Privacy. A token is essentially a password. Don't post tracking links on public chat channels or forums. If a token leaks, an Owner can regenerate it.


13. Troubleshooting

"I can't find a shipment"

  • Check Cancelled and Drafts — those views are separate.
  • Try the search bar (top of dashboard) and type the HBL number.
  • Make sure you're in the right workspace (bottom-left avatar). If you belong to multiple, switch.

"The PDF won't generate"

  • Usually means branding is missing. Ask your admin to fill in Settings → Company.
  • If the error mentions "Puppeteer" or "Chrome", it's a server-side issue — ping engineering.

"I don't have permission for this"

  • Panaroma Logistics Cargo has four roles: Owner, Manager, Employee, Operator. Each allows different actions.
  • Your admin can grant you extra permissions without changing your role (they call this "custom permissions").
  • Click the bottom-left avatar to see your role. Then ask your admin.

"My password doesn't work"

  • Panaroma Logistics Cargo uses email + password. If you've never signed in, ask your admin to set you up.
  • There's no self-serve reset yet — only your admin can set a new password.

Getting help

When reporting an issue, include:

  1. Your email.
  2. The page you were on (copy the URL from your browser).
  3. What you were trying to do.
  4. What happened (error message, or describe the behaviour).
  5. A screenshot if you can.

Send this to your admin. They'll escalate to engineering if needed.


Need the setup-and-governance guide instead? See ADMIN_MANUAL.md.
Panaroma Logistics Cargo — Admin Manual

For: workspace owners and managers. Last verified: 2026-04-22 · screenshots captured from Panaroma Logistics Cargo 1.0.0

This is the setup and governance guide. If you're a cashier or ops clerk doing day-to-day work, read USER_MANUAL.md instead.


Table of Contents

  1. First-time setup
  2. Team management
  3. Reference data
  4. Notifications
  5. Data hygiene
  6. Public tracking governance
  7. Troubleshooting & escalation

Billing: during early access, billing is handled manually — invoices issued directly, paid by bank transfer. Self-serve subscription is paused. Contact billing@portrelay.com with any questions.

Each section ends with a "What the system does behind the scenes" callout pointing to the relevant part of TECHNICAL.md if you want the engineering view.


1. First-time setup

1.1 Creating your workspace

When you sign up, Panaroma Logistics Cargo creates your workspace — the multi-tenant container for all your data. You're the Owner and the only person who can delete the workspace or invite other owners.

1.2 Company branding

Dashboard → Settings

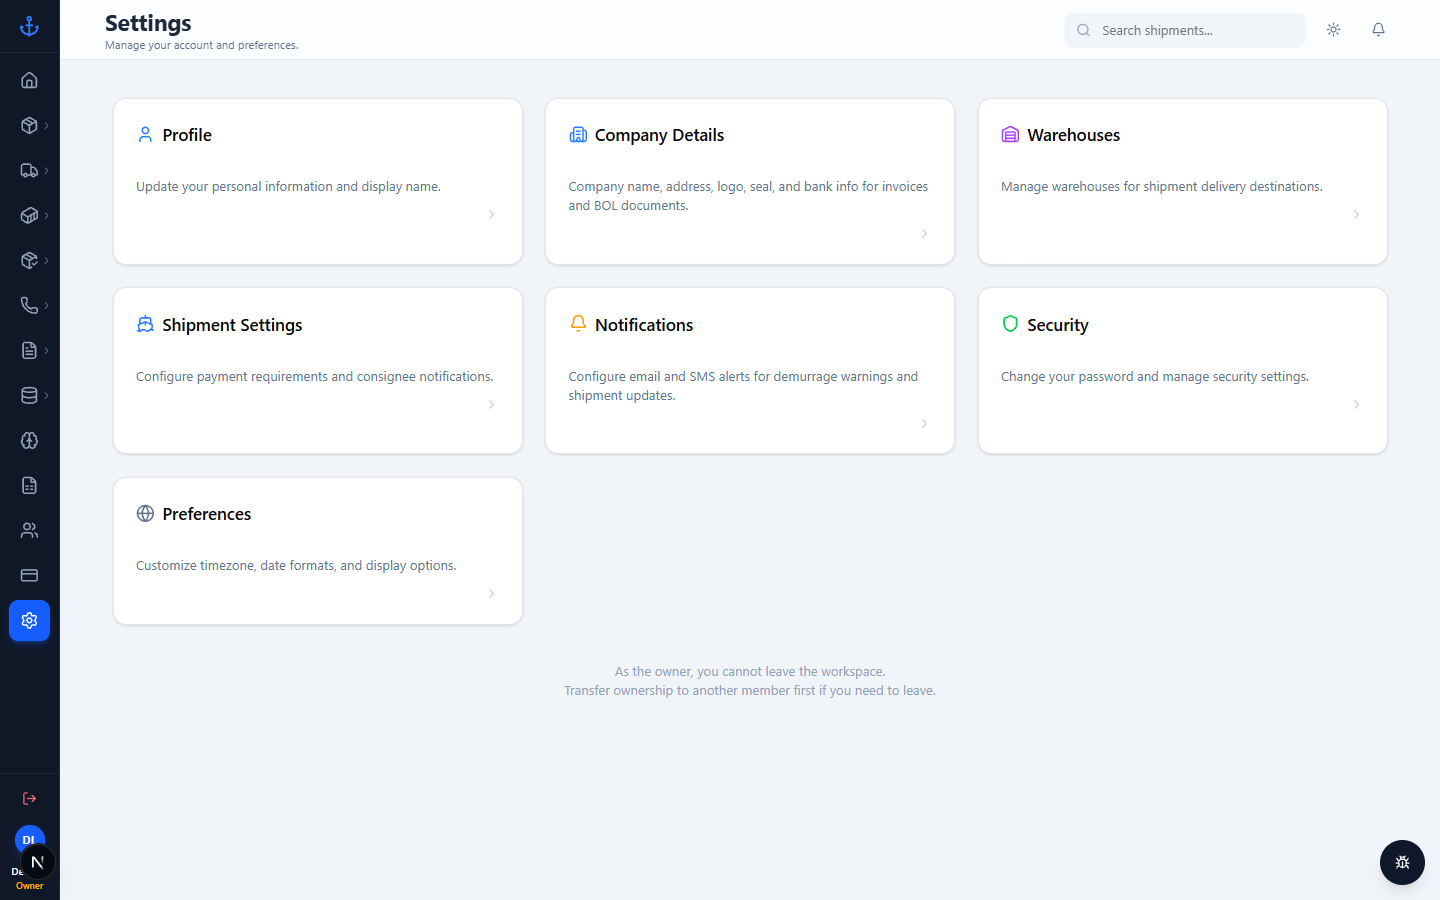
Settings landing

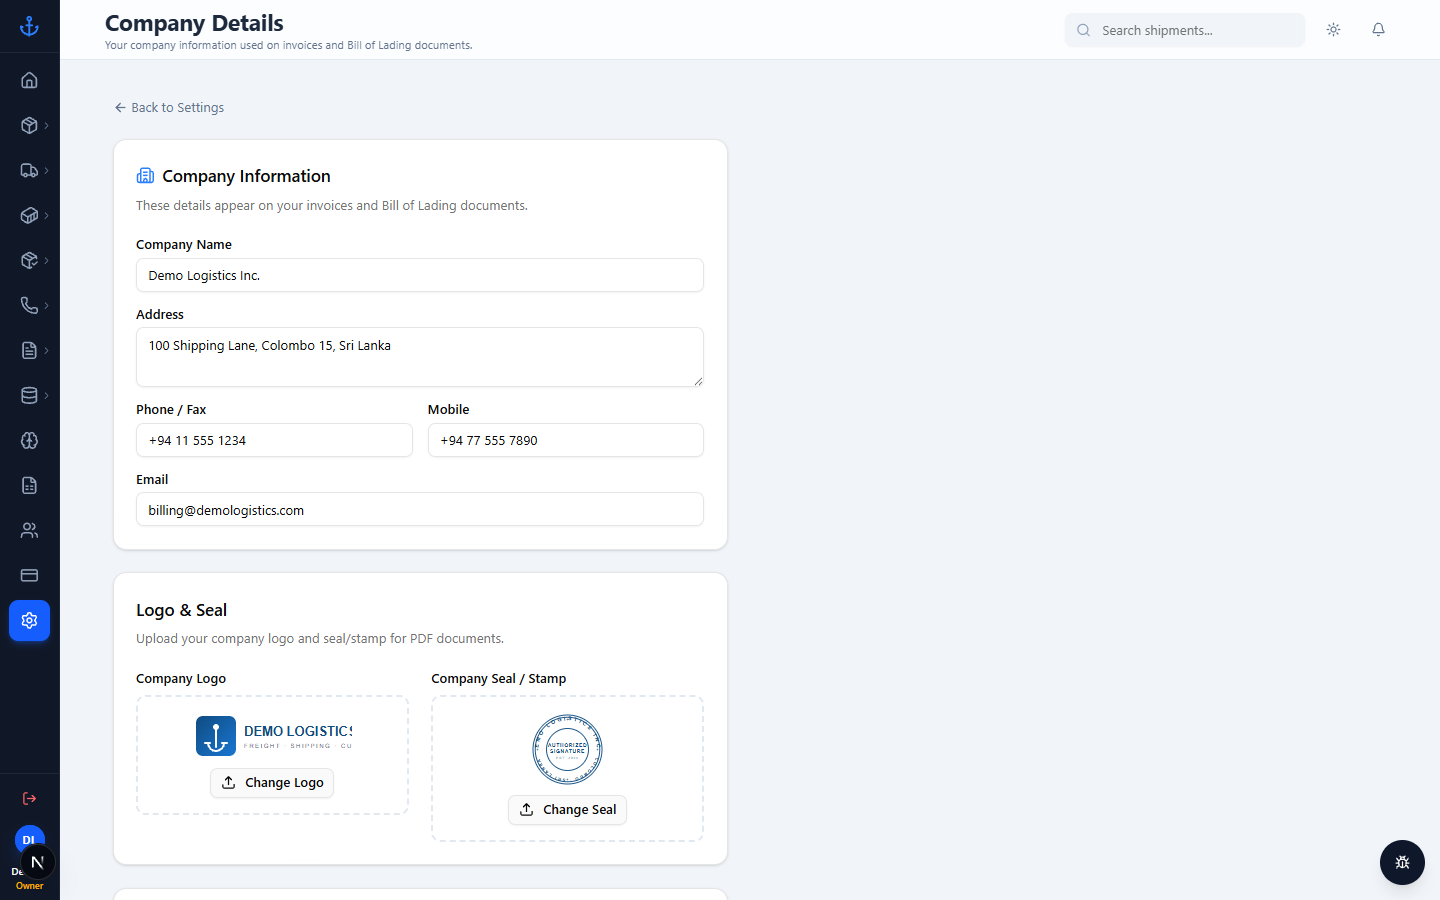
Dashboard → Settings → Company

Settings — company

Fill in every field. These values appear on every Commercial Invoice and Ocean BOL PDF you generate:

  • Company name — displayed as the header on documents.
  • Address, phone, fax, email, mobile — appear under the company name.
  • Logo — upload a transparent PNG; appears top-left of PDFs.
  • Seal — upload a stamp/seal image; appears next to signature blocks.
  • Bank details — beneficiary, bank name, branch, account number. Appear on invoice "remit to" box.

⚠ Save often. Forms show "unsaved changes" banners at the bottom. If you navigate away without saving, inputs are lost.

1.3 Shipment behaviour

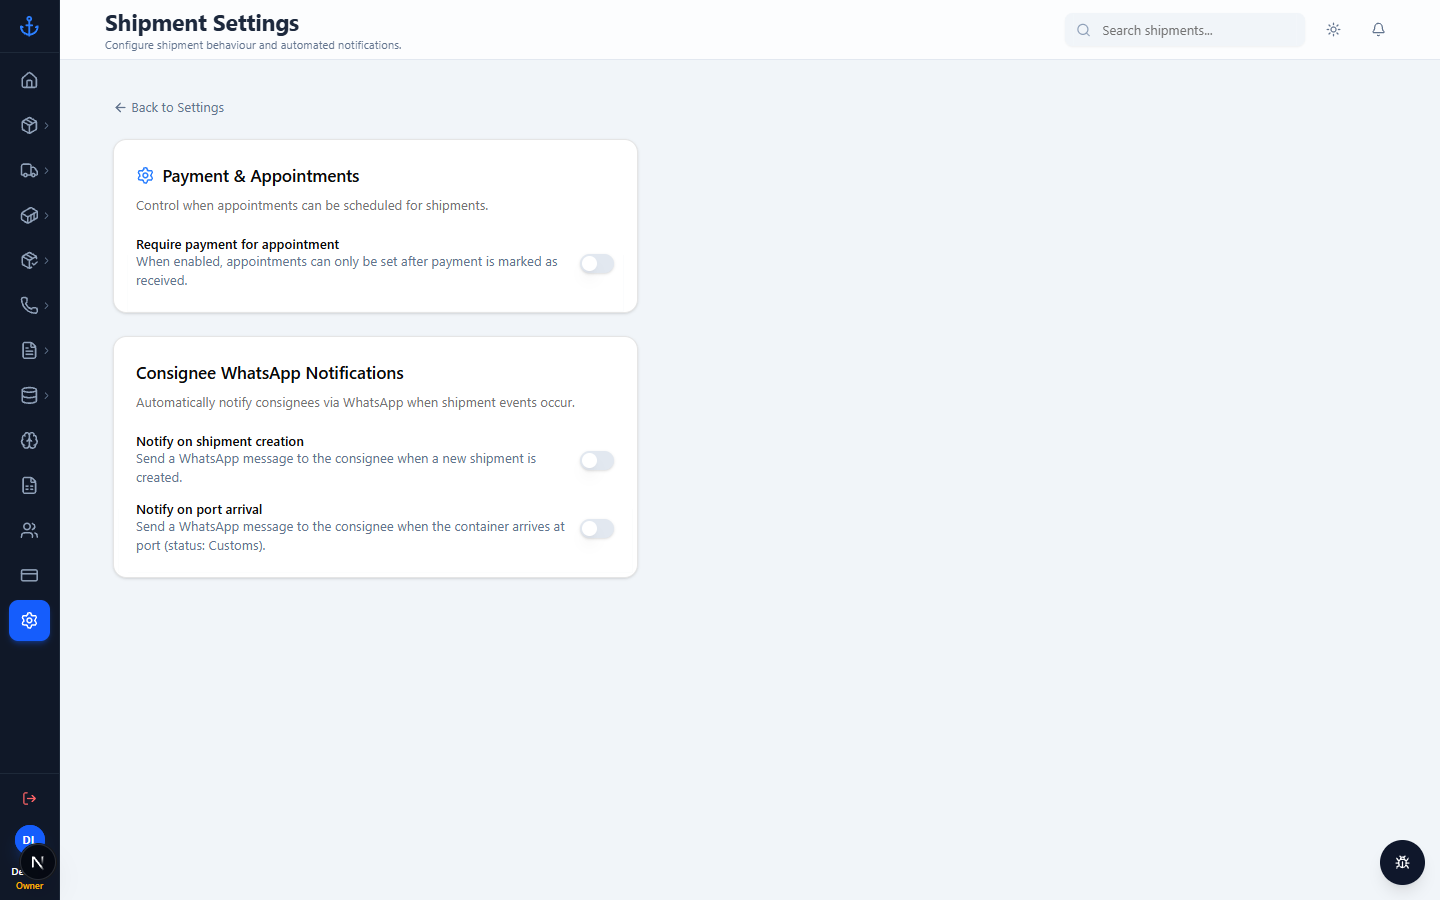
Dashboard → Settings → Shipment

Settings — shipment

Two groups of toggles control how shipments behave across the workspace:

Payment & Appointments

  • Require payment for appointment — when on, an appointment can only be set on a shipment after the cashier has marked payment received. Use this if your operation requires payment up-front before scheduling.

Consignee WhatsApp Notifications

  • Notify on shipment creation — sends the consignee a WhatsApp message the moment a new shipment is created.
  • Notify on port arrival — sends a WhatsApp when the container hits the Customs status (i.e. has arrived at port).

Both WhatsApp toggles depend on the Chakra HQ integration being configured (see §4.3).

Serial counters and bond storage settings (cashier receipt serial, bond storage sea/air serials) are stored on the workspace but currently have no UI on this page. Engineering can adjust them directly if you need to align with an existing paper ledger — open a ticket with the next unused number.

1.4 Warehouses

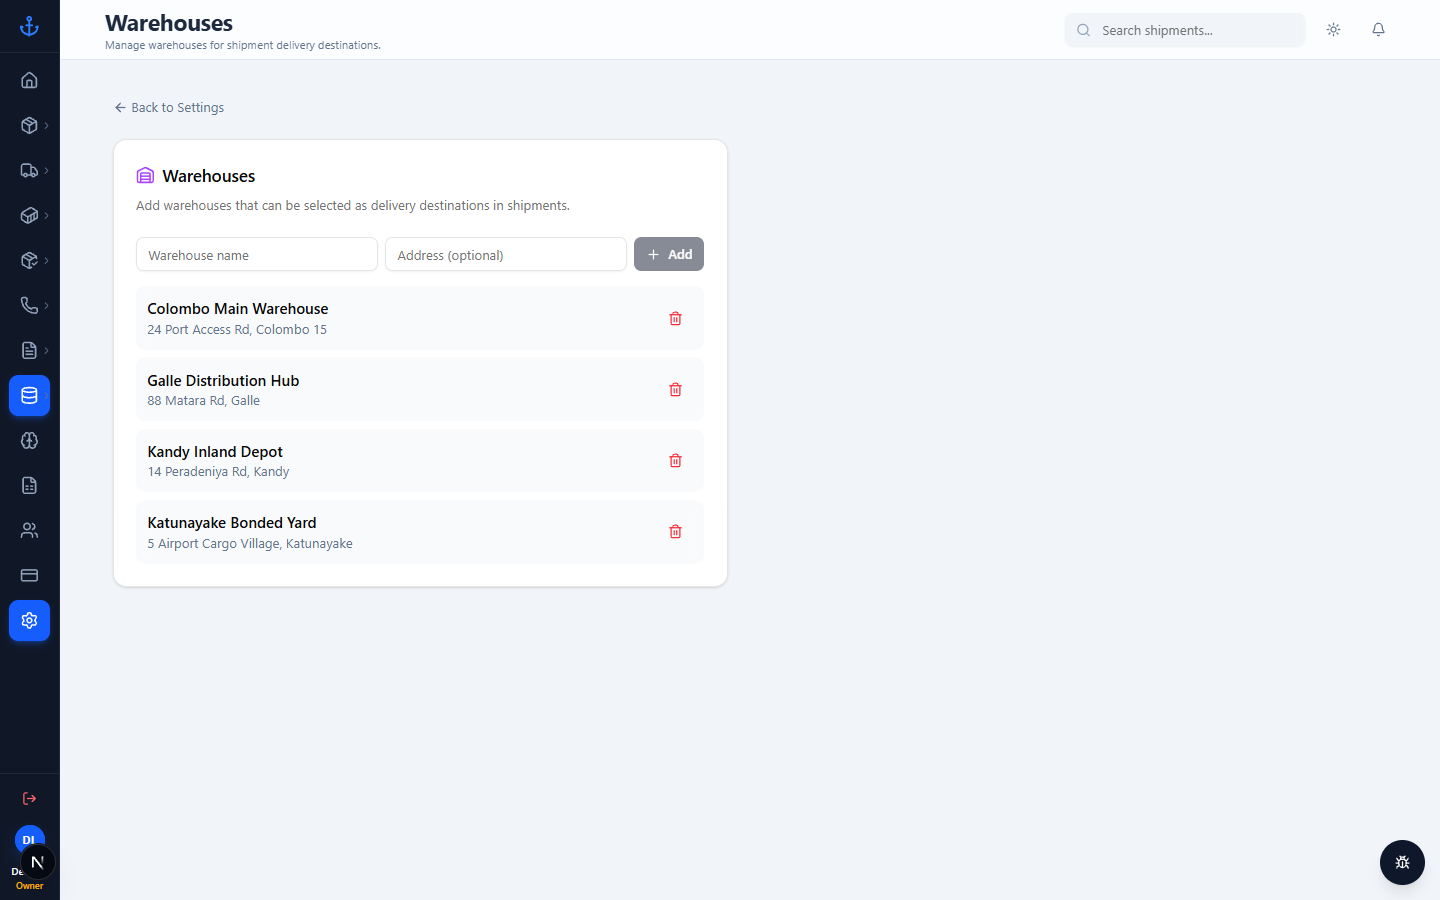
Dashboard → Settings → Warehouses

Settings — warehouses

Add every warehouse you work with. Warehouses show up during Smart Import (auto-matched from the MARKS column) and during Unloading.

1.5 Drivers and zones

Dashboard → Settings → Drivers

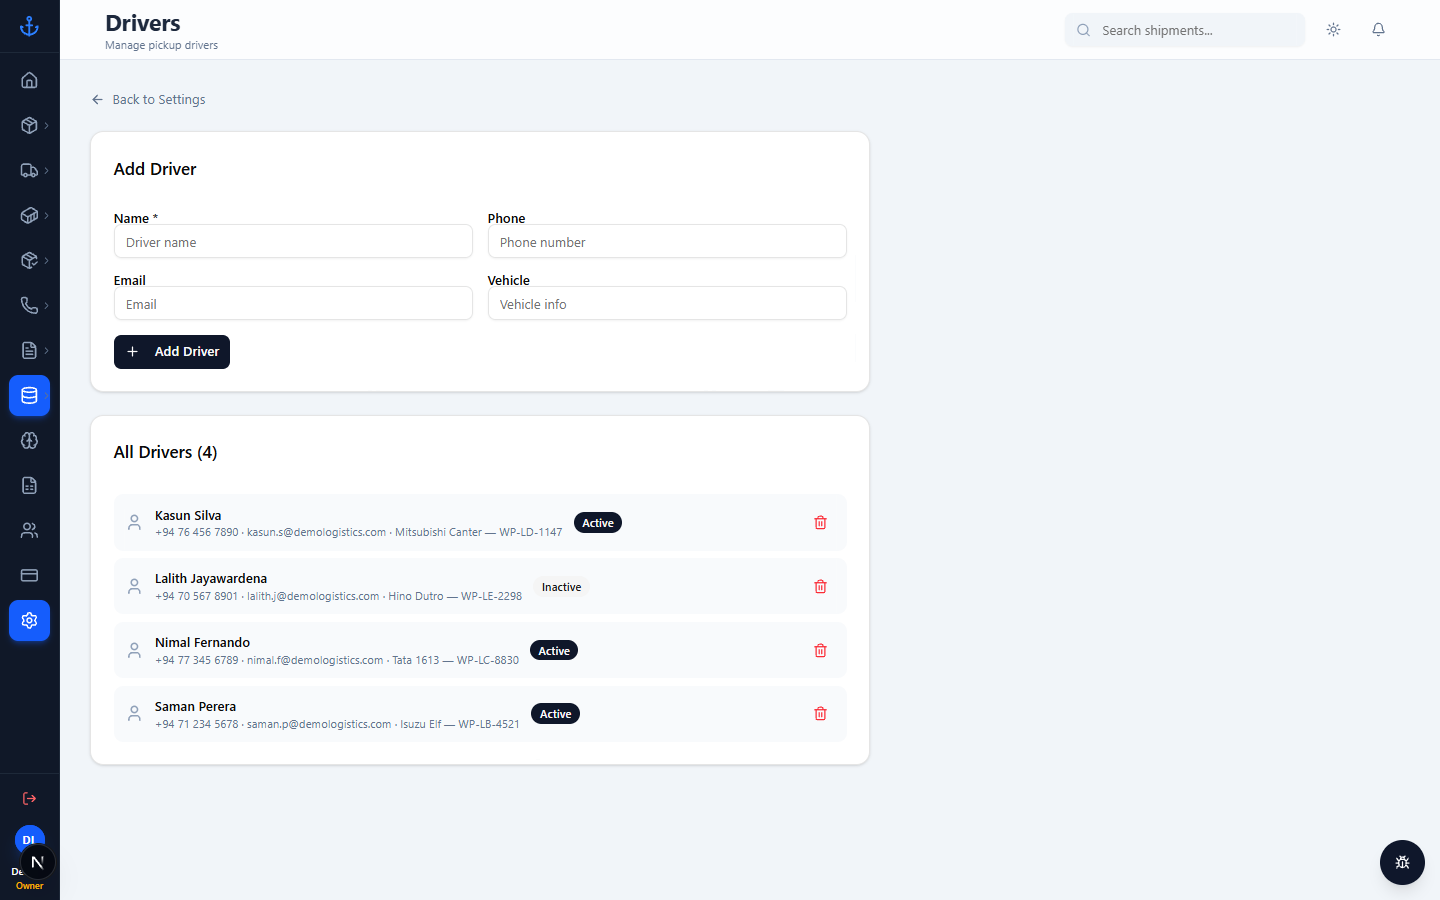
Settings — drivers

Add every driver: name, phone, email, license number, vehicle. You can mark drivers inactive when they leave.

Dashboard → Settings → Zones

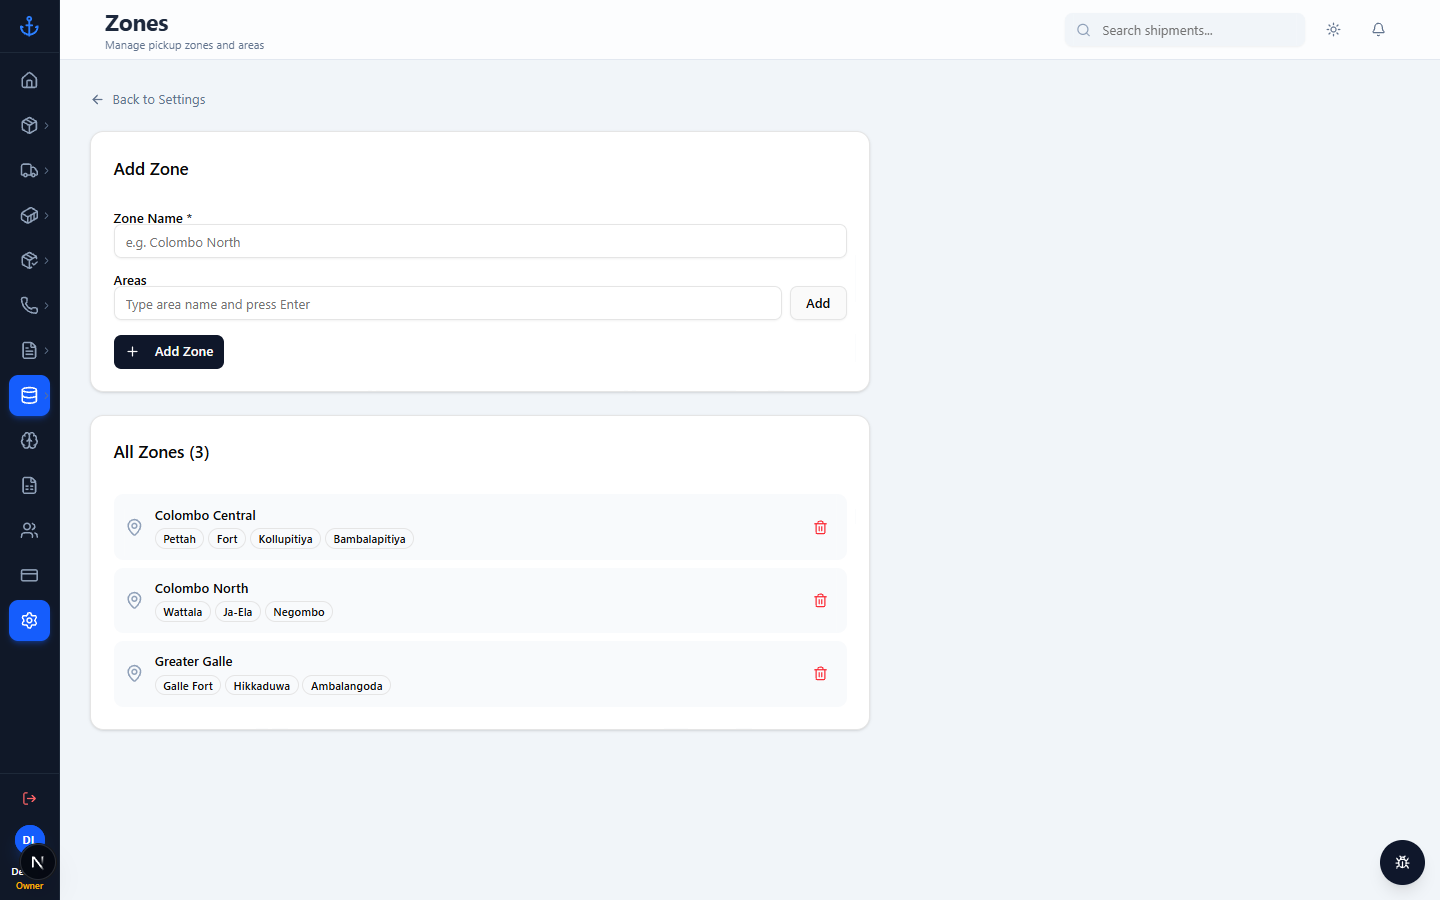
Settings — zones

Zones are geographic pickup areas. Each zone contains multiple areas (e.g. "Colombo Central" has areas "Pettah", "Fort", "Kollupitiya"). Pickups are assigned to zones, and drivers typically cover specific zones.

Behind the scenes. See TECHNICAL.md §2 for the full feature map of what reference data feeds what.


2. Team management

2.1 Inviting staff

Dashboard → Team

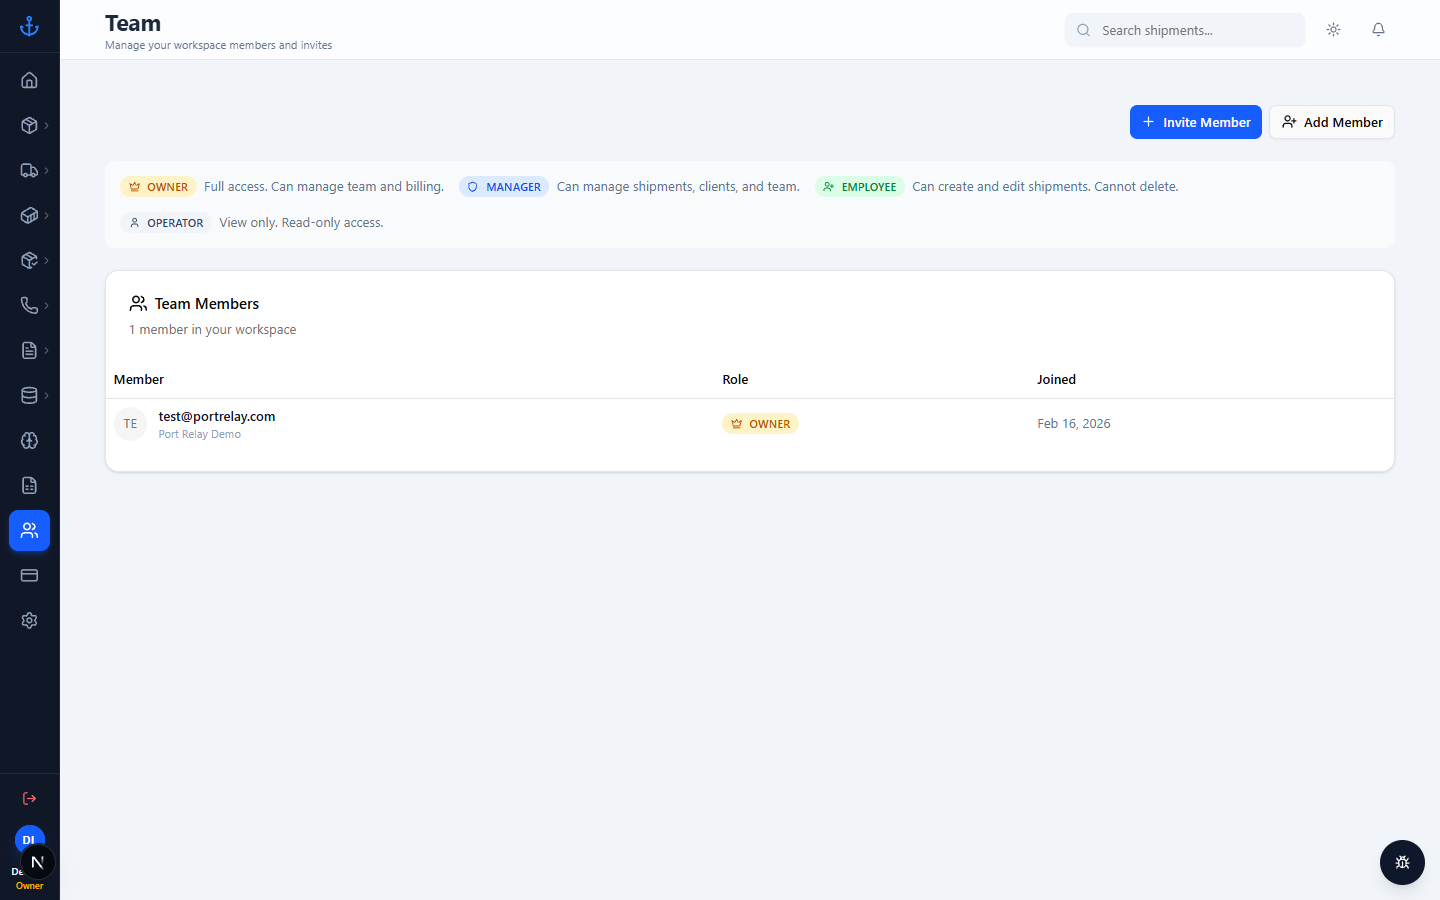
Team page

Click Invite, enter an email and pick a role. Panaroma Logistics Cargo sends an invitation email (via Resend). The invitee clicks the link within 7 days and creates their password.

2.2 Roles and what they can do

Panaroma Logistics Cargo has four built-in roles. Custom permissions override these role defaults (see 2.3).

| Role | Sees / does | |---|---| | Owner | Everything. Only role that can delete the workspace or transfer ownership. | | Manager | Manages shipments, clients, containers, pickups, invoices. Can invite staff and view team. Cannot delete the workspace. | | Employee | Daily work on shipments, containers, pickups. Can use call-center workflows (cashier, verification). Cannot view team. | | Operator | View-dominant with limited edits. Cannot delete anything. |

The full permission catalogue lives in the code (src/lib/permissions.ts). If you need to see which specific actions each role gets, ask engineering.

2.3 Custom permissions

You can grant individual users extra permissions beyond their role's defaults. Example: an Employee who needs to delete draft shipments — grant them shipment:delete directly.

This is usually surfaced per-user in Team → [member] → Permissions. Don't overuse it — a user with enough custom permissions to act like a Manager should just be promoted to Manager.

2.4 Removing staff

Dashboard → Team → [member] → Remove

Removing a member:

  • Deletes their WorkspaceMember row (they can no longer sign in to this workspace).
  • Keeps the underlying Supabase auth record (they can be re-invited later).
  • Keeps all work they did (shipments, receipts, pickups) — audit trails remain intact.

Behind the scenes. See TECHNICAL.md §4 for how requirePermission enforces this.


3. Reference data

Reference data is what feeds autofill across forms and Smart Import. Populate it once, save time every day.

Under Dashboard → Shipments (sidebar) you'll find:

  • Vessel / Voyagesvessel voyages
  • Overseas Shippersoverseas shippers
  • Overseas Agentsoverseas agents
  • Shipping Linesshipping lines

And under Dashboard → Settings:

  • Warehouseswarehouses
  • Driversdrivers
  • Zoneszones

3.1 Why Smart Import needs reference data

When a user drops an Excel manifest, Panaroma Logistics Cargo tries to match the MARKS column content against:

  • Your workspaces's warehouses (to guess where the cargo is bound).
  • Known vessel / voyage / shipping line records.

The more reference data you have, the more Smart Import gets right on the first pass.

Behind the scenes. See TECHNICAL.md §8 — Smart Import for the rule-based + LLM hybrid.


4. Notifications

Dashboard → Settings → Notifications

Settings — notifications

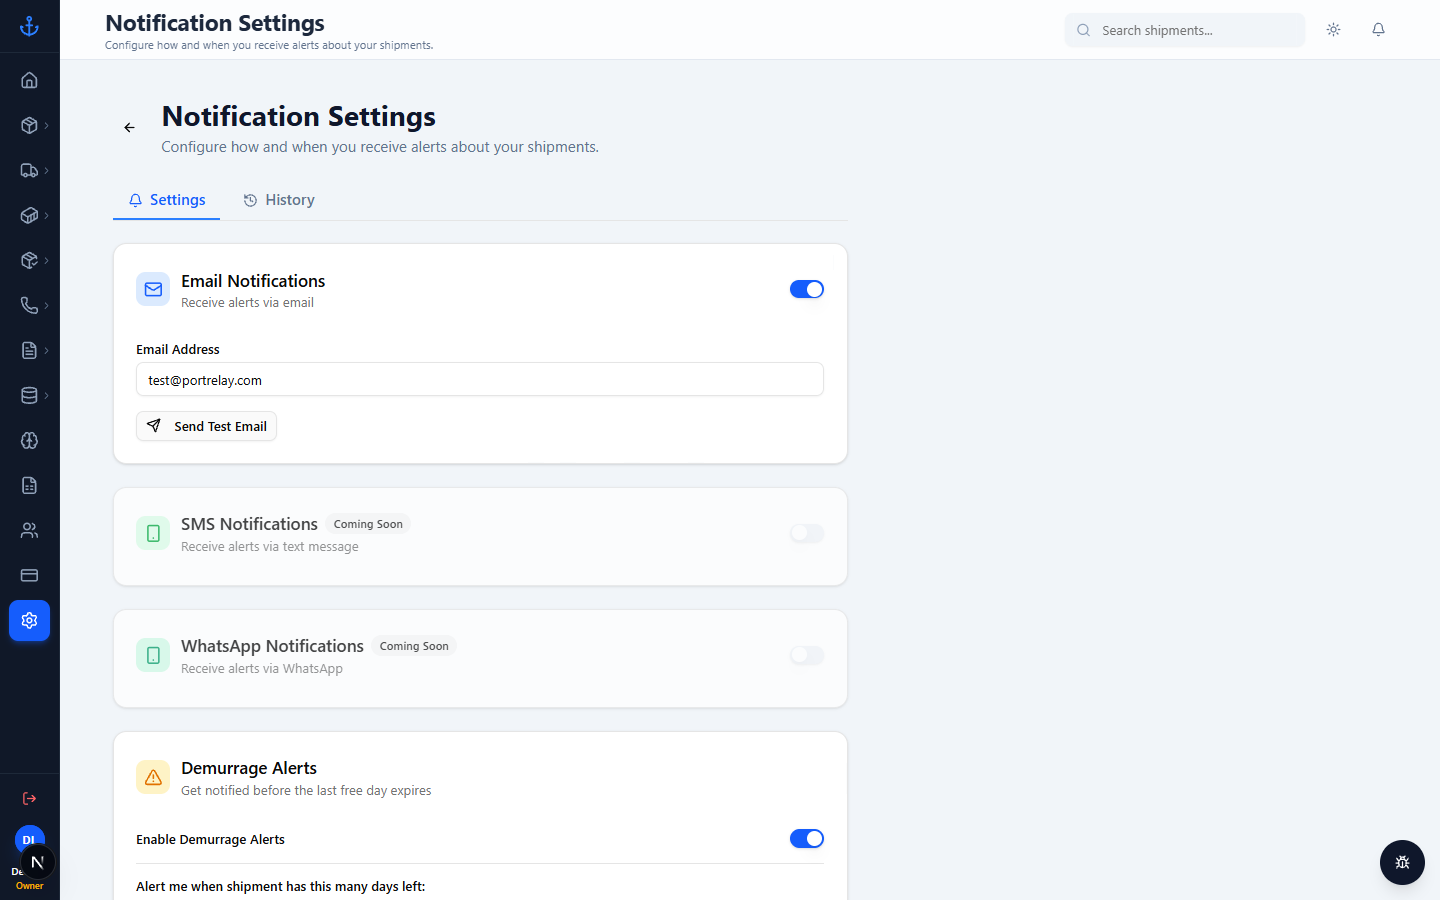
Panaroma Logistics Cargo can send alerts to your staff via:

  • Email (Resend)
  • SMS (Chakra HQ)
  • WhatsApp (Chakra HQ)

4.1 Per-user settings

Each team member sets their own preferences in Settings → Notifications:

  • Which channels to use (any combination of email / SMS / WhatsApp).
  • Verified phone number for SMS + WhatsApp.
  • Quiet hours (no notifications during e.g. 22:00–06:00 local).
  • Which notification types to subscribe to (e.g. demurrage, shipment status change).
  • For demurrage: which days-before-LFD to alert (e.g. [3, 2, 1]).

4.2 Demurrage alerts

Every day, Panaroma Logistics Cargo's demurrage cron checks all shipments with a Last Free Day. For each match, it sends alerts to staff whose demurrage settings include that offset (e.g. "3 days before").

Test an alert in Settings → Notifications → Test. You should get an email within a minute.

4.3 Outbound channel setup (one-time)

Email uses Resend out of the box with a shared onboarding@resend.dev sender. To use your own domain, set RESEND_FROM in .env to Your Company <noreply@yourdomain.com> and verify the domain in Resend.

SMS + WhatsApp use Chakra HQ; engineering fills in CHAKRA_* env vars once per environment.

Behind the scenes. See TECHNICAL.md §8 — Demurrage notifications.


5. Data hygiene

5.1 Duplicate HBLs during Smart Import

Smart Import dedupes by HBL number. If an HBL in the Excel file already exists in your workspace, that row is skipped and reported in the final summary.

If you need to re-import after correcting data, first delete the existing HBL or edit it in place — don't rely on re-import to overwrite.

5.2 Deleting vs holding vs cancelling

  • Delete (sidebar: shipment detail → trash icon). Permanent. Gone from all lists. Only Managers + Owners can delete. Use sparingly.
  • Cancel (mark isCancelled). Appears in the Cancelled list. Preserves audit trail. Recommended default.
  • Hold (mark isHold). Shipment freezes in place. Appears in status pipeline as "on hold". Use when waiting on external input.

5.3 Exporting data

Most list pages have a bulk-export button. Pickups explicitly supports bulk CSV export via Dashboard → Pickups → Export. Other lists typically offer "download CSV" near the table header.

For everything else, ask engineering for a one-off export script against Prisma.

5.4 Import audit trail

Every Smart Import run saves the parsed spreadsheet in the Spreadsheet table. If a later import looks wrong, engineering can re-read the source data to diagnose.

Behind the scenes. See TECHNICAL.md §11 — Scripts directory for the one-off import scripts pattern (dry-run → --commit).


6. Public tracking governance

Every shipment has a public token. Anyone with the URL can view (but not edit). This is a feature — customers get self-serve tracking — but it's also a governance concern.

6.1 What the customer sees

Three pages under /track/[token]/:

  • Tracking — current status + ETA.
  • Invoice PDF — downloadable commercial invoice.
  • Receipt — if receipt upload is available.

Nothing else. No customer list, no other shipments, no financials beyond this shipment.

6.2 Sharing a tracking link

On any shipment's detail page, click the share/link icon in the header. Send the URL directly to the customer (WhatsApp, email, SMS).

6.3 When NOT to share

  • Don't post tracking links in public forums, chat channels, or social media. The token is cryptographically strong but anyone with the URL has read access.
  • Don't reuse tokens across multiple shipments. (Panaroma Logistics Cargo makes this impossible — each shipment has its own token — but be careful copy-pasting.)

6.4 Regenerating a token

If a token leaks, an Owner or Manager can regenerate it. The old link stops working.

The regenerate action is typically on the shipment detail page; if you don't see it, ask engineering — the API endpoint exists but the UI control may not be surfaced yet.

Behind the scenes. Token generation uses nanoid(32) — 32 characters from a 64-character alphabet = ~190 bits of entropy. Unguessable.


7. Troubleshooting & escalation

7.1 Common permission issues

  • User can't see a feature: check their role in Team and what sidebar items their role shows. If they need more access, either promote them or grant a custom permission.
  • User gets "Access denied" on an API call: usually means an action string their role doesn't cover. Tell engineering which action string the error mentions (shipment:delete, invoice:send, etc.).

7.2 PDF generation failures

Commercial Invoice and Ocean BOL use server-side Puppeteer. If generation fails:

  1. Check Settings → Company — missing company name, logo, or address is the #1 cause.
  2. Check the server logs — engineering can tell you if Chromium crashed or timed out.
  3. Retry after a minute — transient Chromium hangs happen on cold serverless functions.

Manifest uses client-side @react-pdf/renderer and is more reliable.

7.3 Import failures

  • "No shipment rows found" — the spreadsheet's first column isn't numeric. Smart Import filters data rows by looking for a leading number in column A.
  • "Could not detect columns" — header row doesn't match known patterns. Contact engineering; the AI fallback is there but occasionally fails on very novel layouts.
  • "Duplicate HBL" — that HBL is already in the workspace. Delete the existing row or edit it; don't re-import.

7.4 When to contact engineering

  • PDF crashes consistently across all users.
  • Import fails on files that worked before.
  • A workspace member reports seeing data from a different workspace (would be a serious bug — escalate immediately).
  • Any message mentioning "500 Internal Server Error".
  • Anything you see on screen that contradicts this manual.

When you escalate, include:

  • Your workspace name and ID.
  • The user's email (if it's a user-specific issue).
  • The URL where the problem happened.
  • Any error message verbatim.
  • A screenshot if possible.

7.5 Settings pages for you

The other sidebar items under Settings you'll use less frequently:

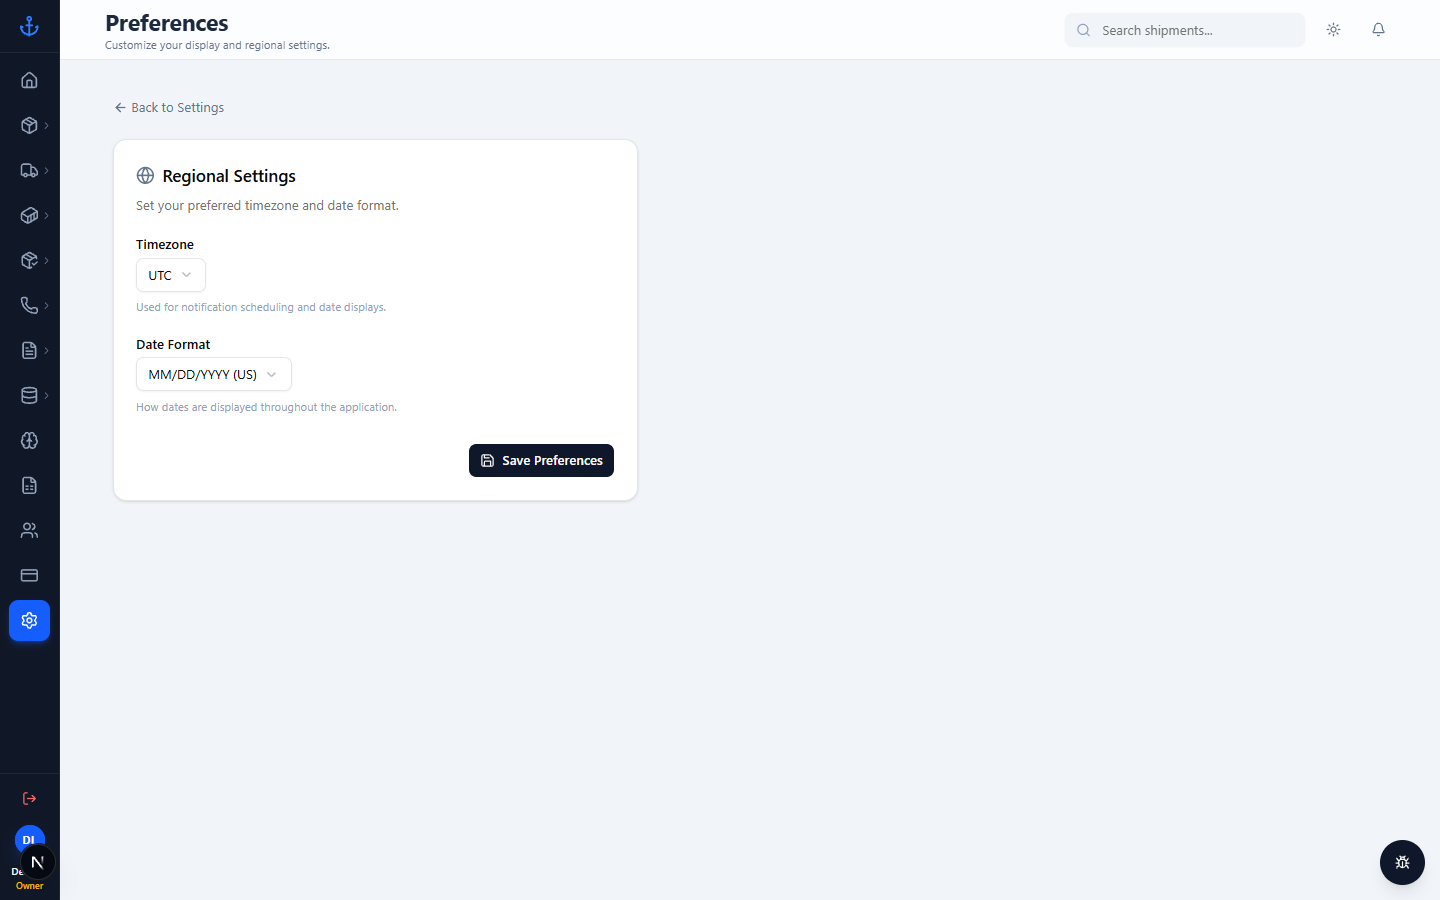
  • Preferences — timezone, locale. Preferences
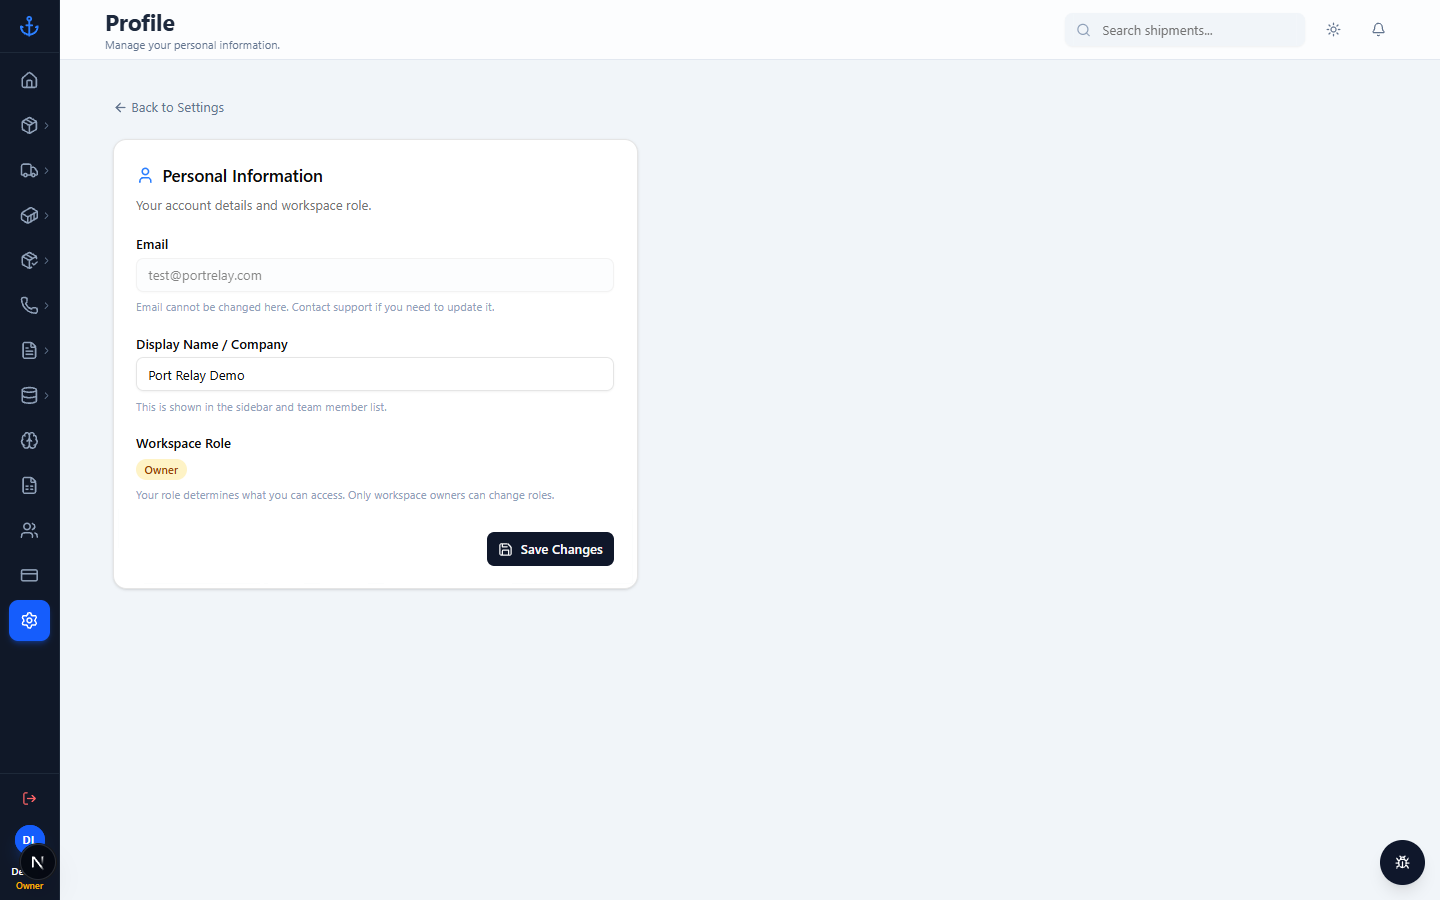
  • Profile — your own name, email, avatar. Profile
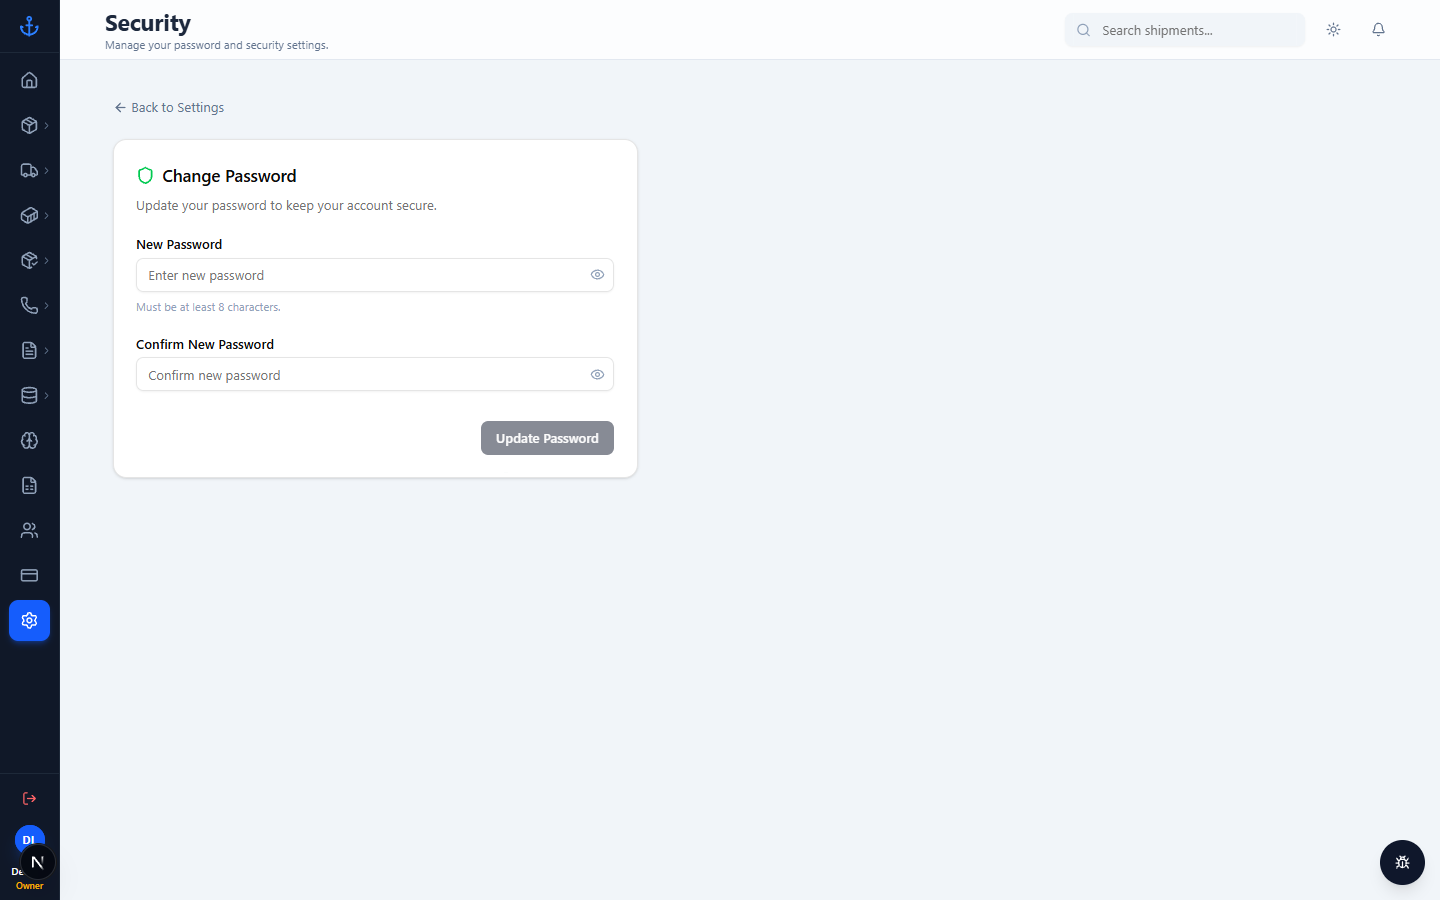
  • Security — change your password, enable 2FA (if available). Security